|
|
From the surface to the handle shape
Arch design is also functional design.
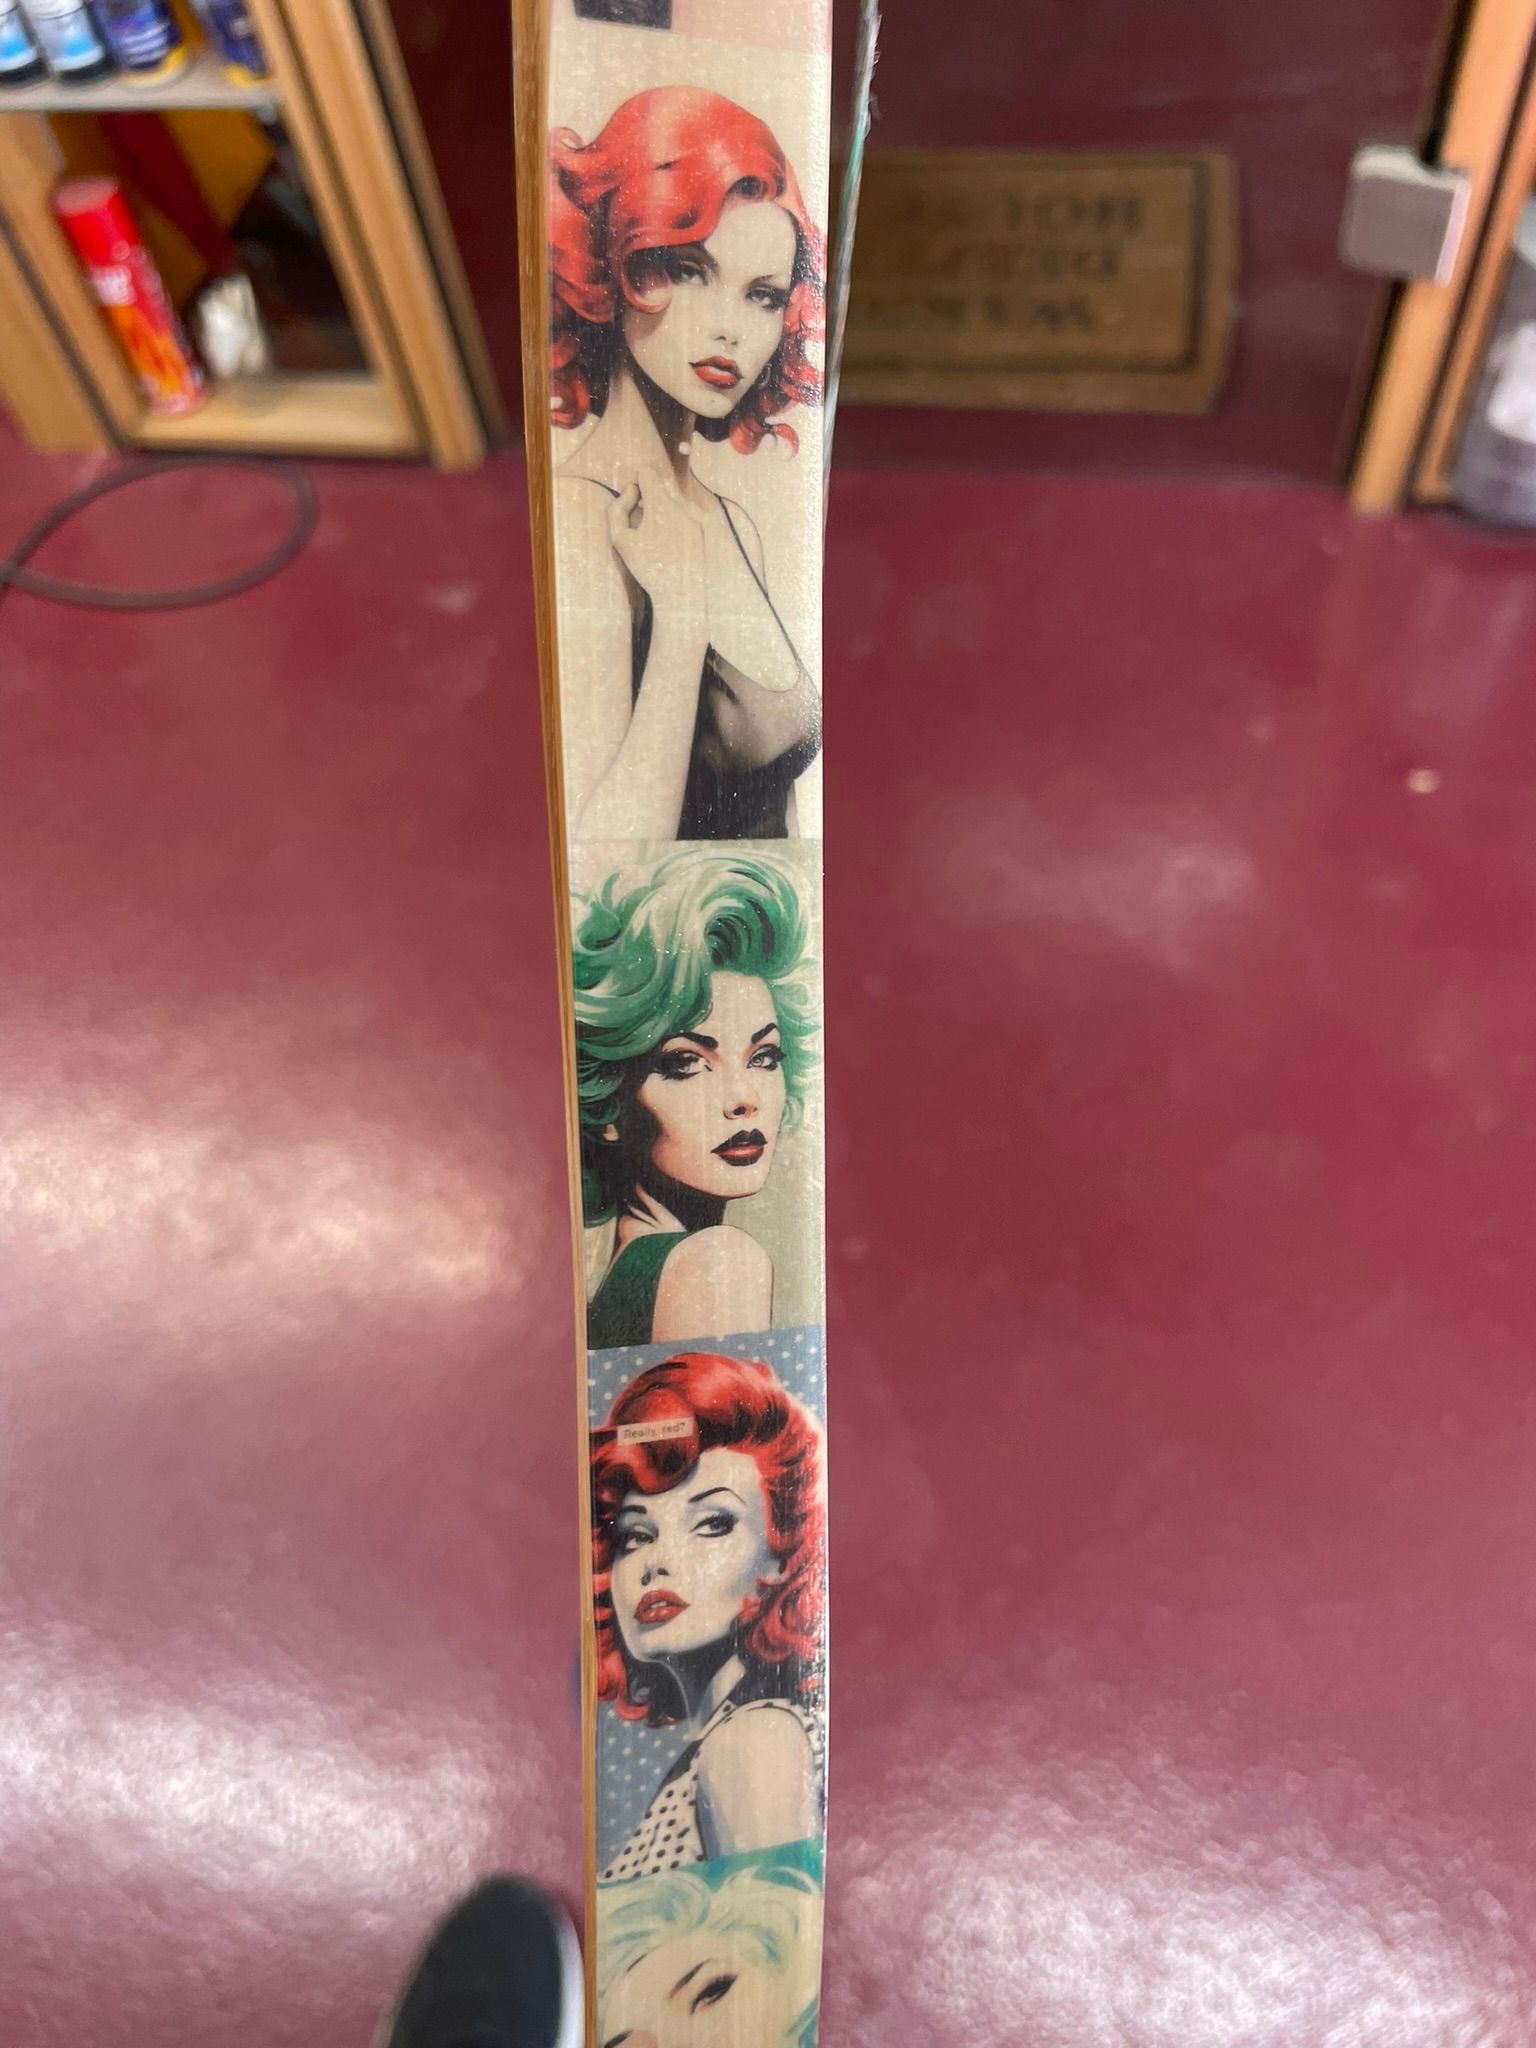
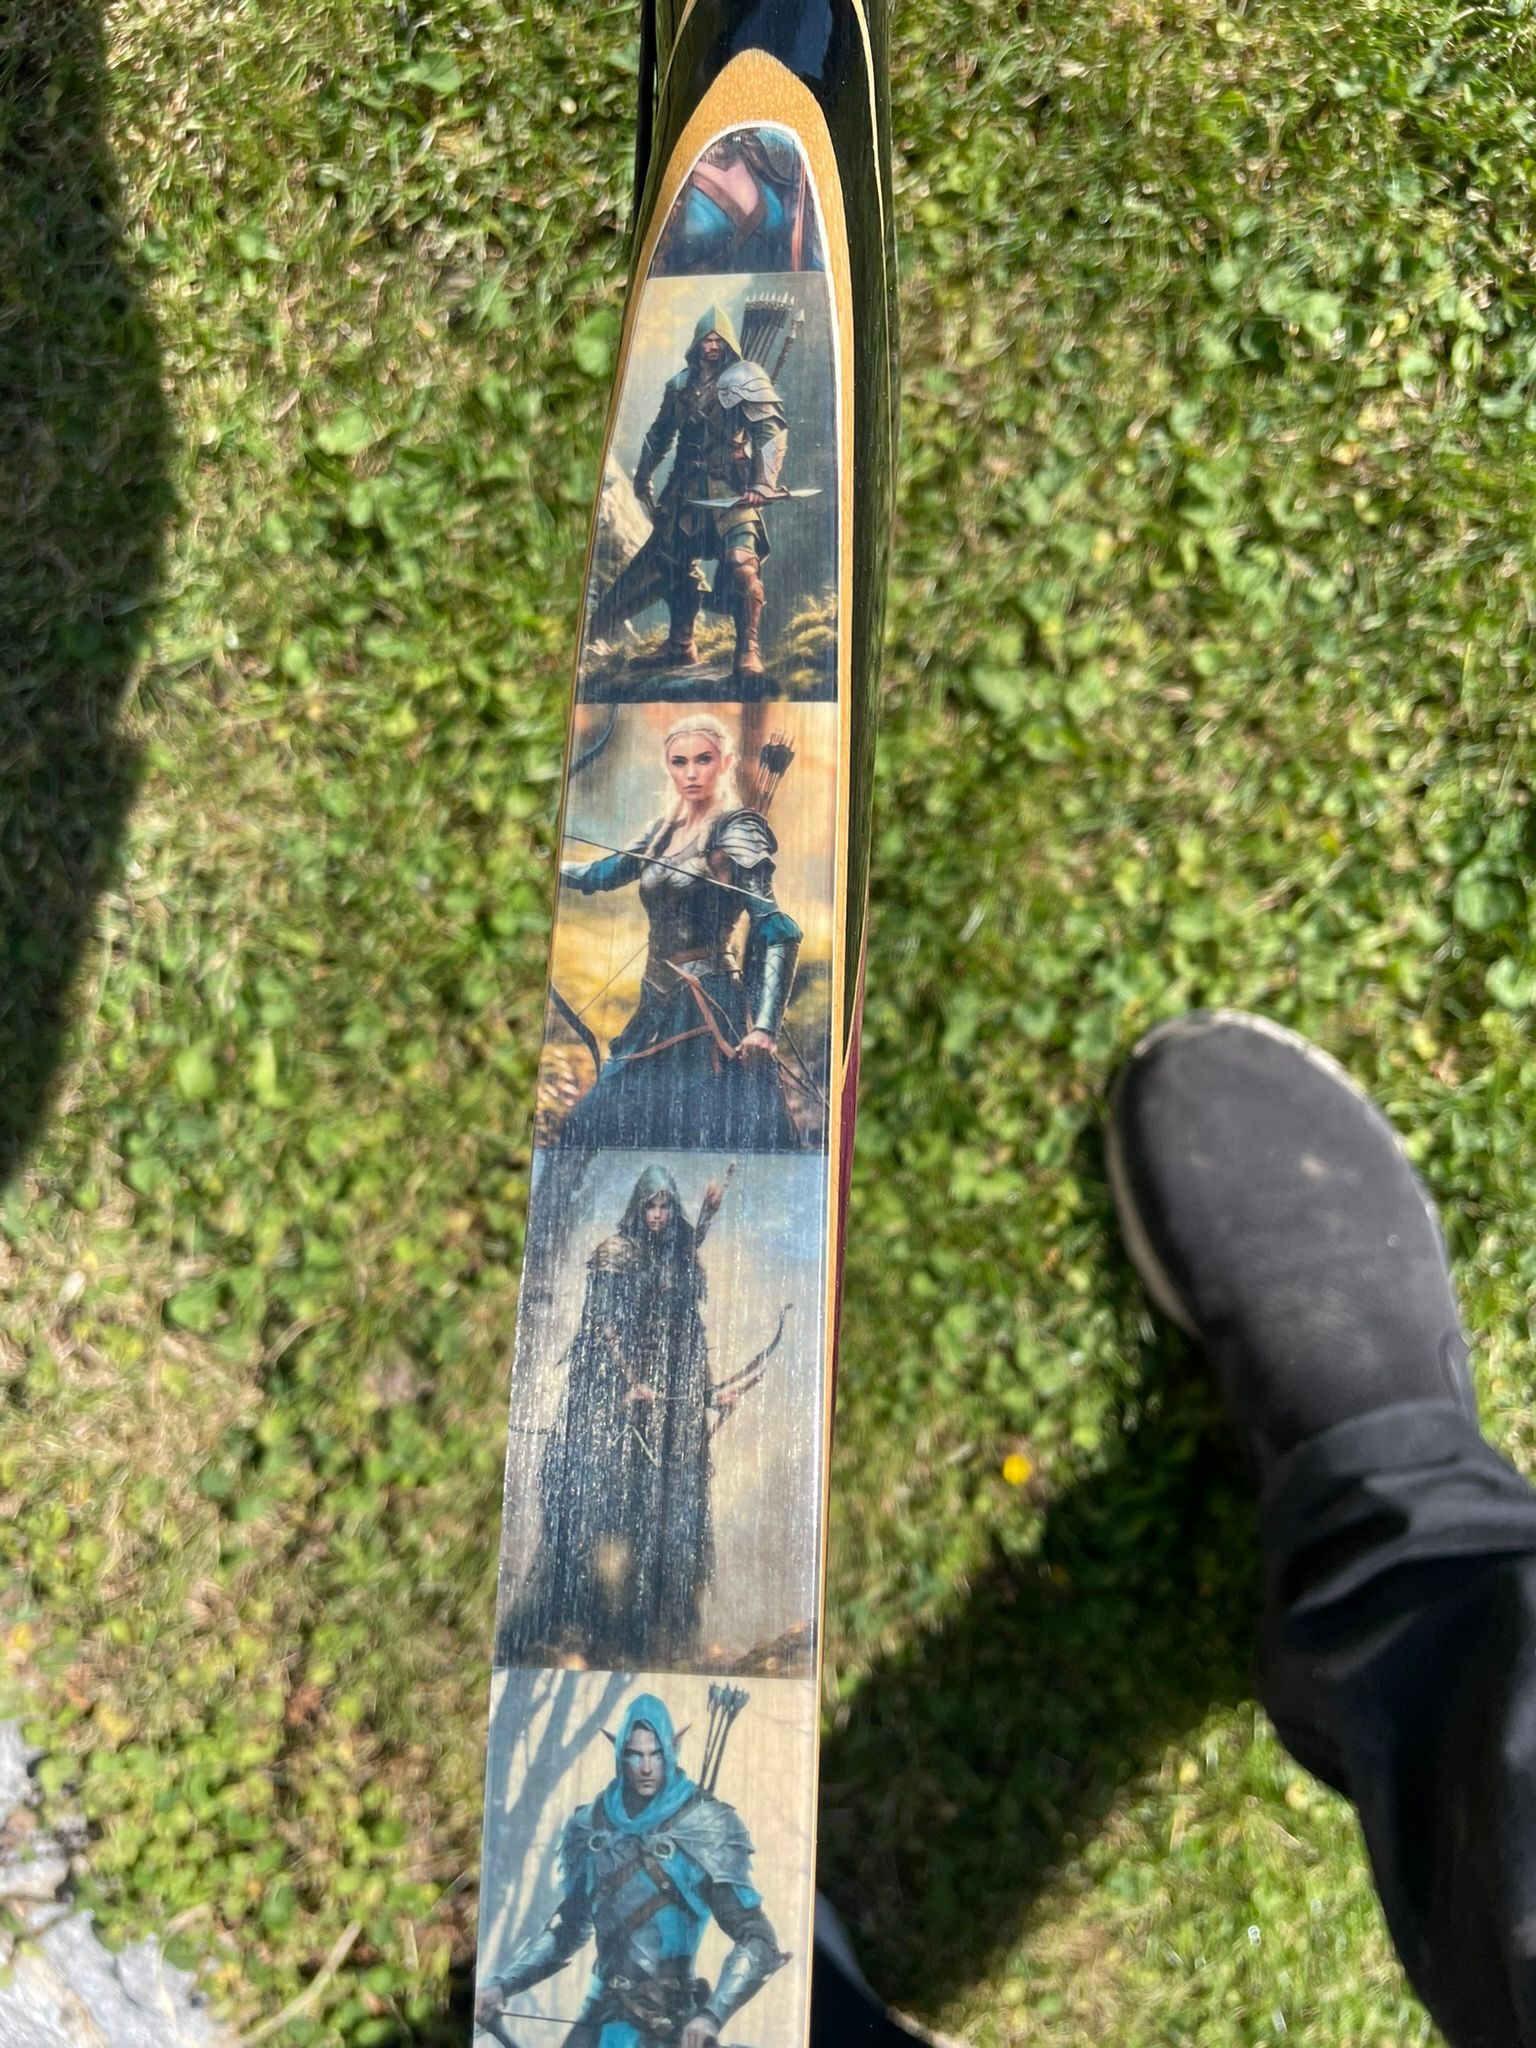
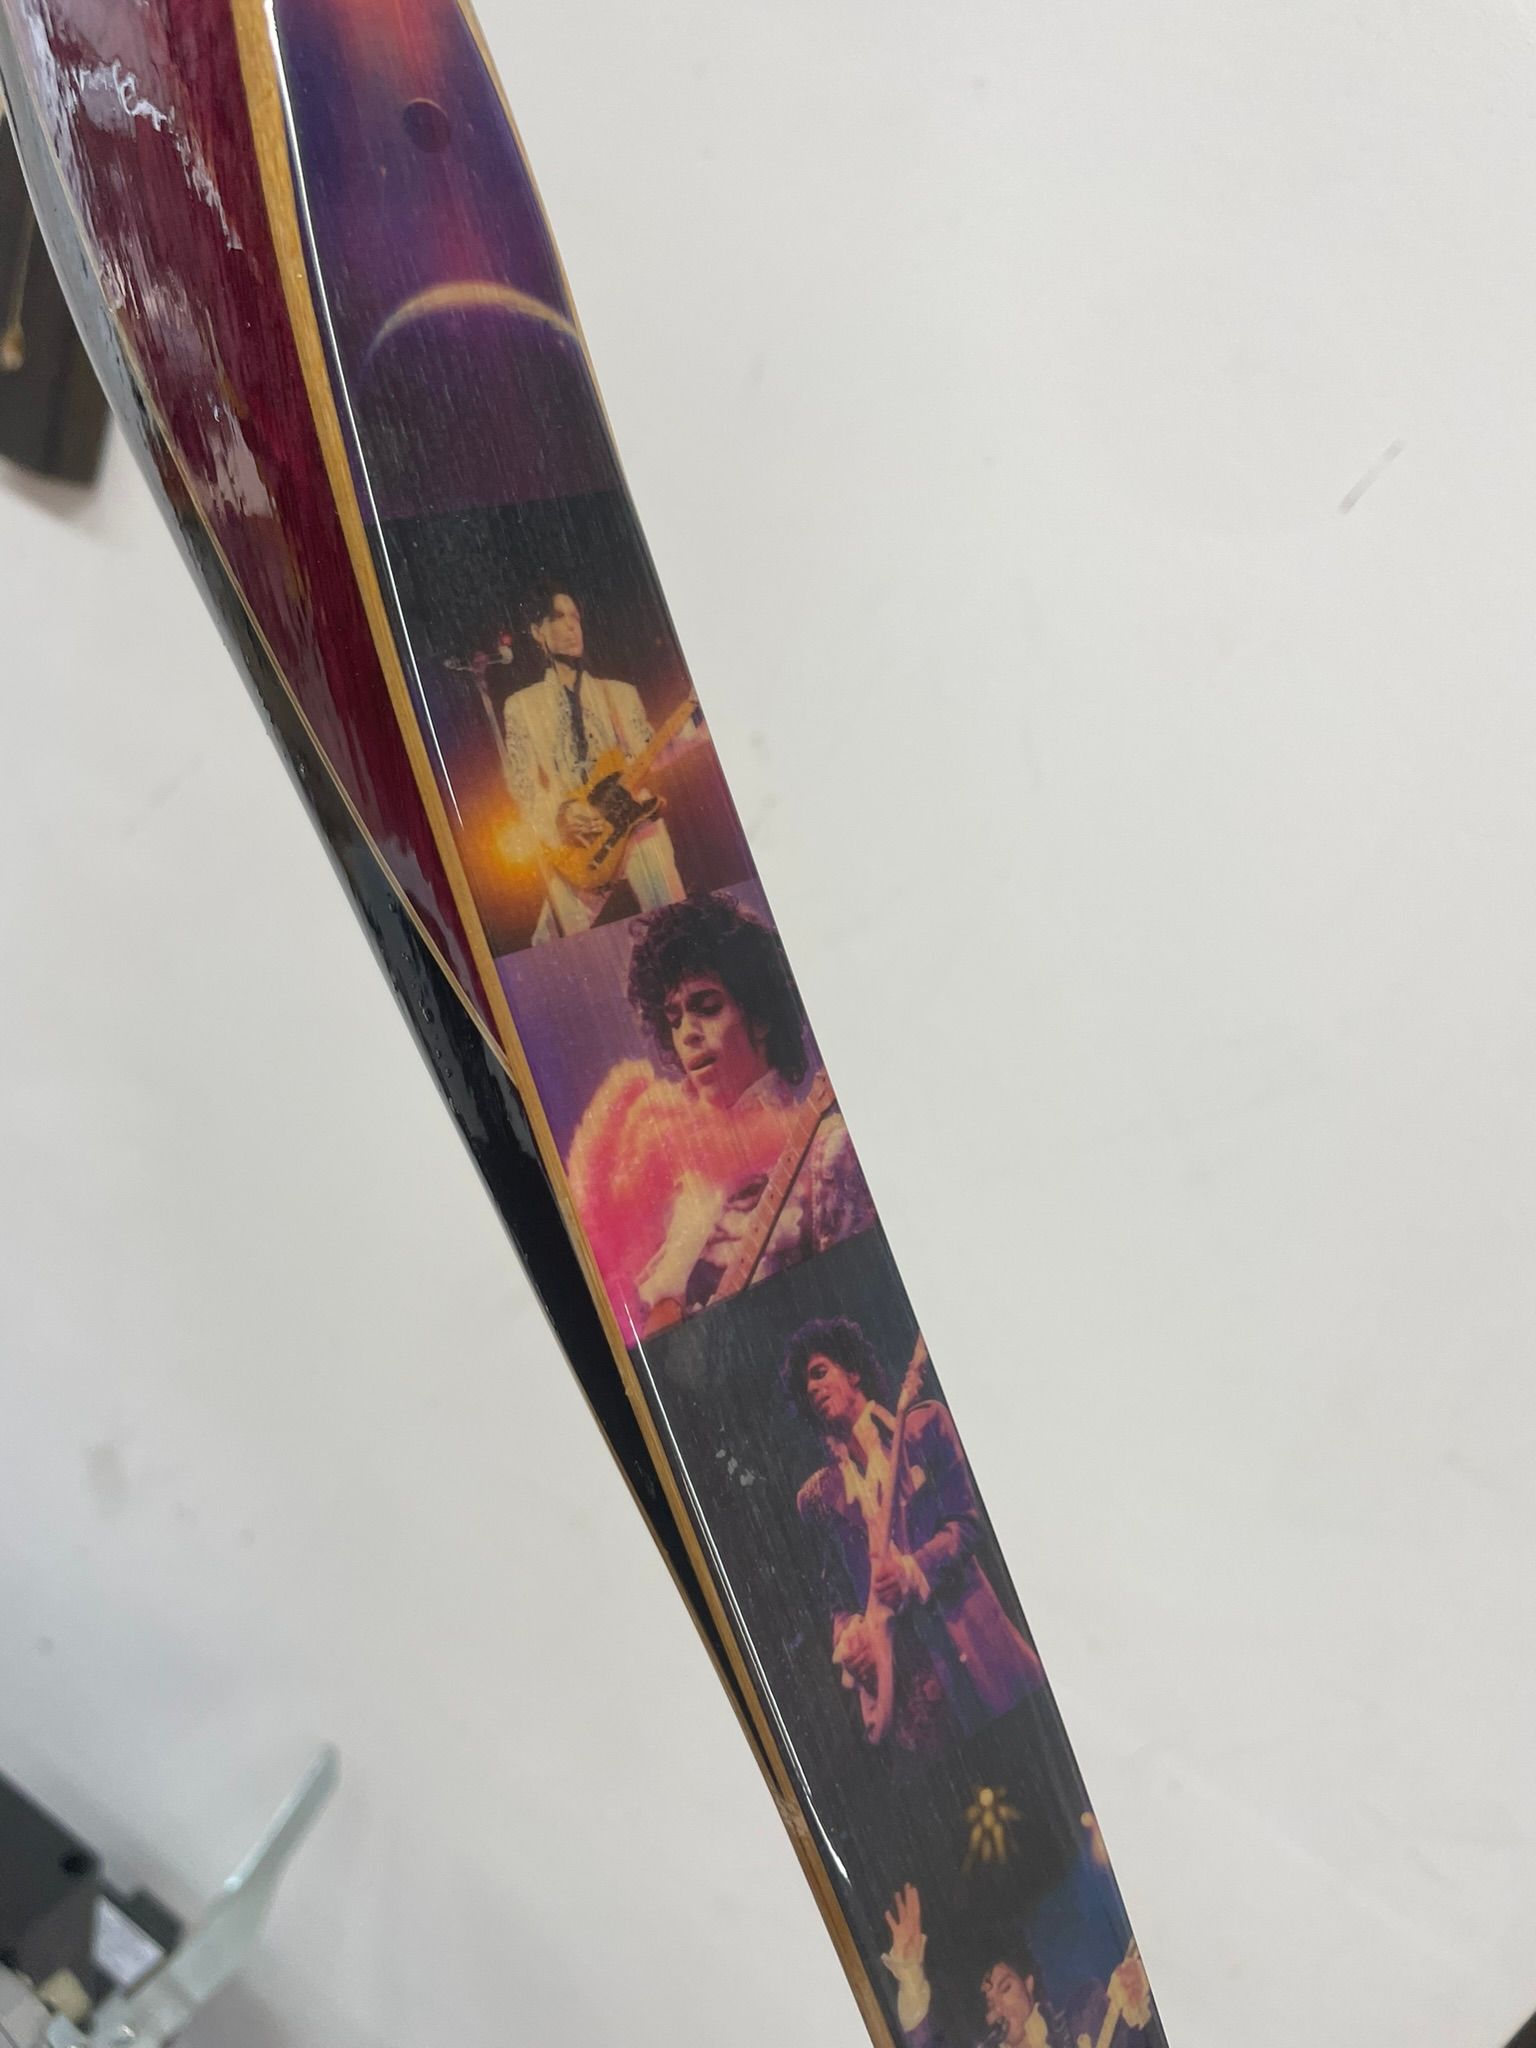

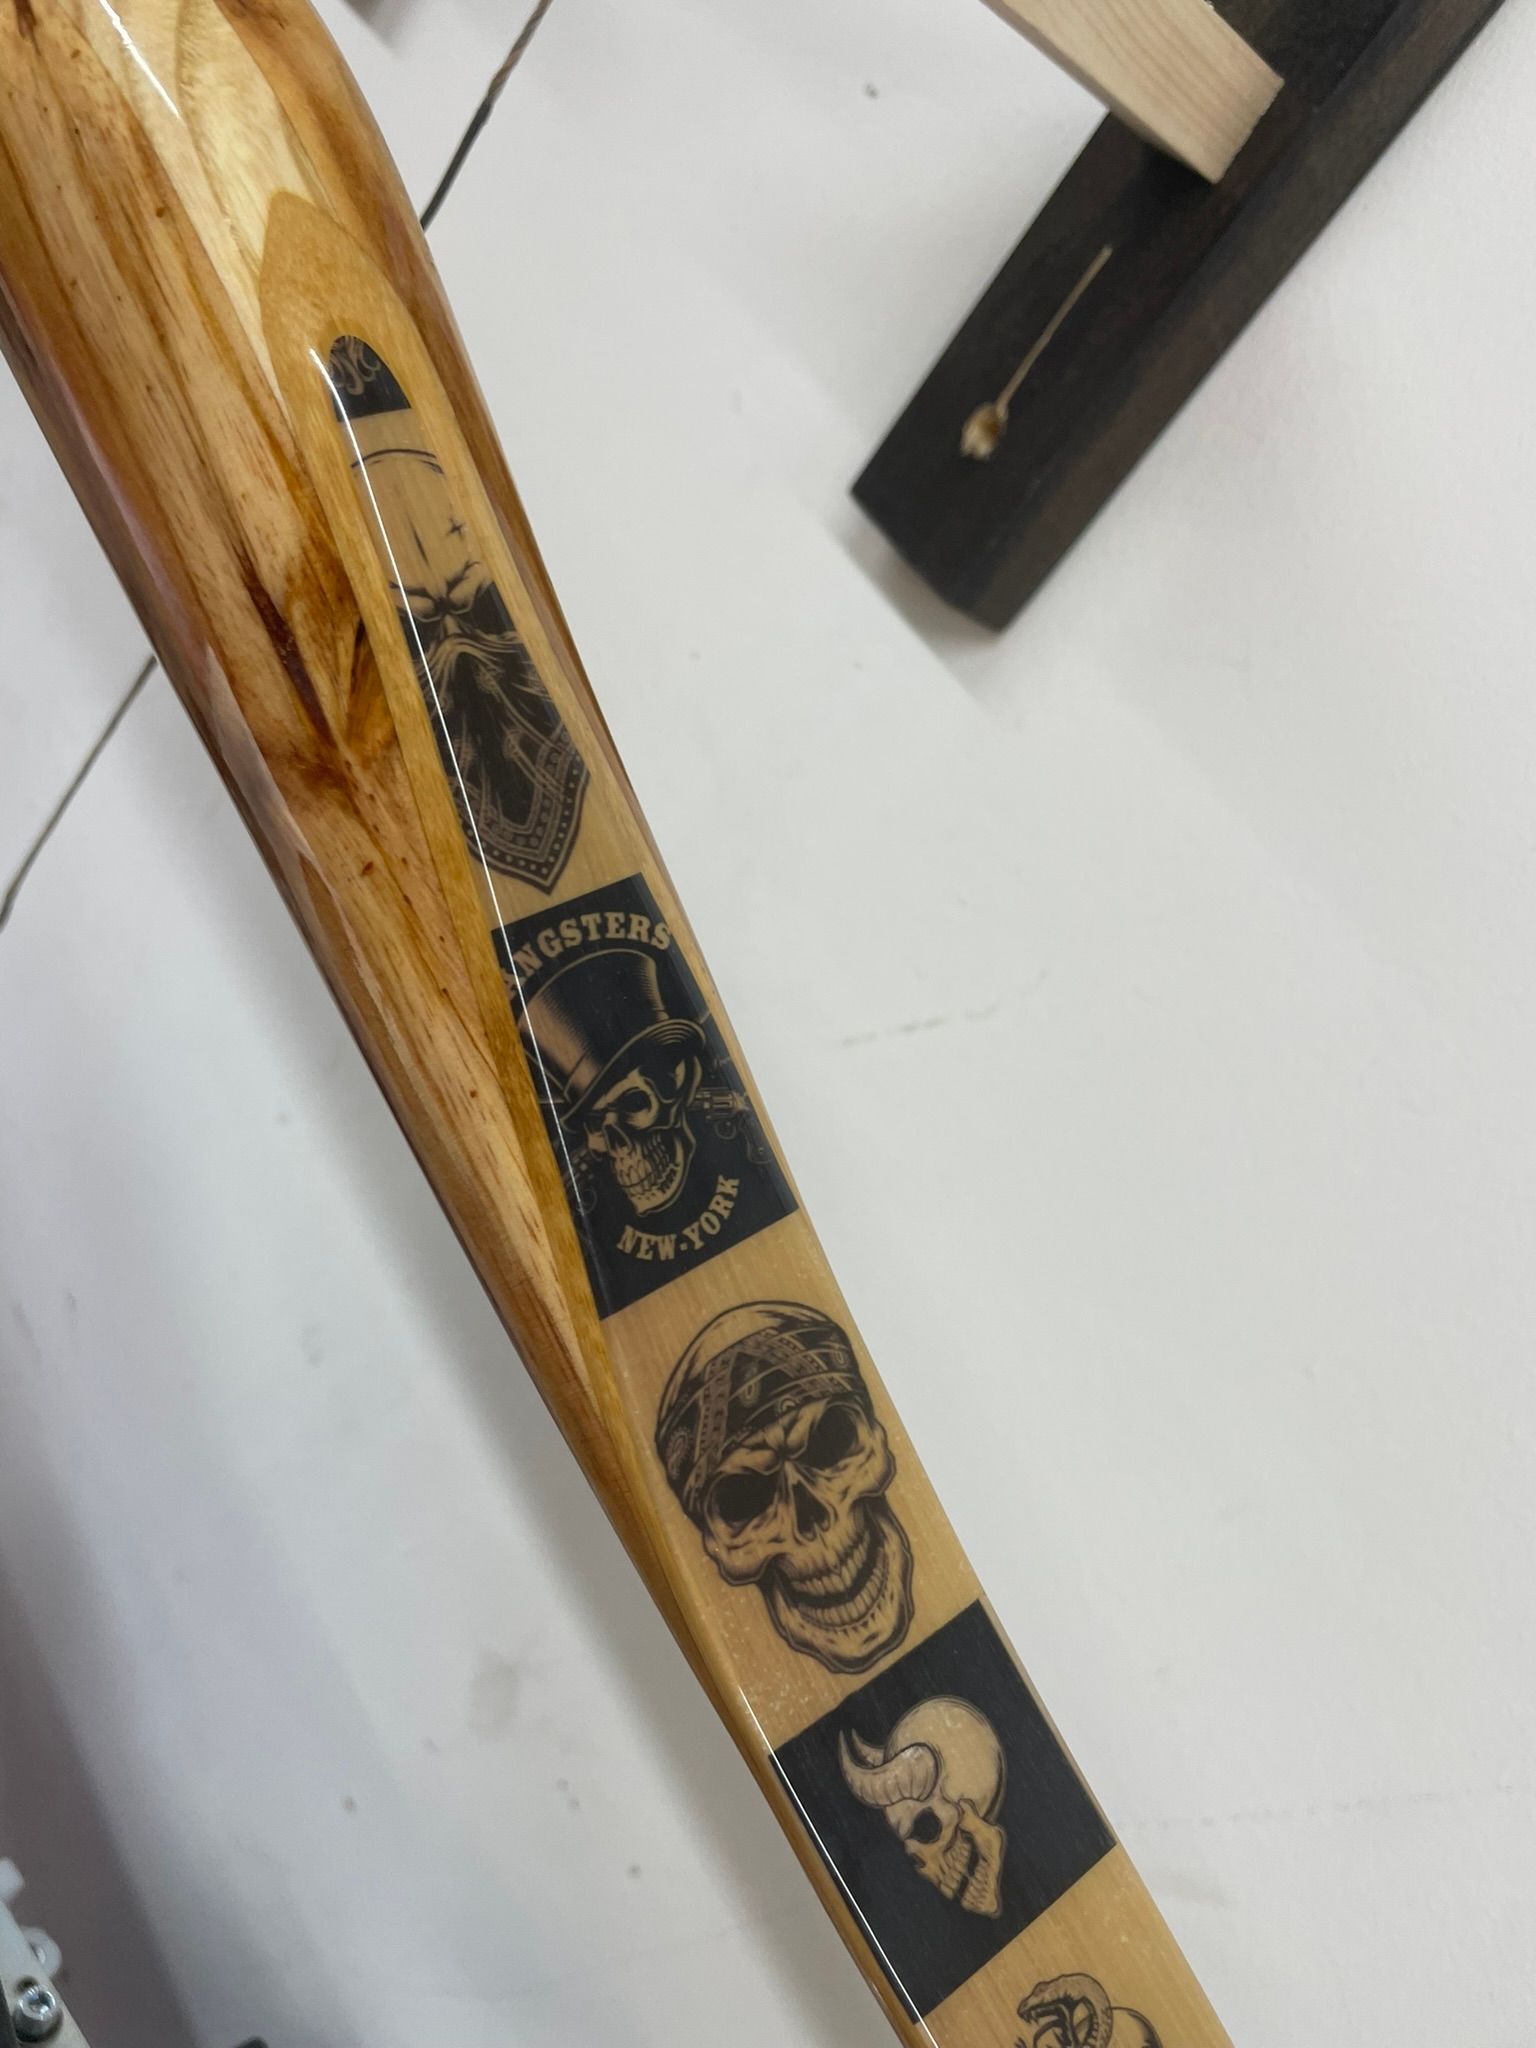
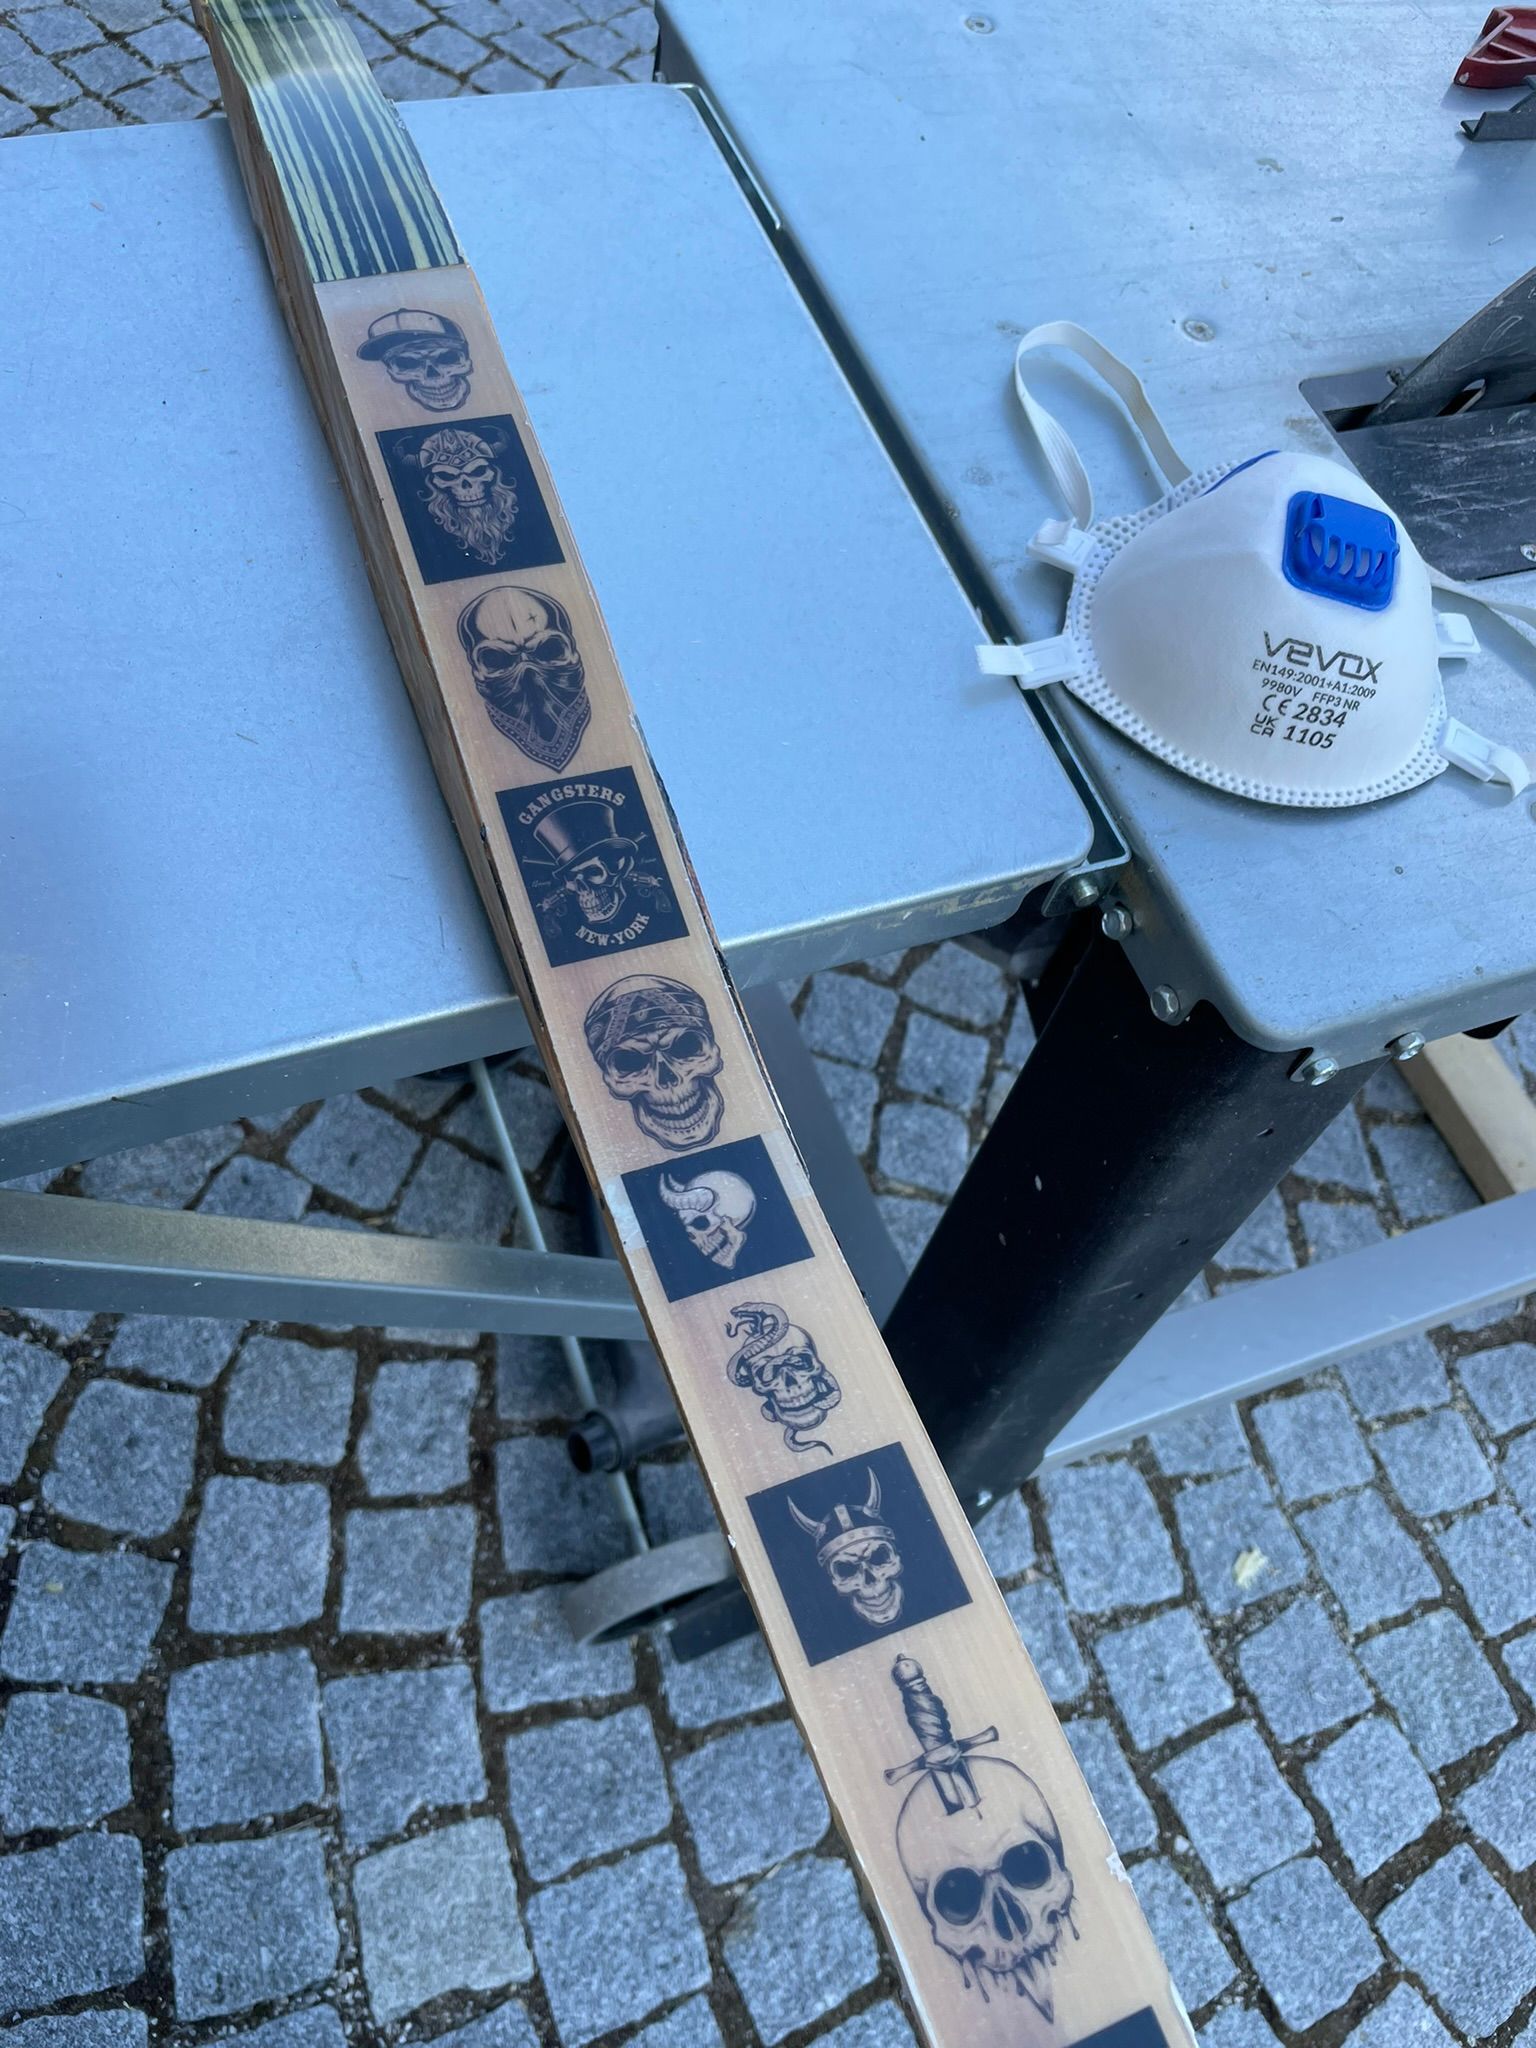
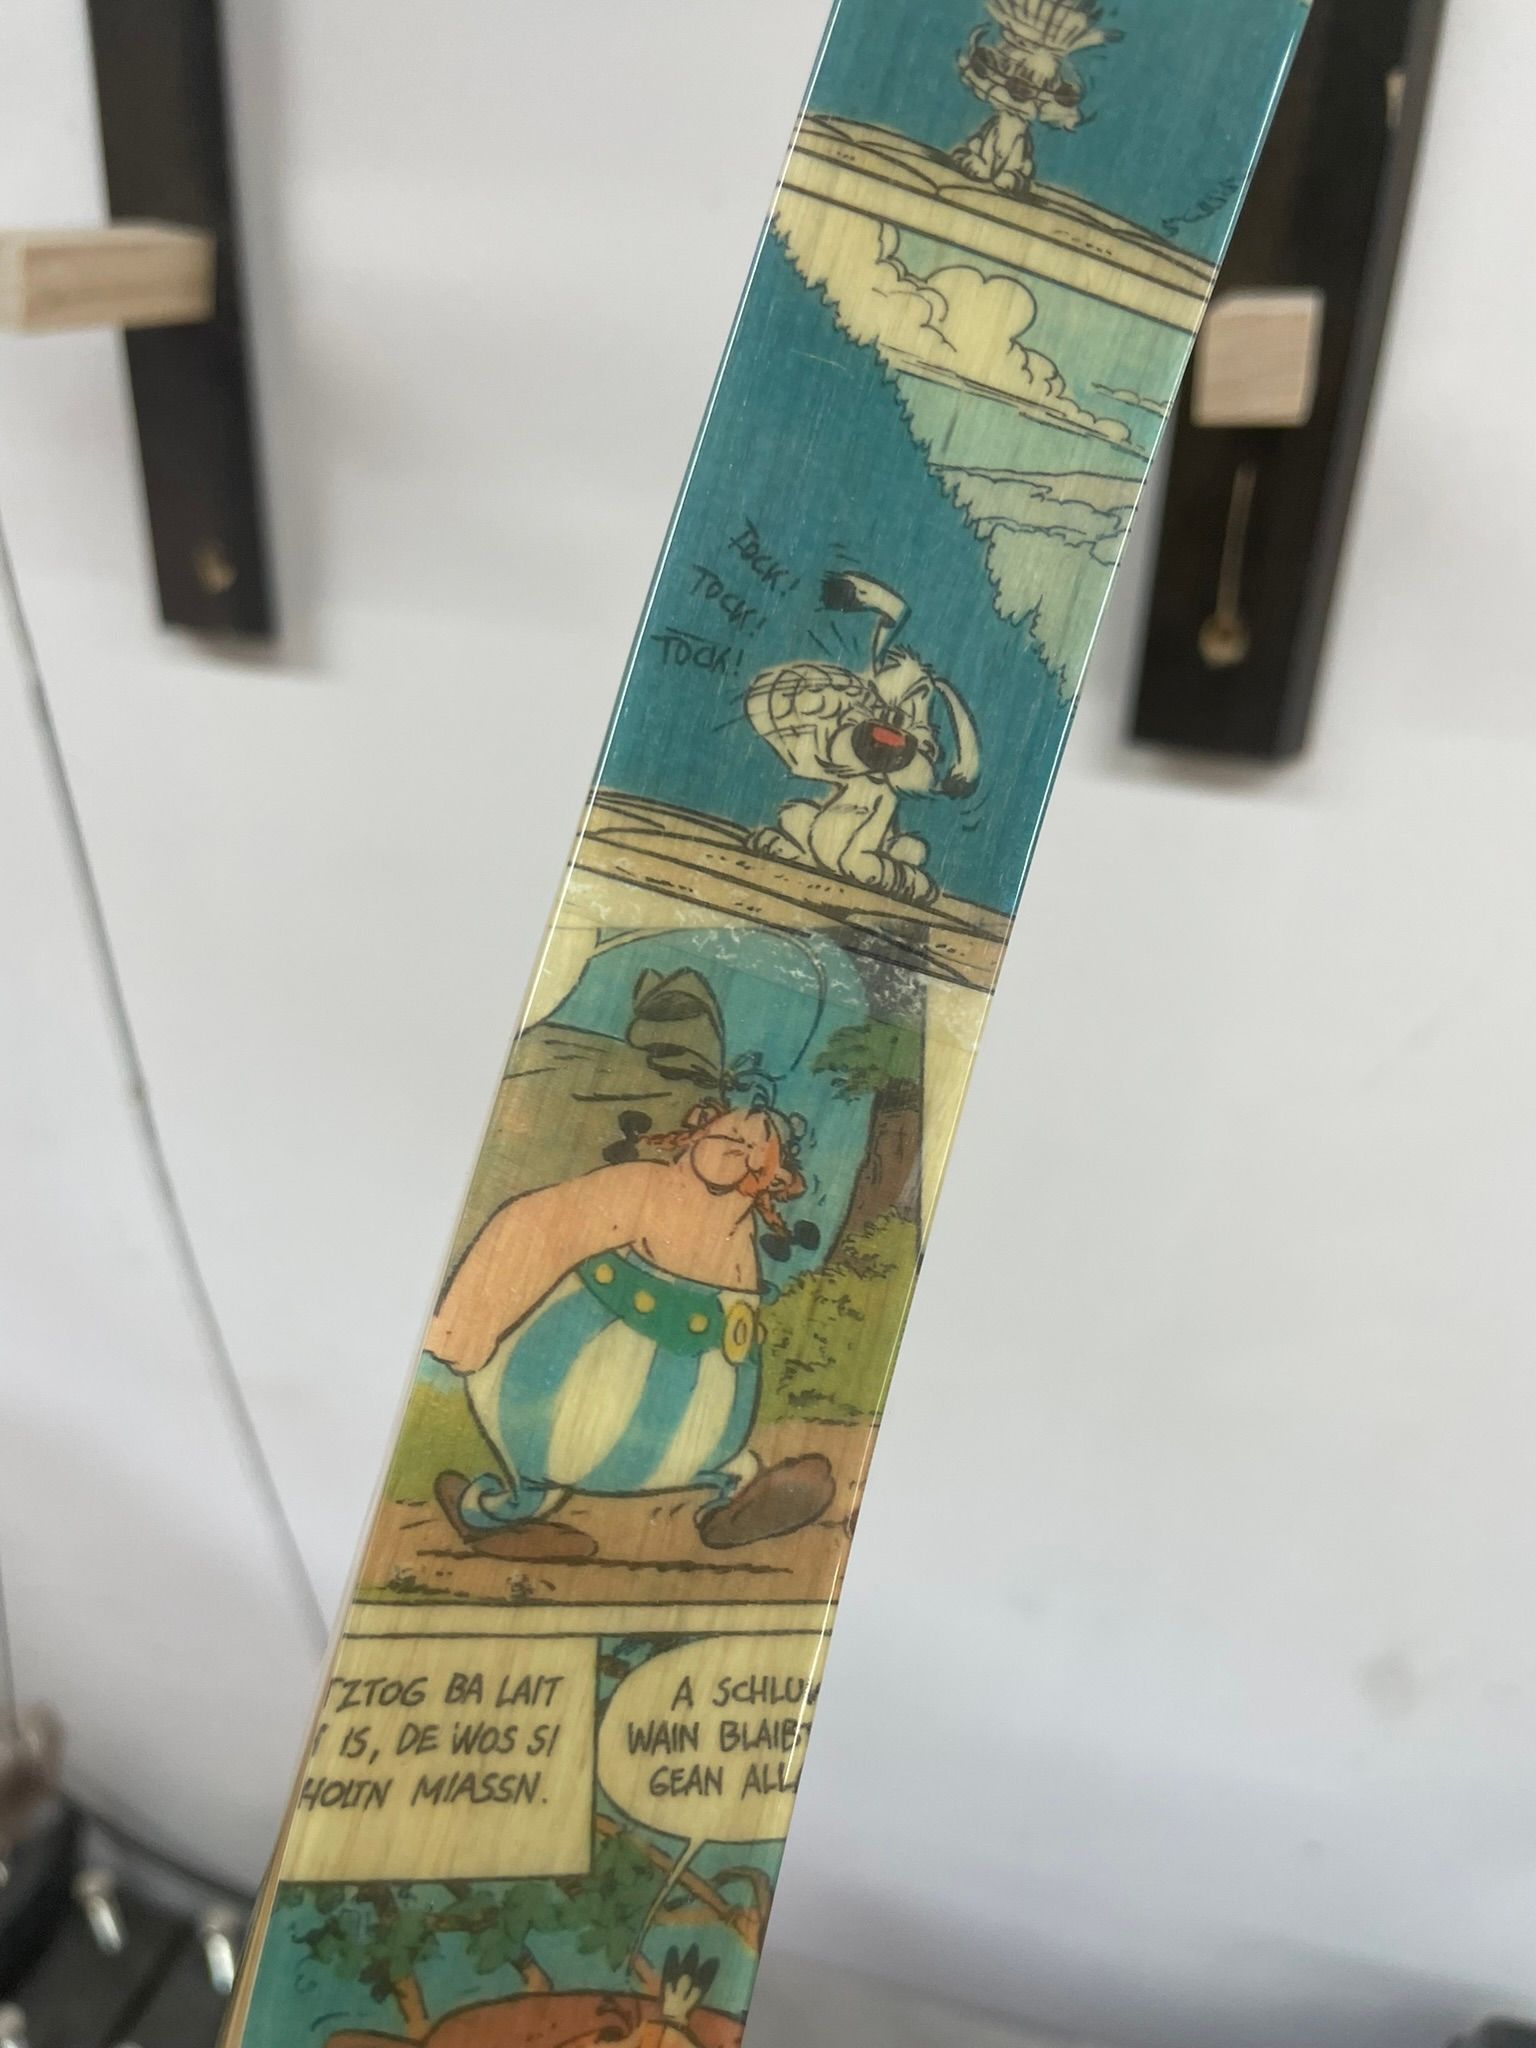

THE LIFTING ARMS
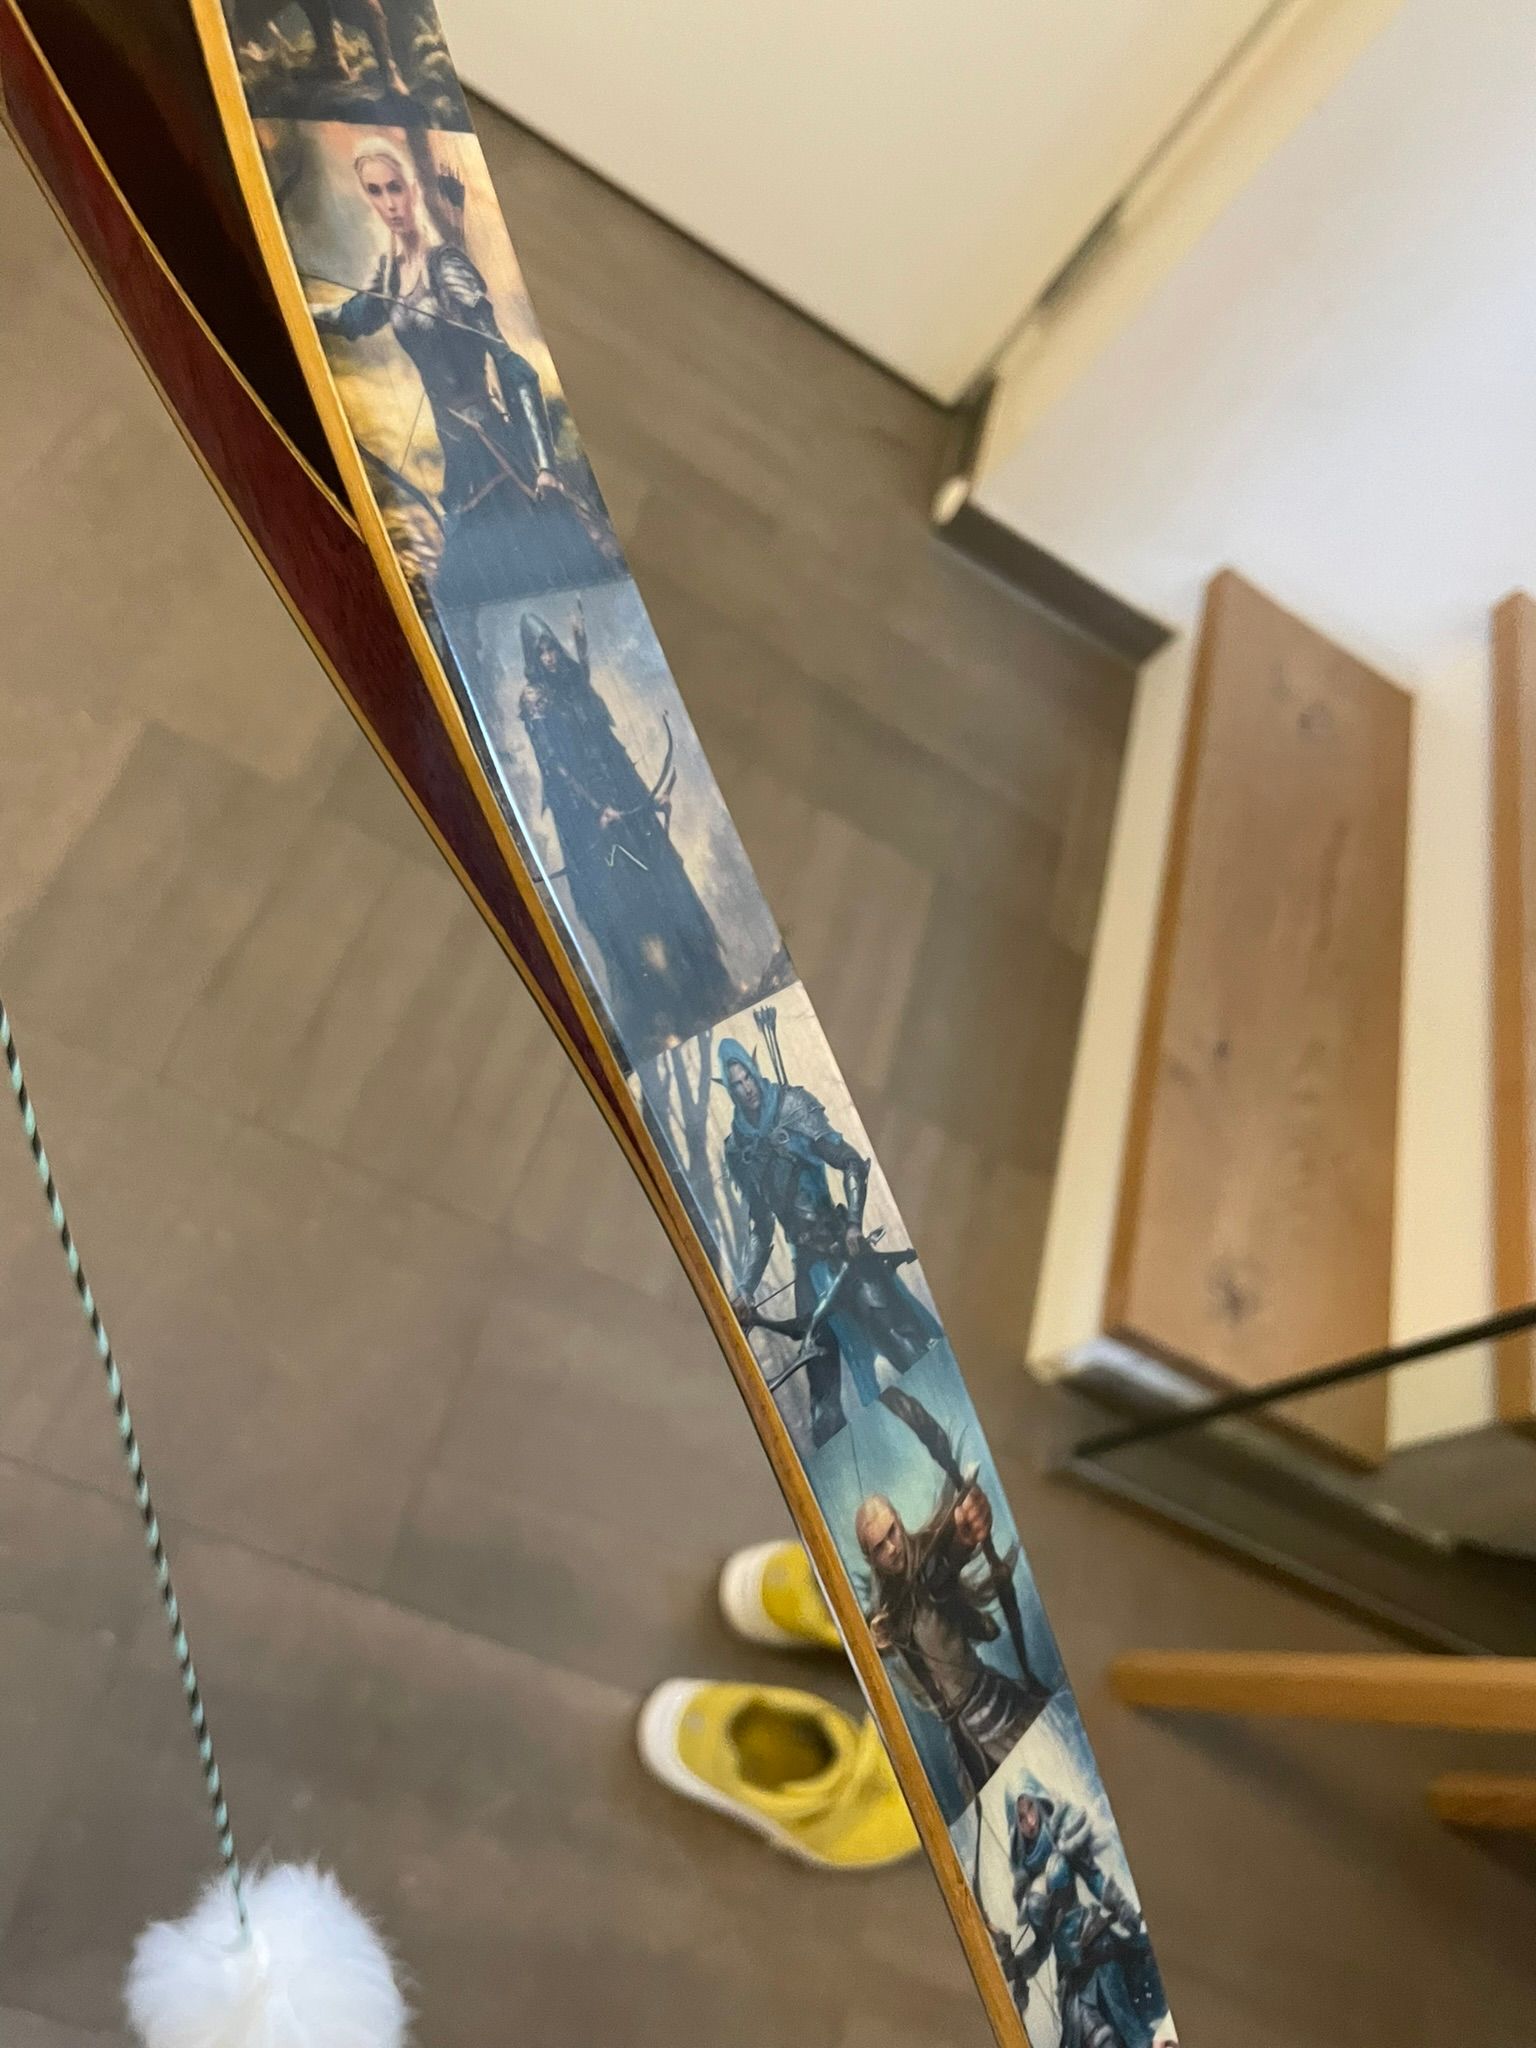
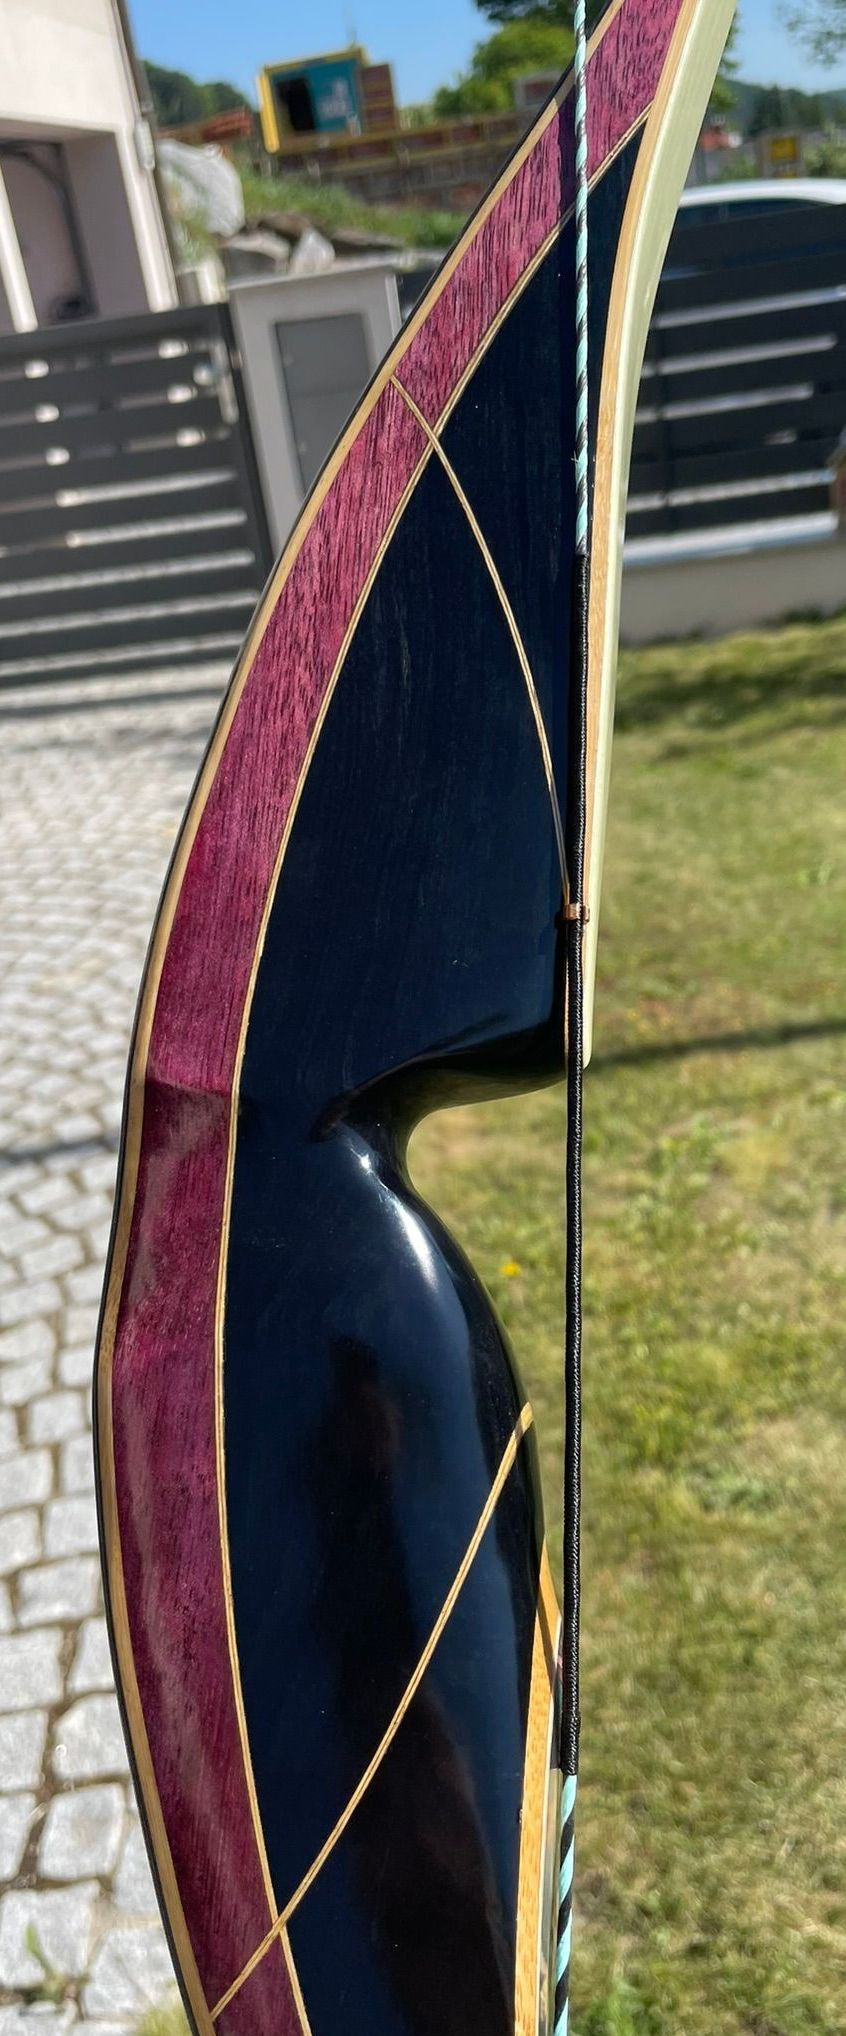
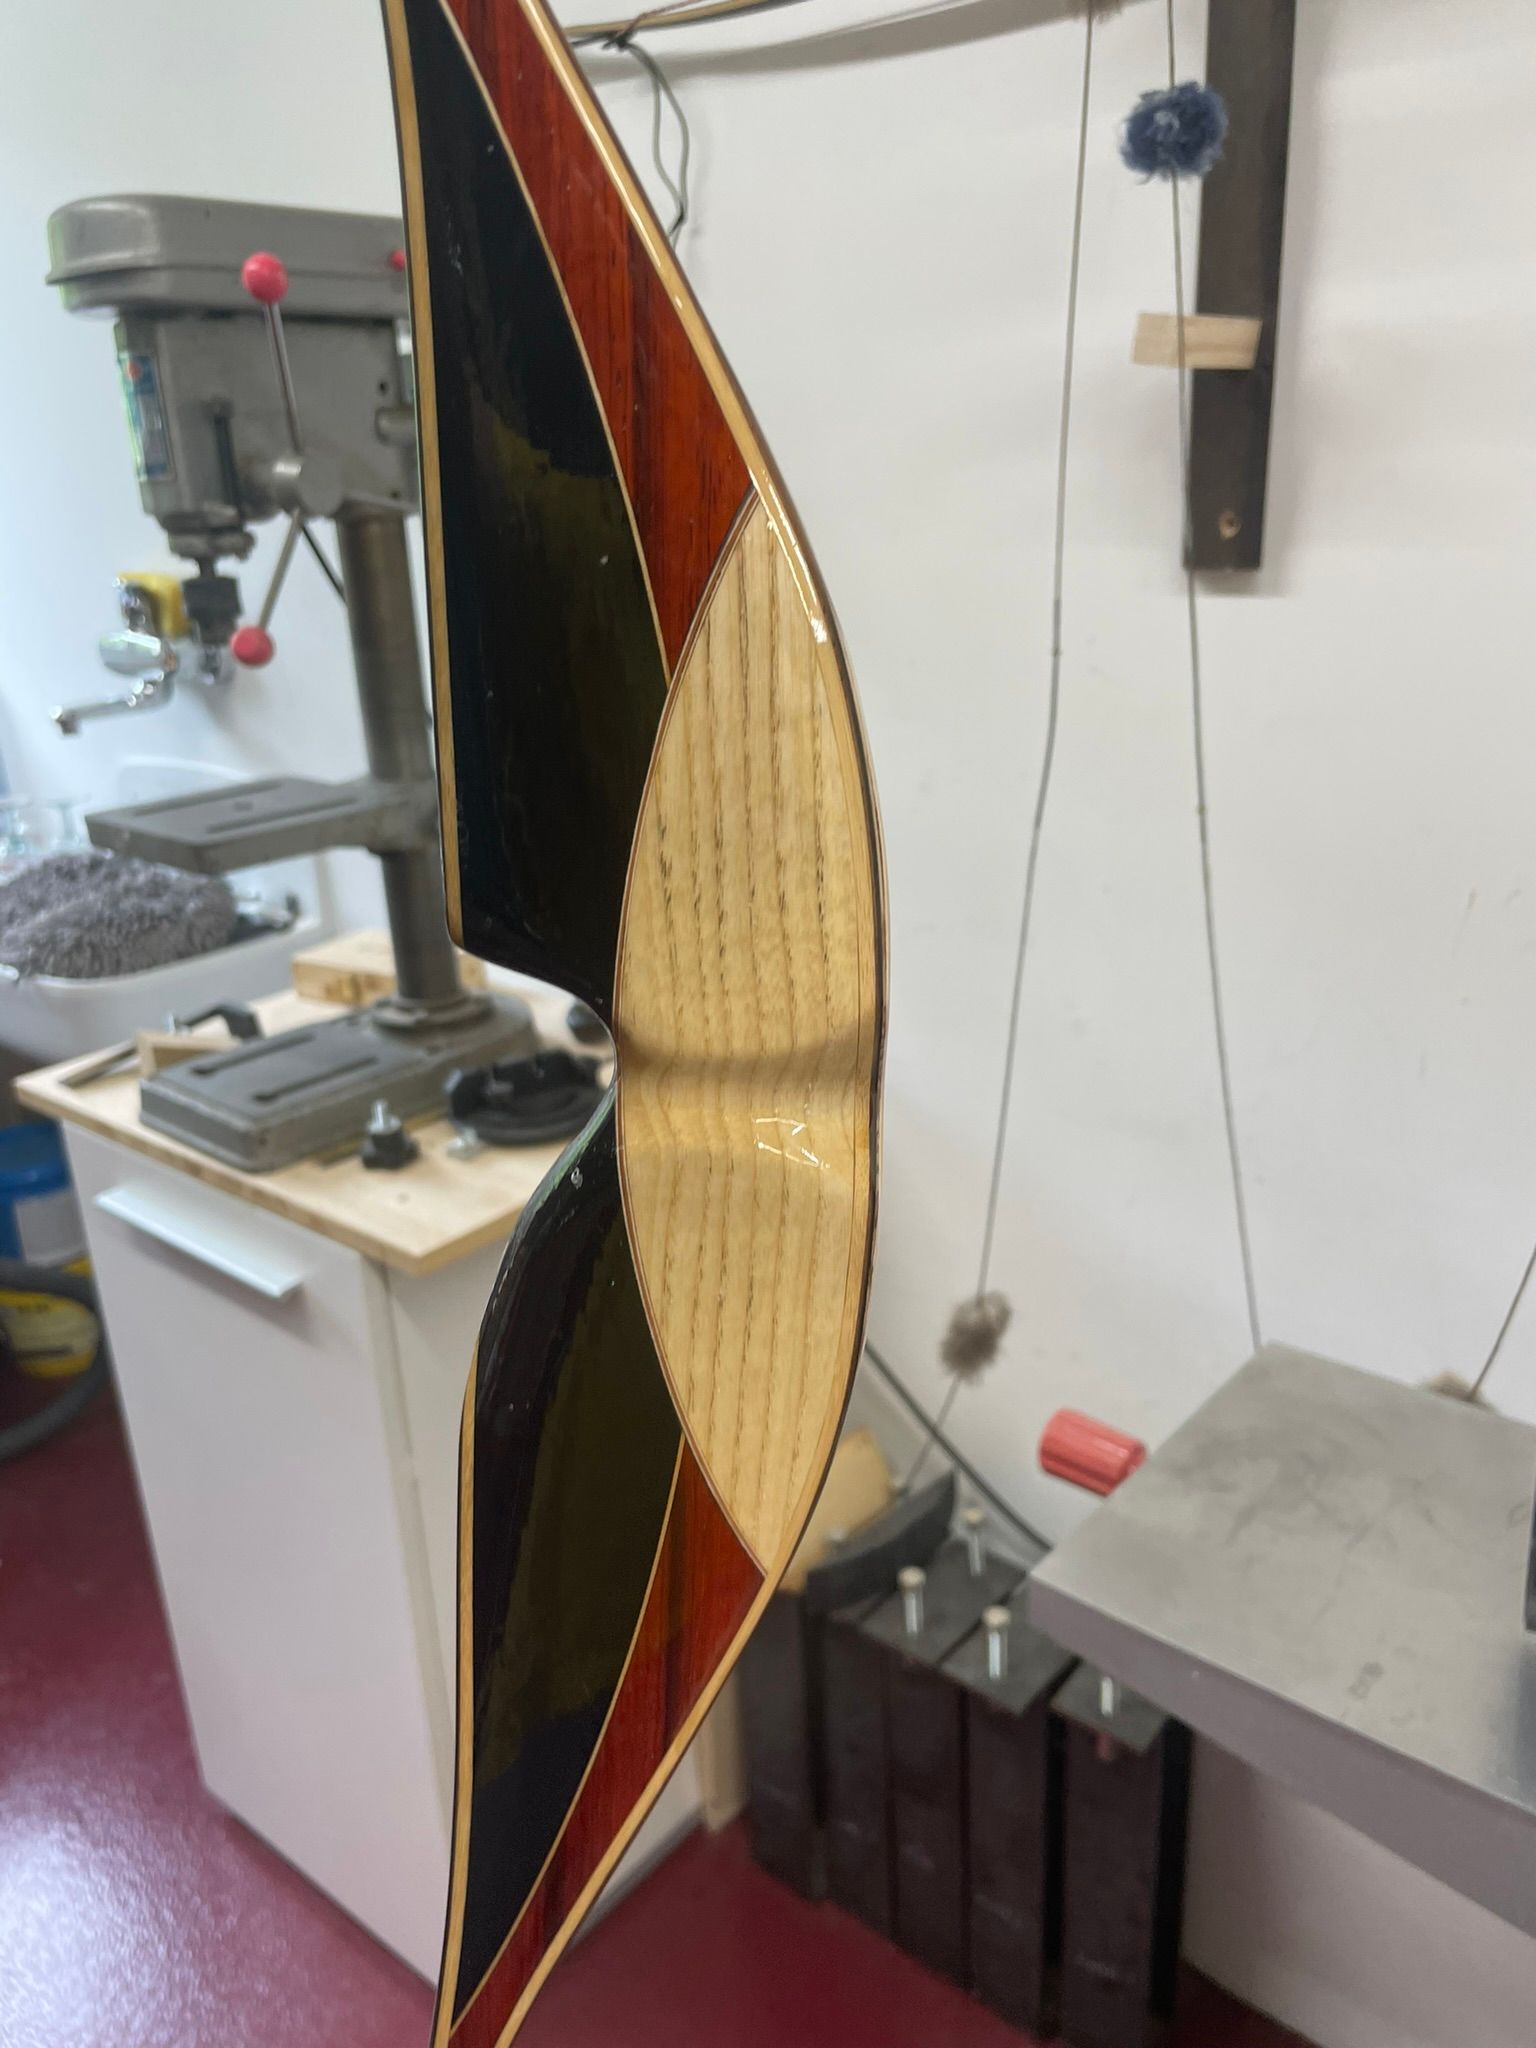
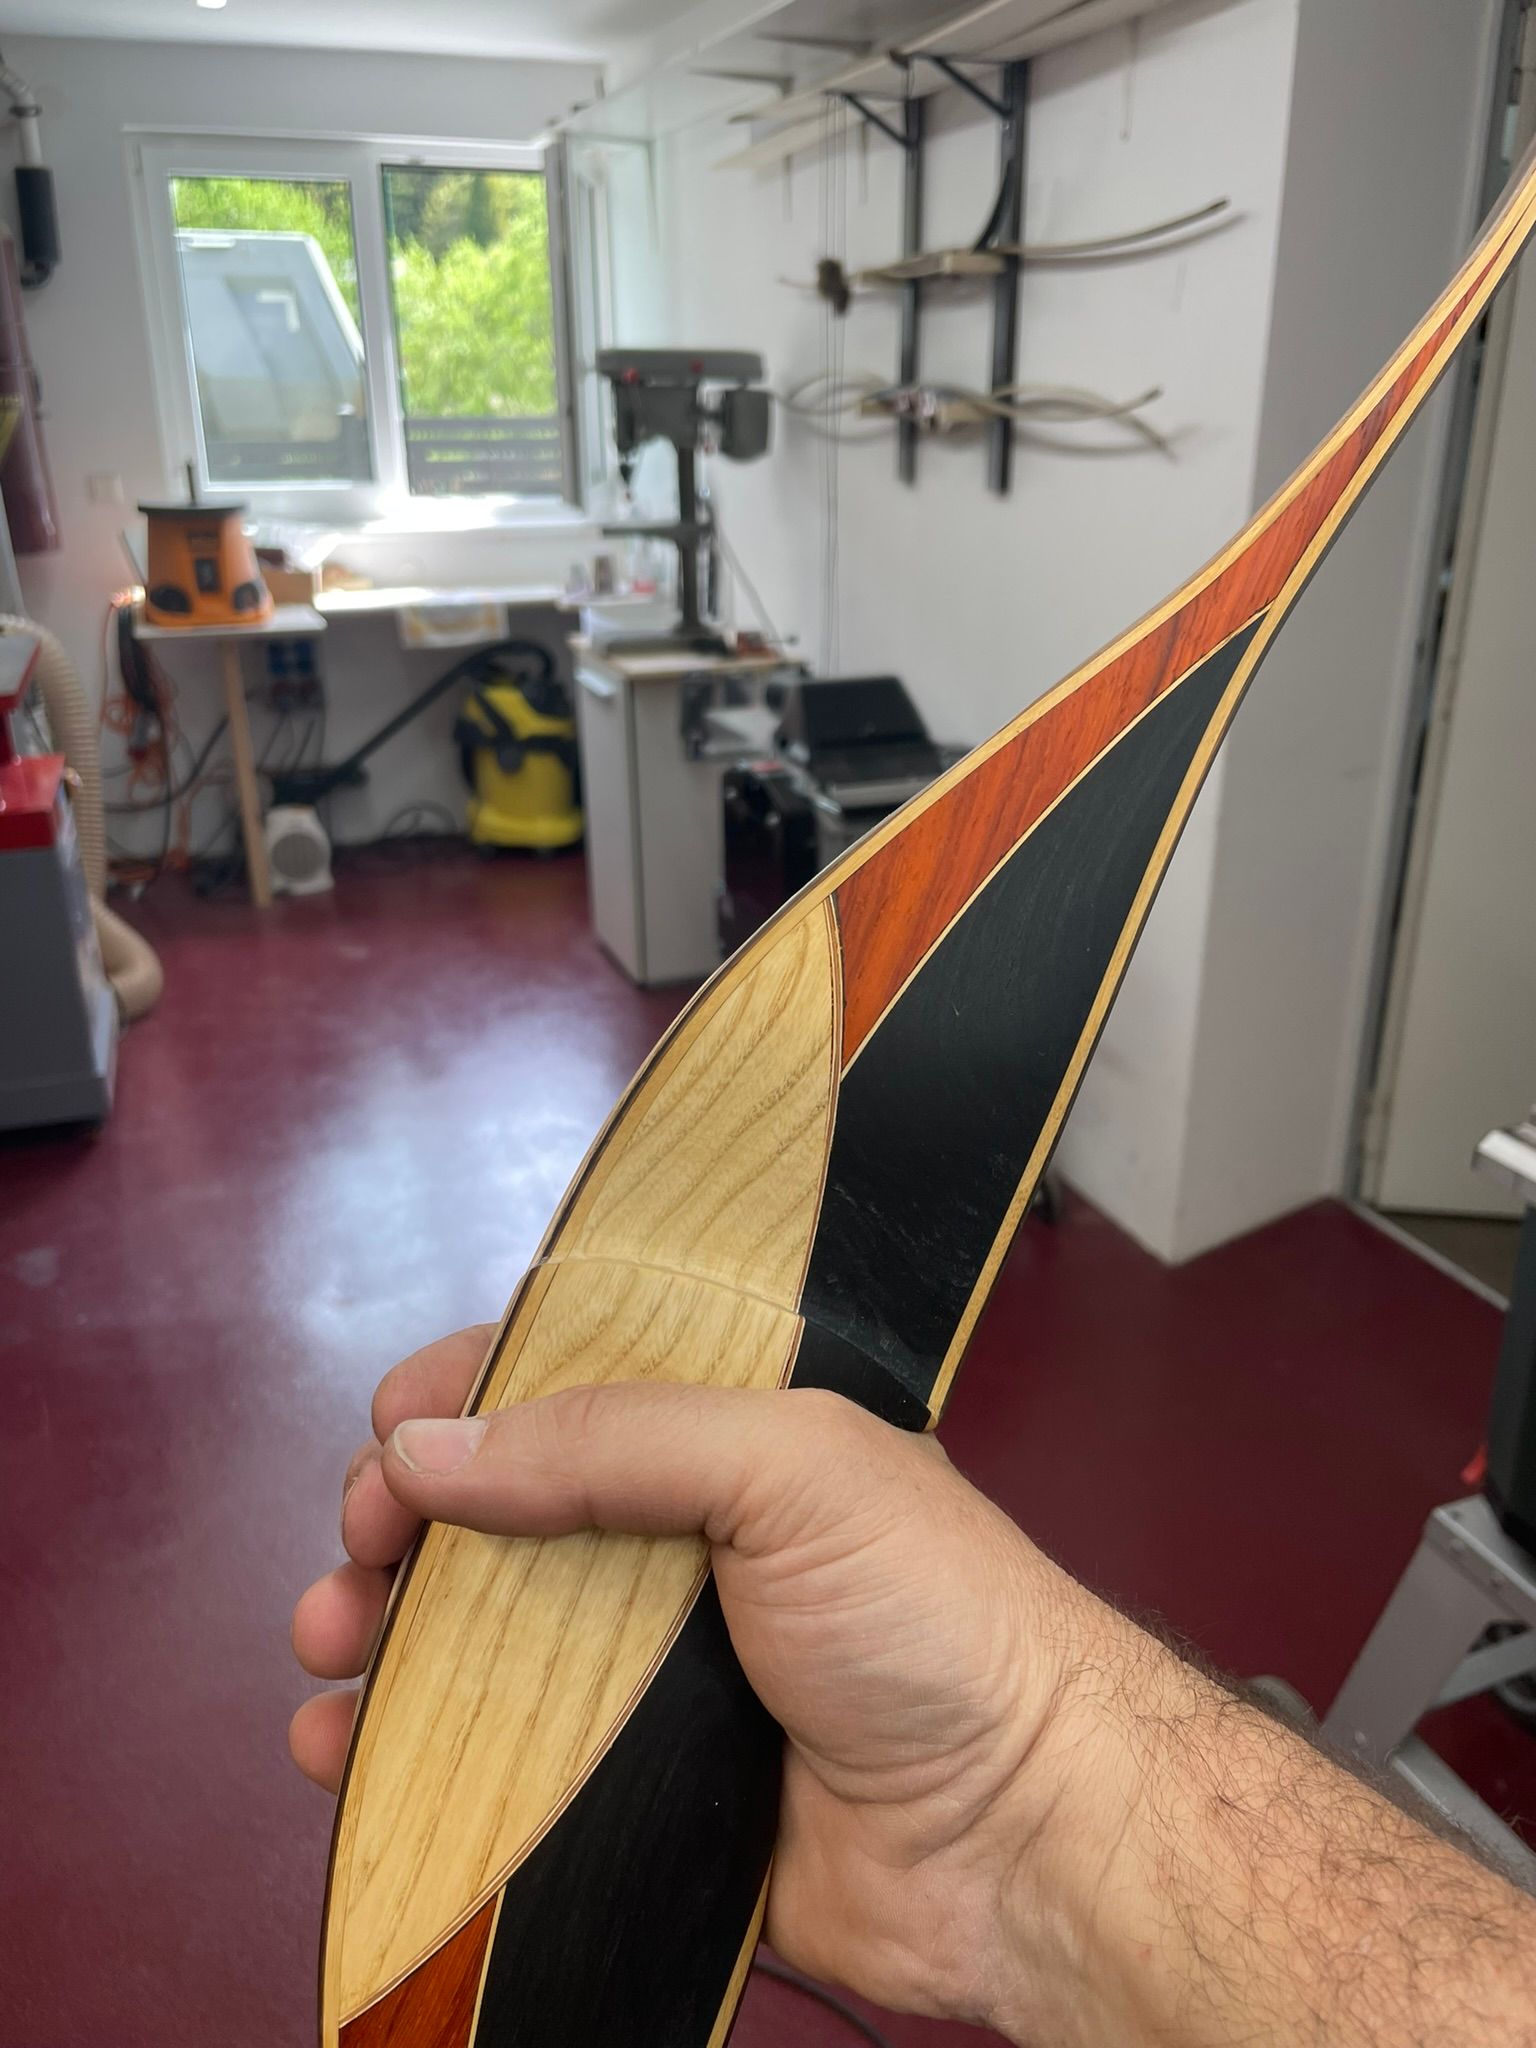
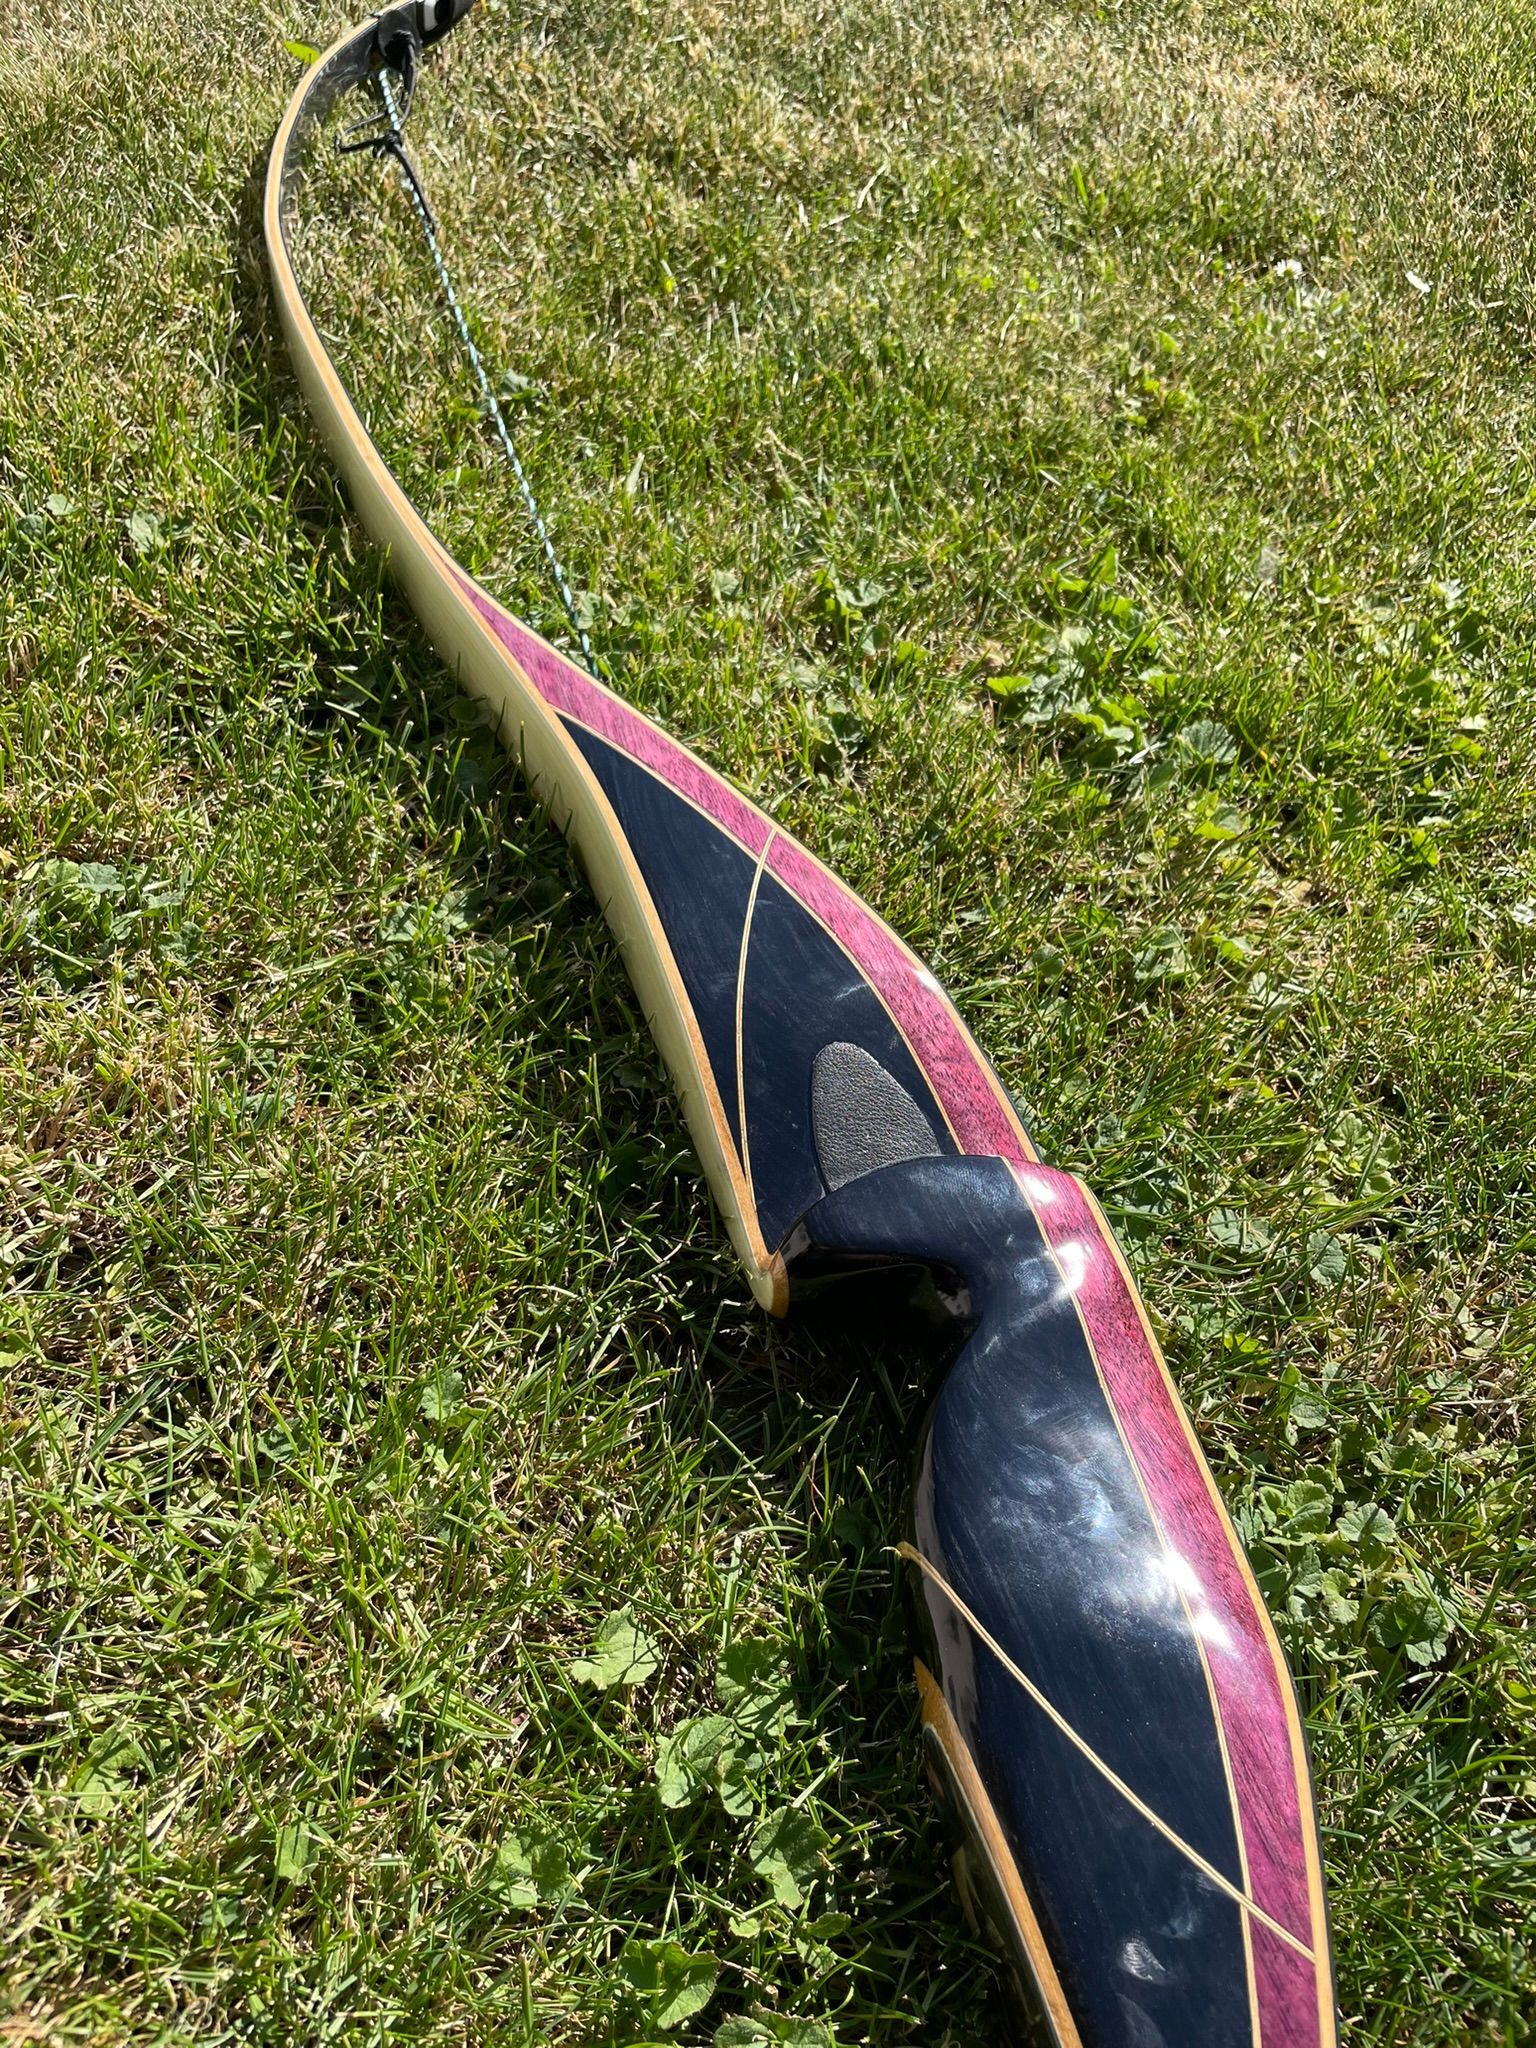
My throwing arms are never boring.
Every bow maker has the desire to create something new and of his own.
I noticed that many people focus on different designs, decorations or paintings on the handles.
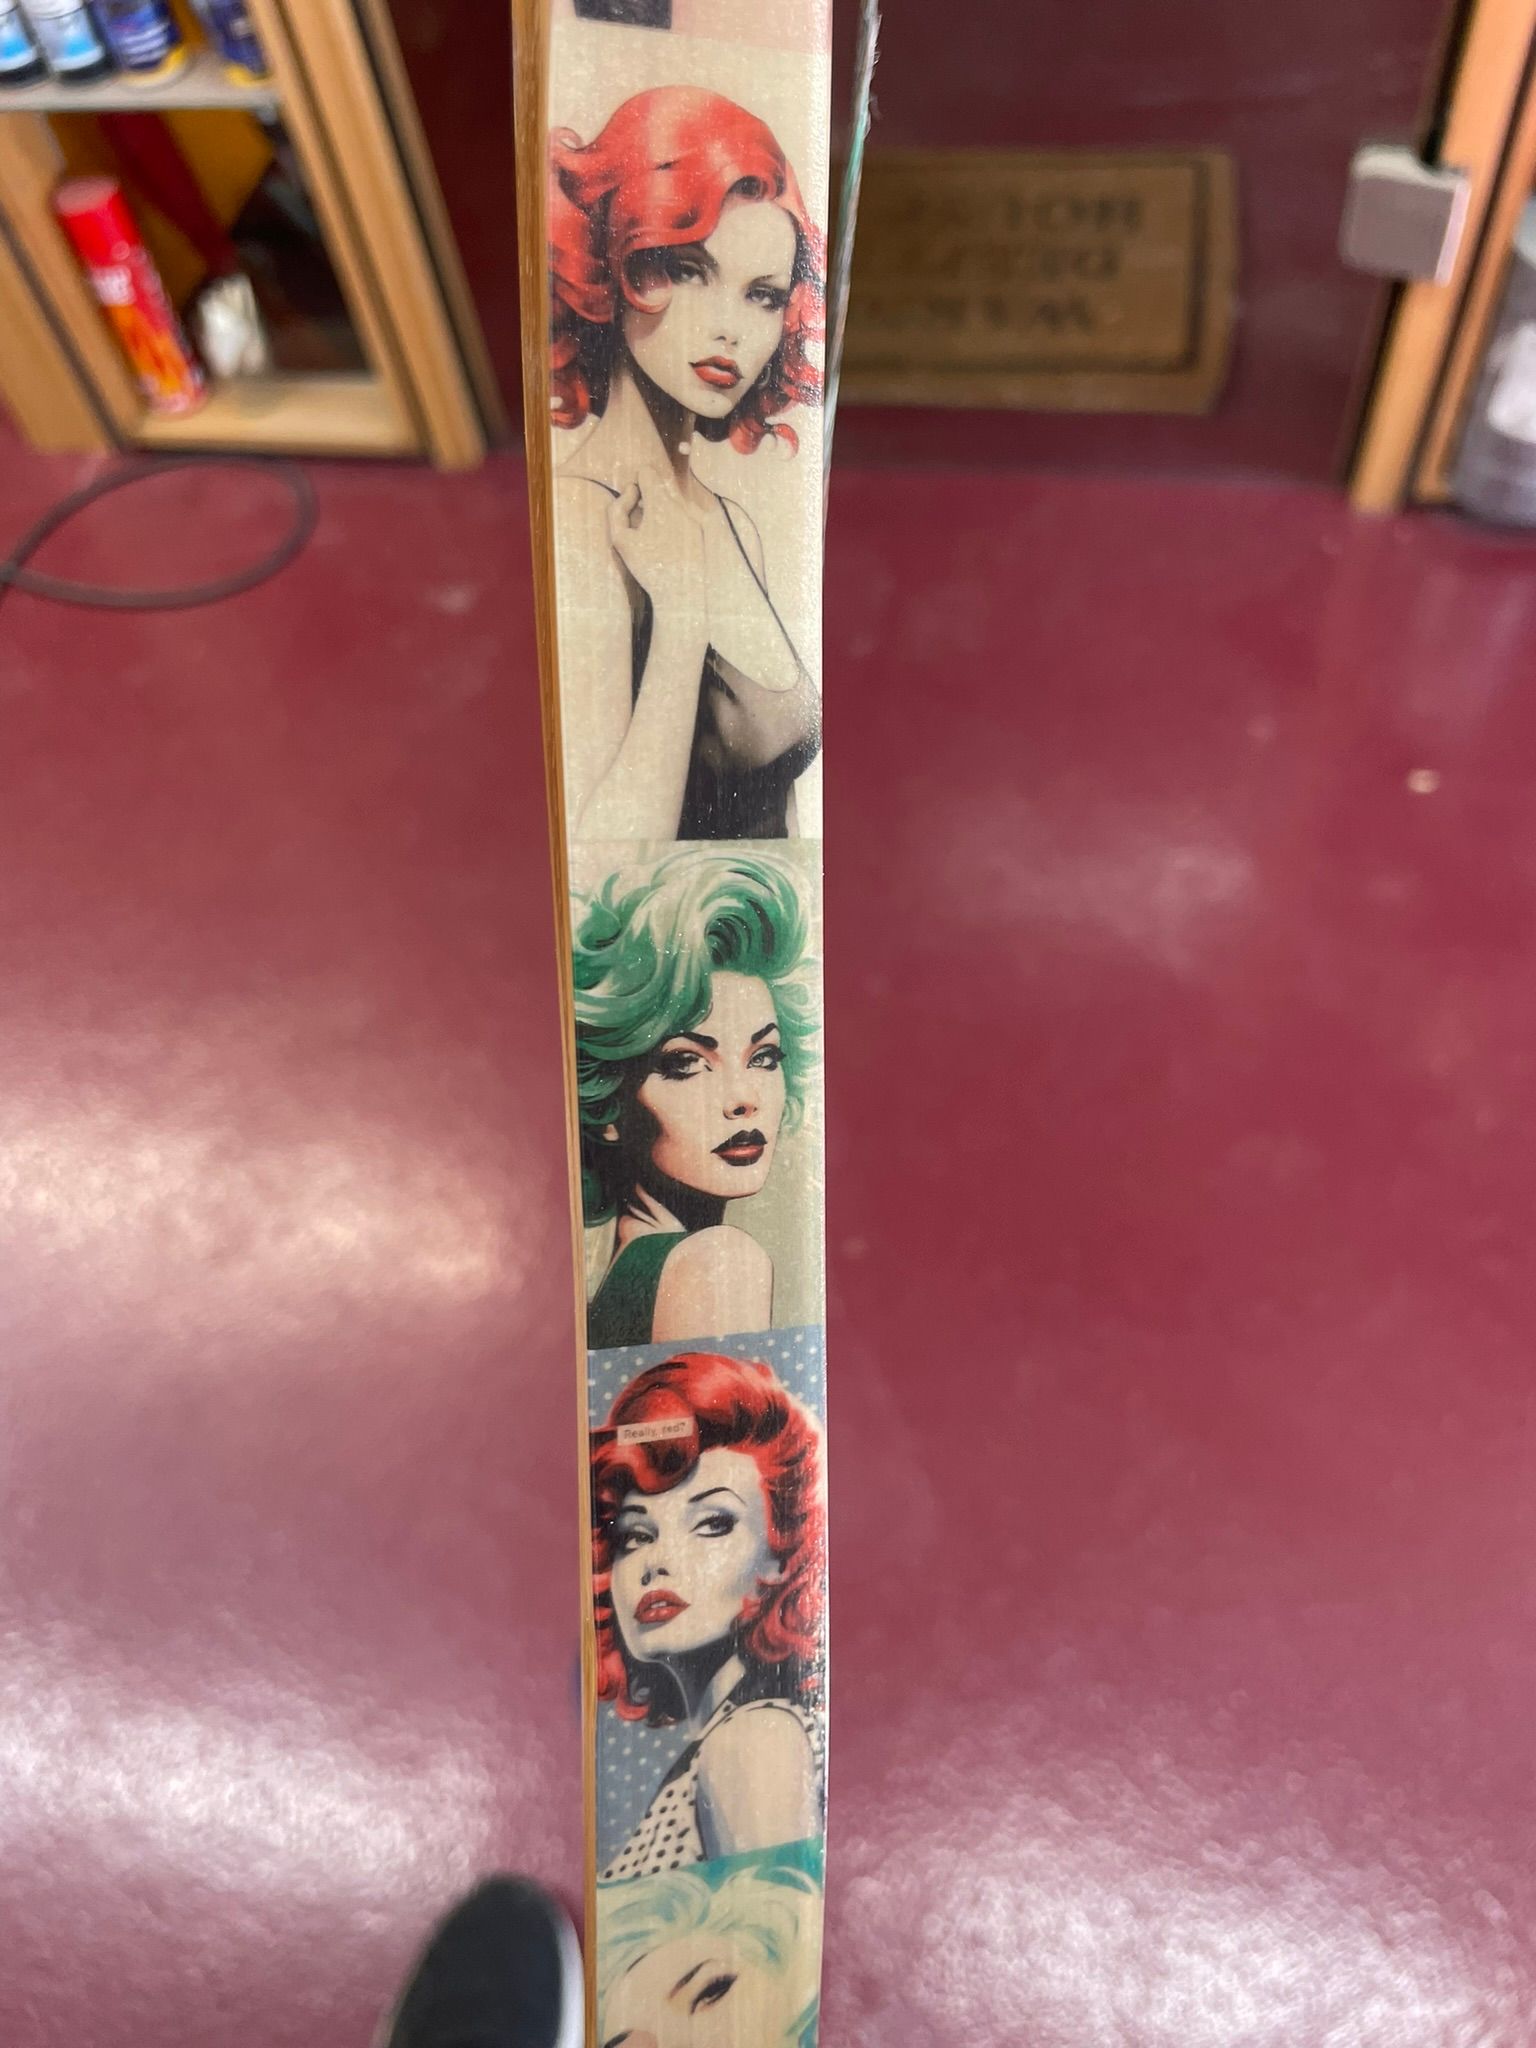
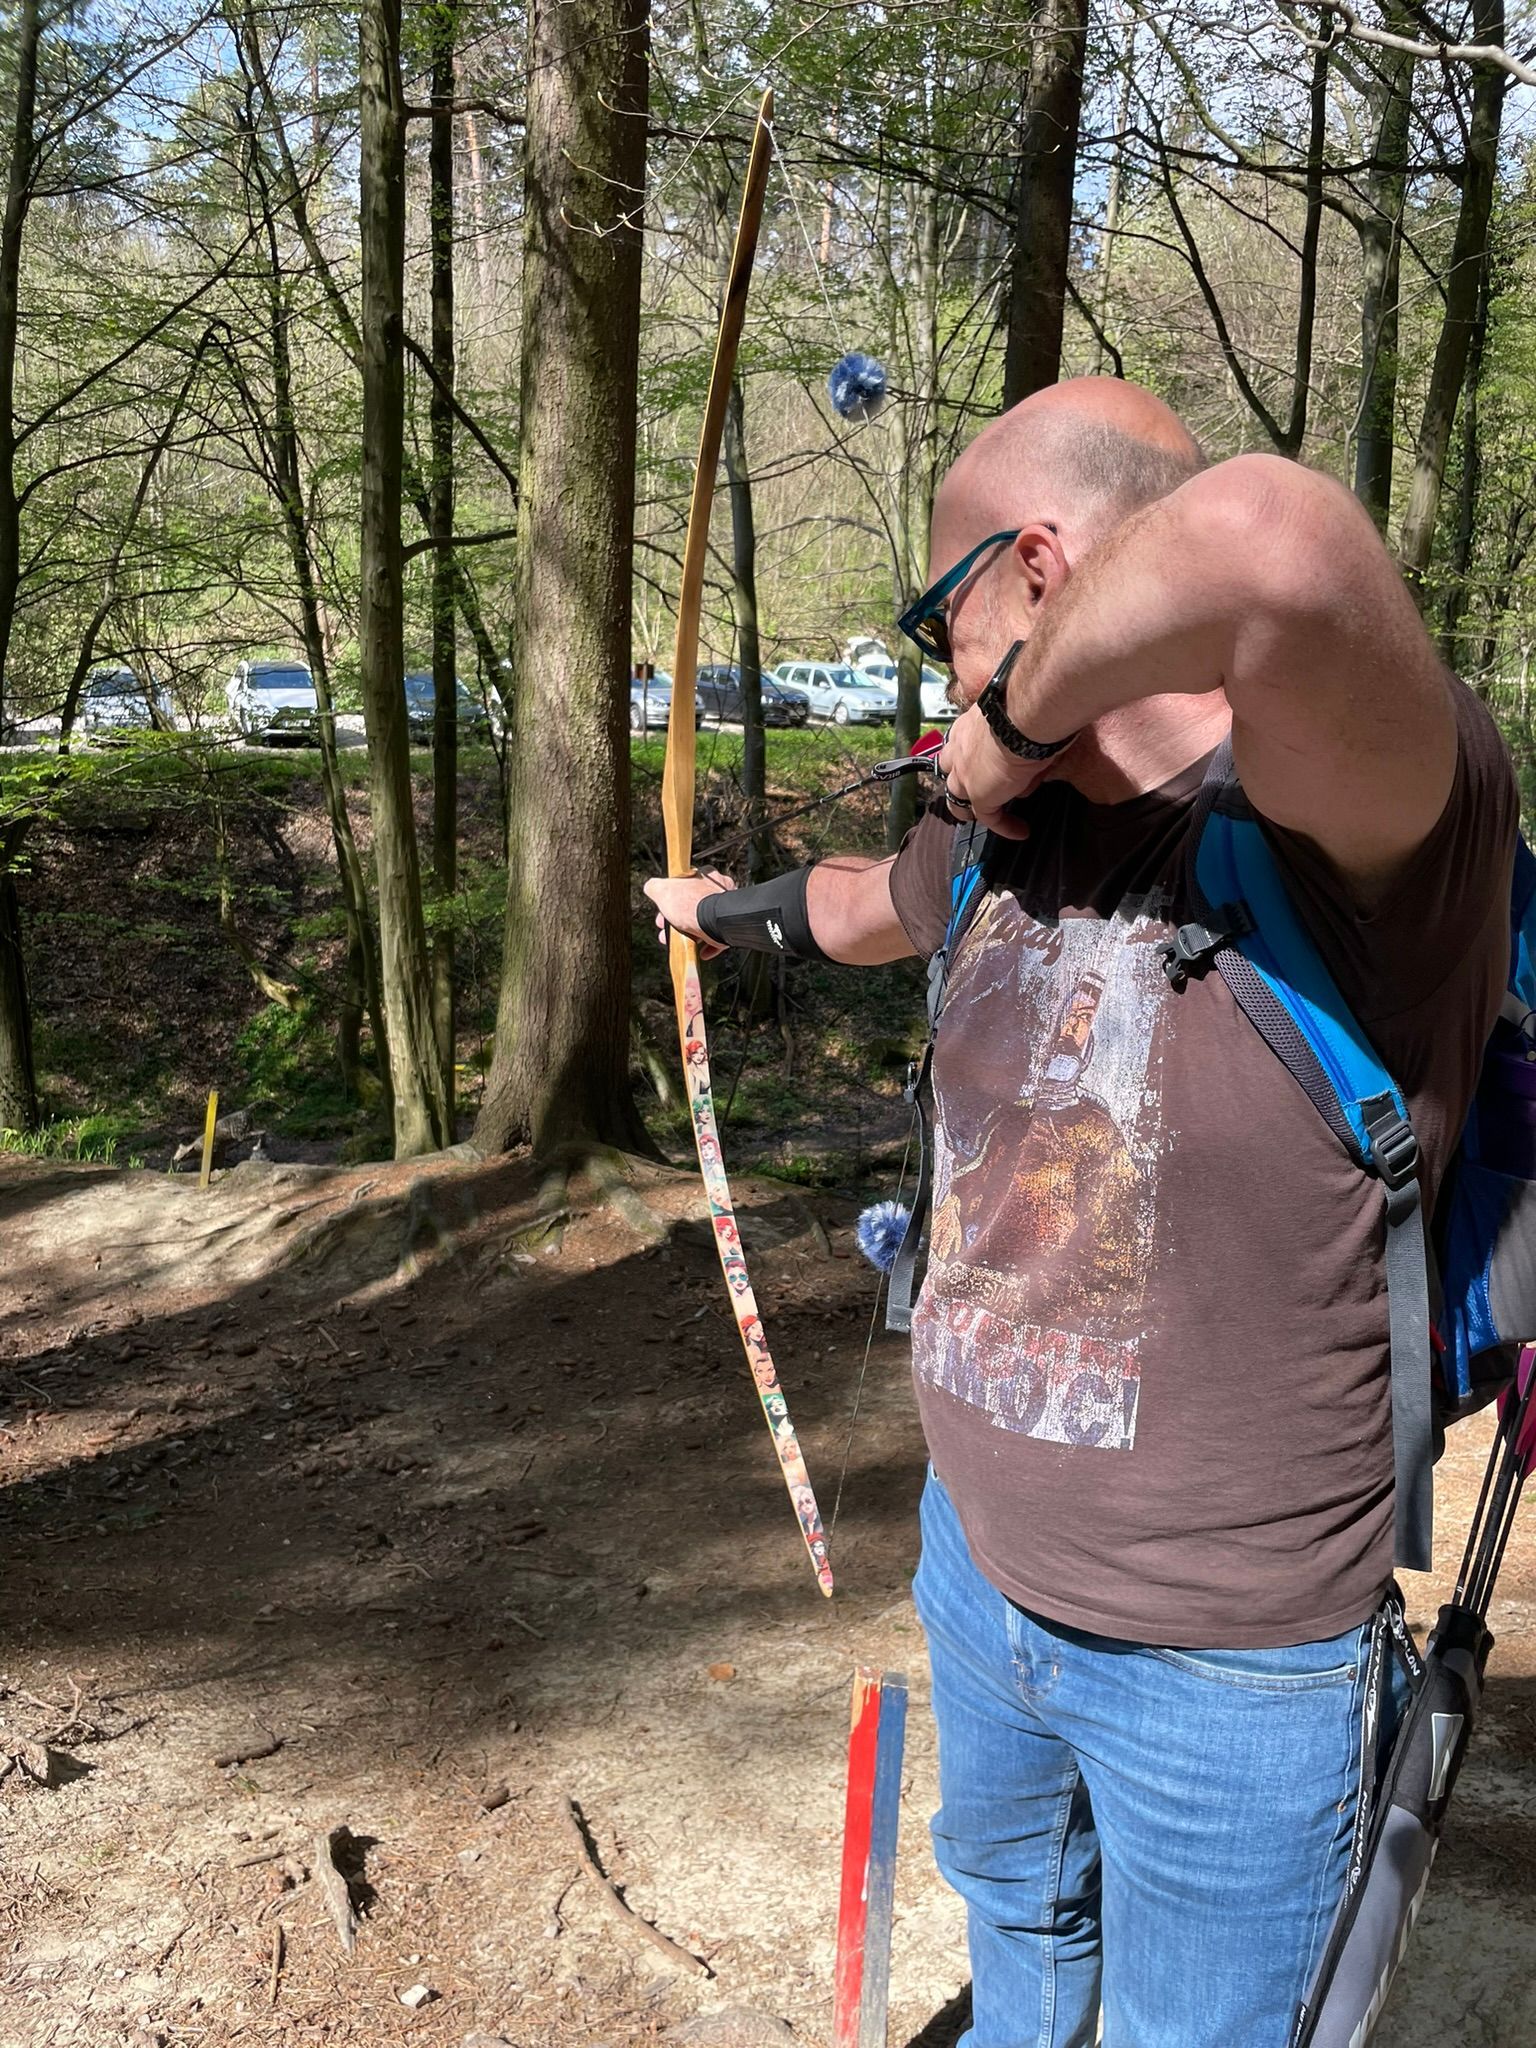
Personally, I find the throwing arms more interesting. On the one hand because they offer more scope due to their surface area and on the other hand because you can take up entire topics here.
From the company logo to photos of the partner to congratulations (wedding etc.), almost anything is possible.
Here are some examples.
By the way, my wife is an absolute Asterix & Obelix fan. Some pictures show her bow.



Talking is better than chatting. Chatting is better than a form.
The configuration of the bow takes place during the conversation.
Haptics are difficult to convey through images or digitally.
That’s why I recommend once again that you take a trip to the Vienna Woods and visit me.
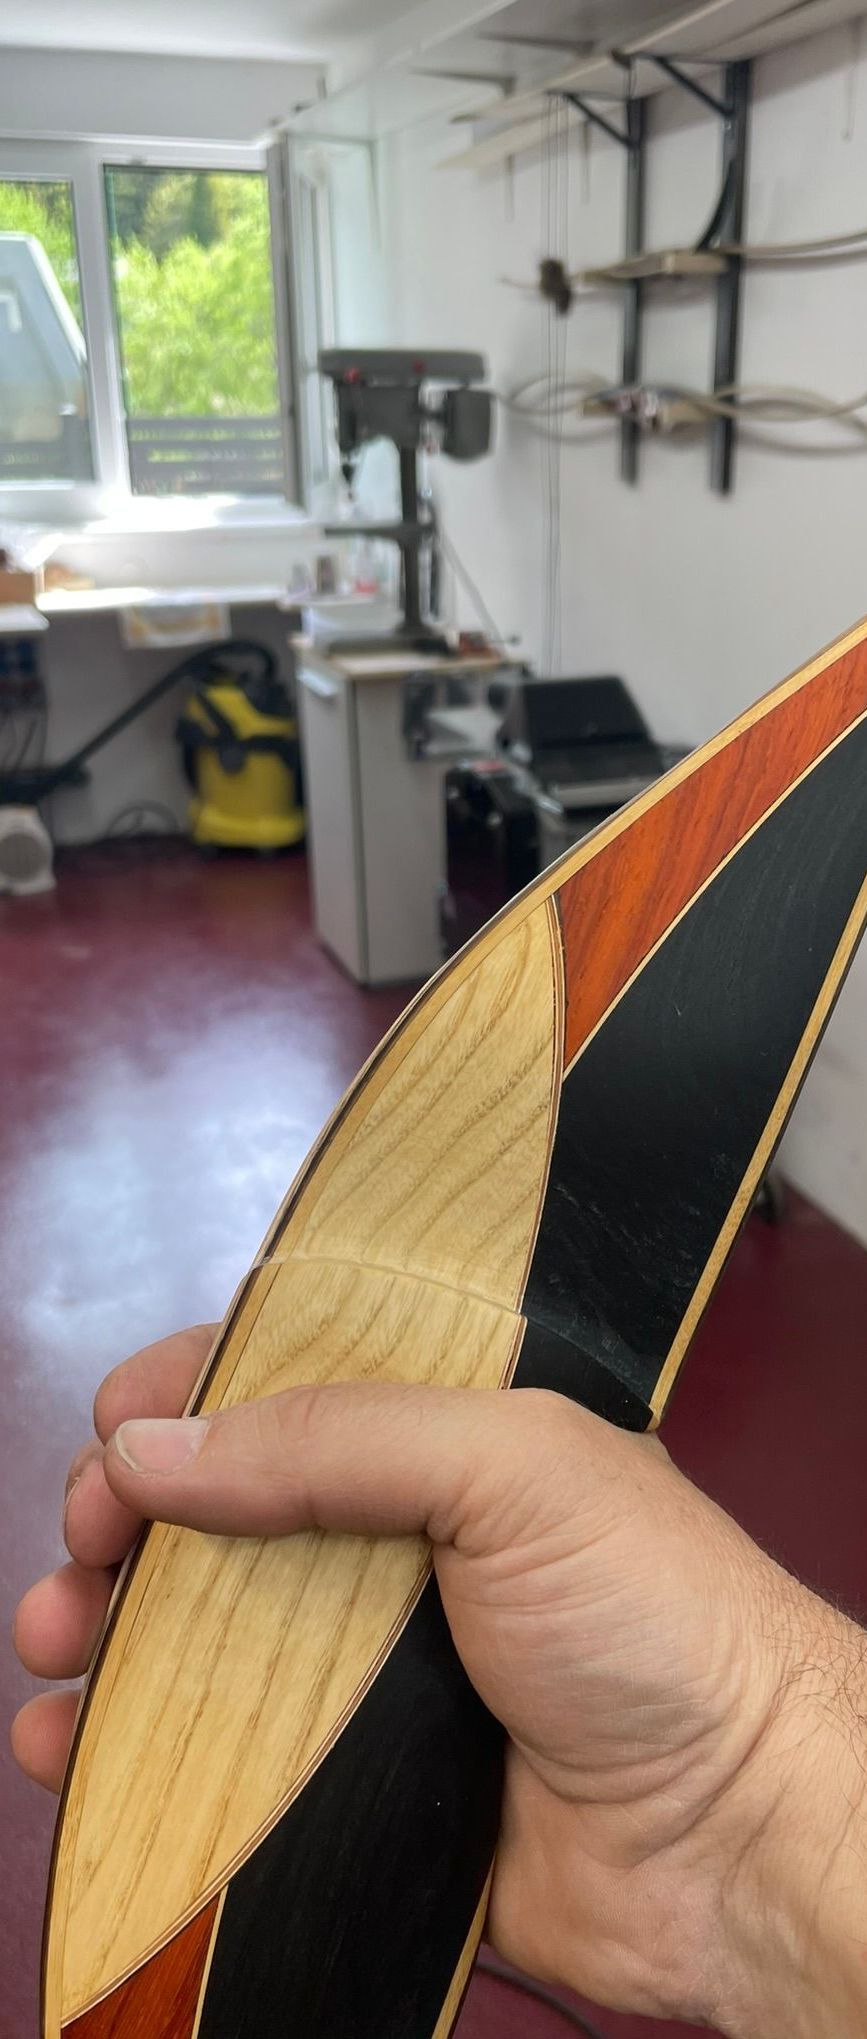
Step 1
The basis.
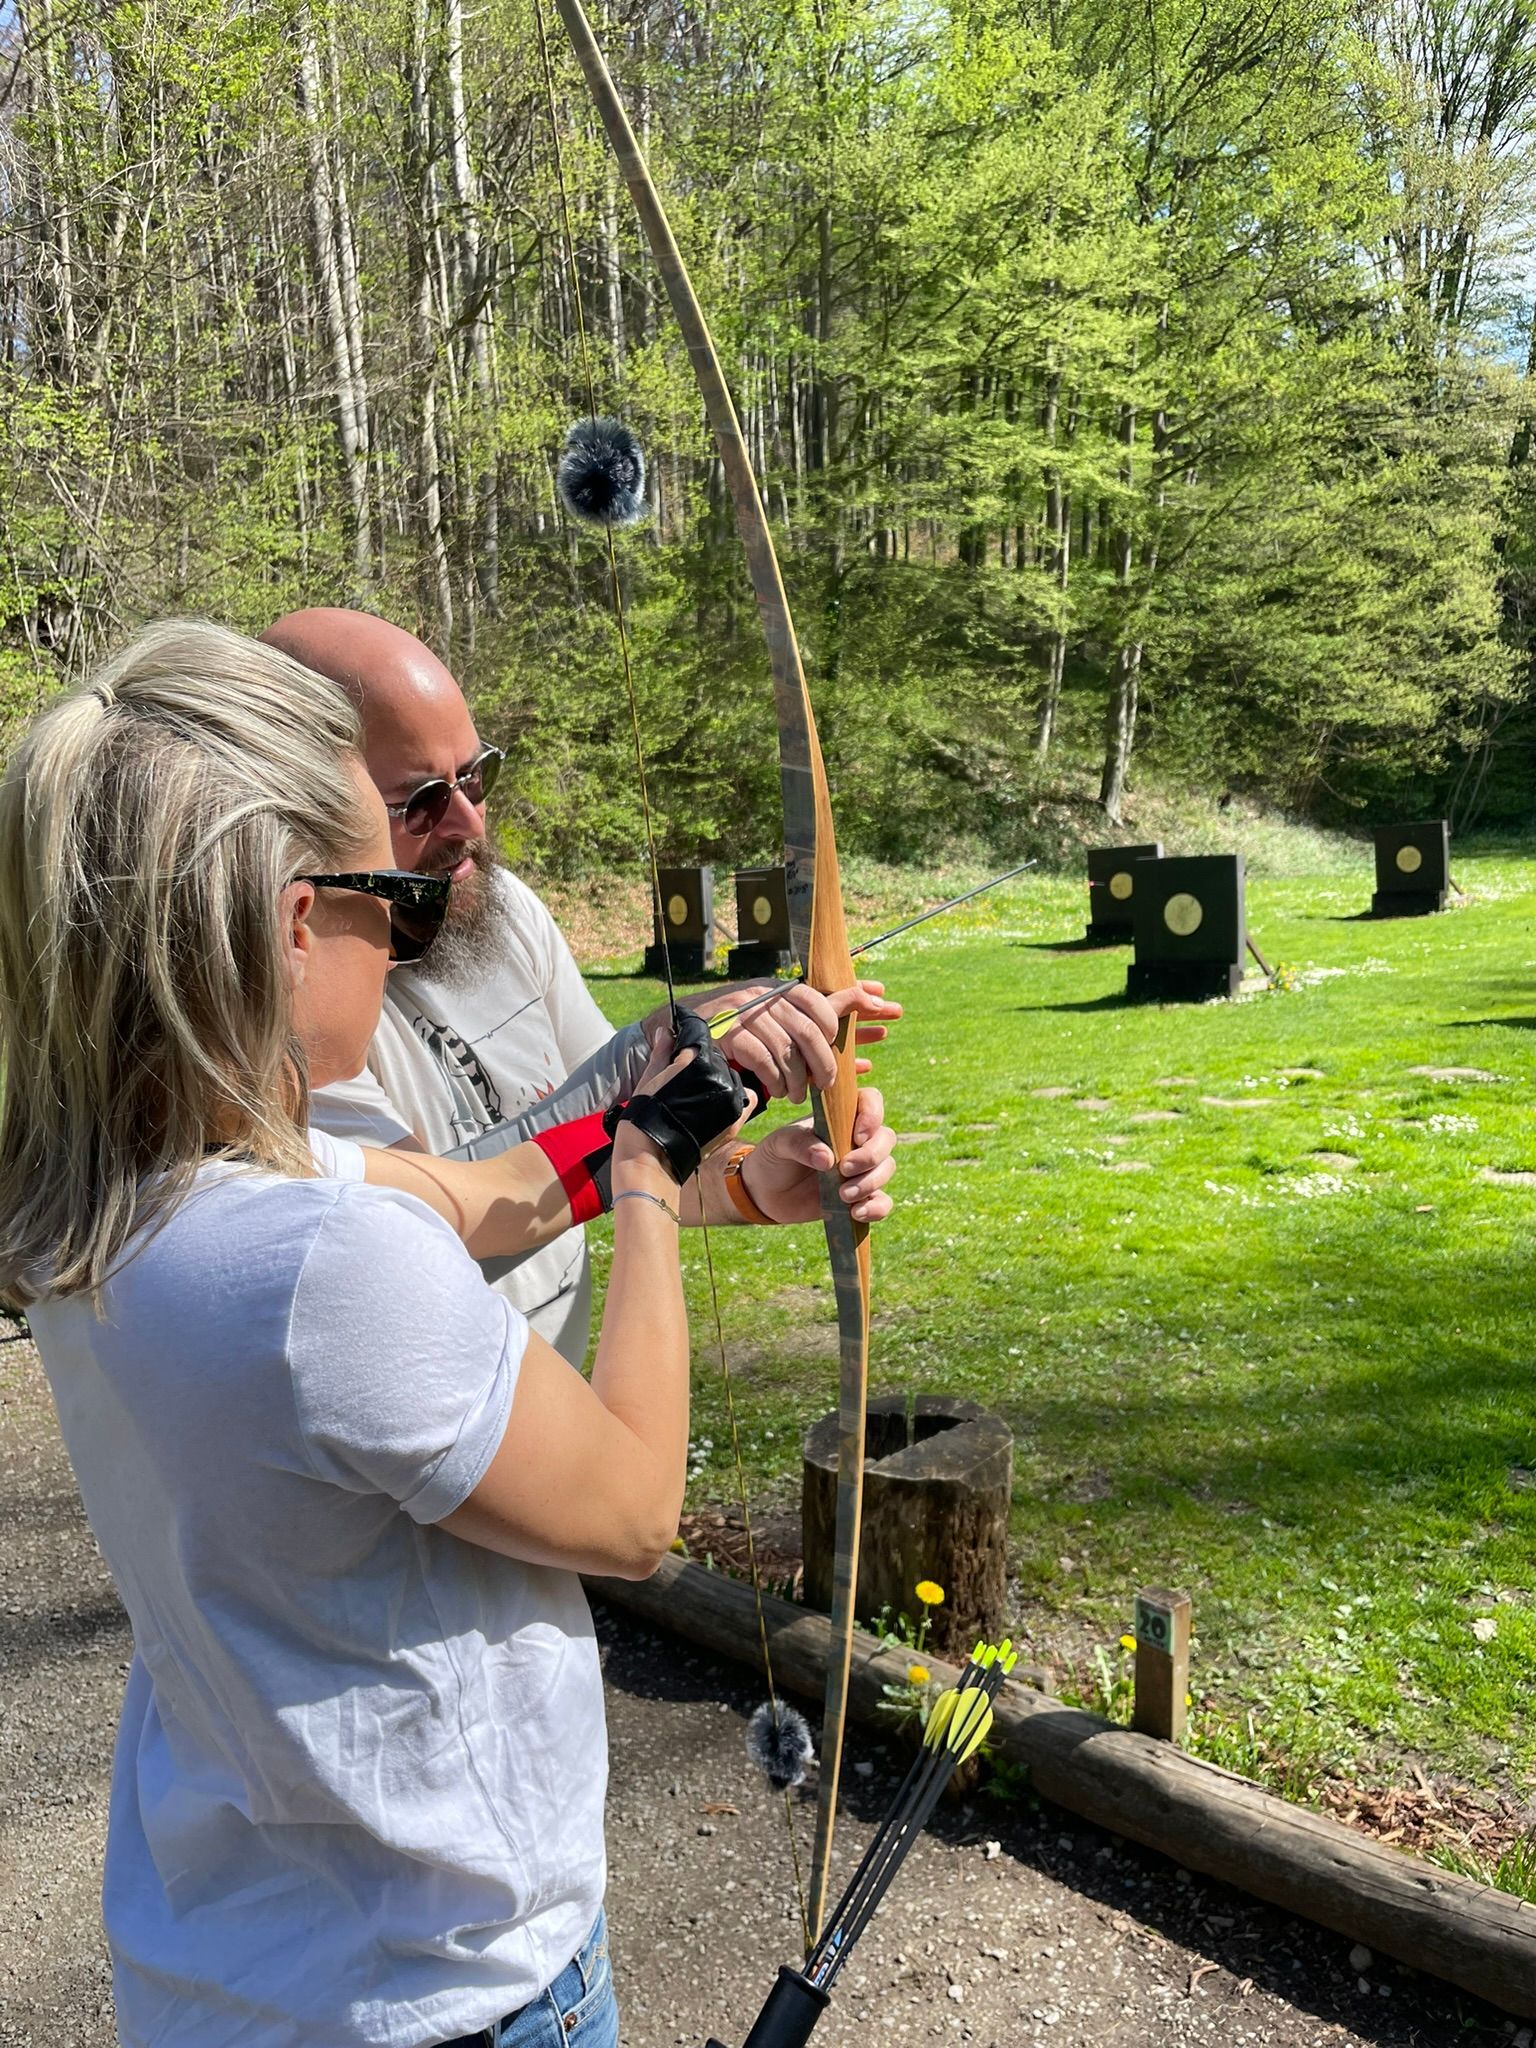
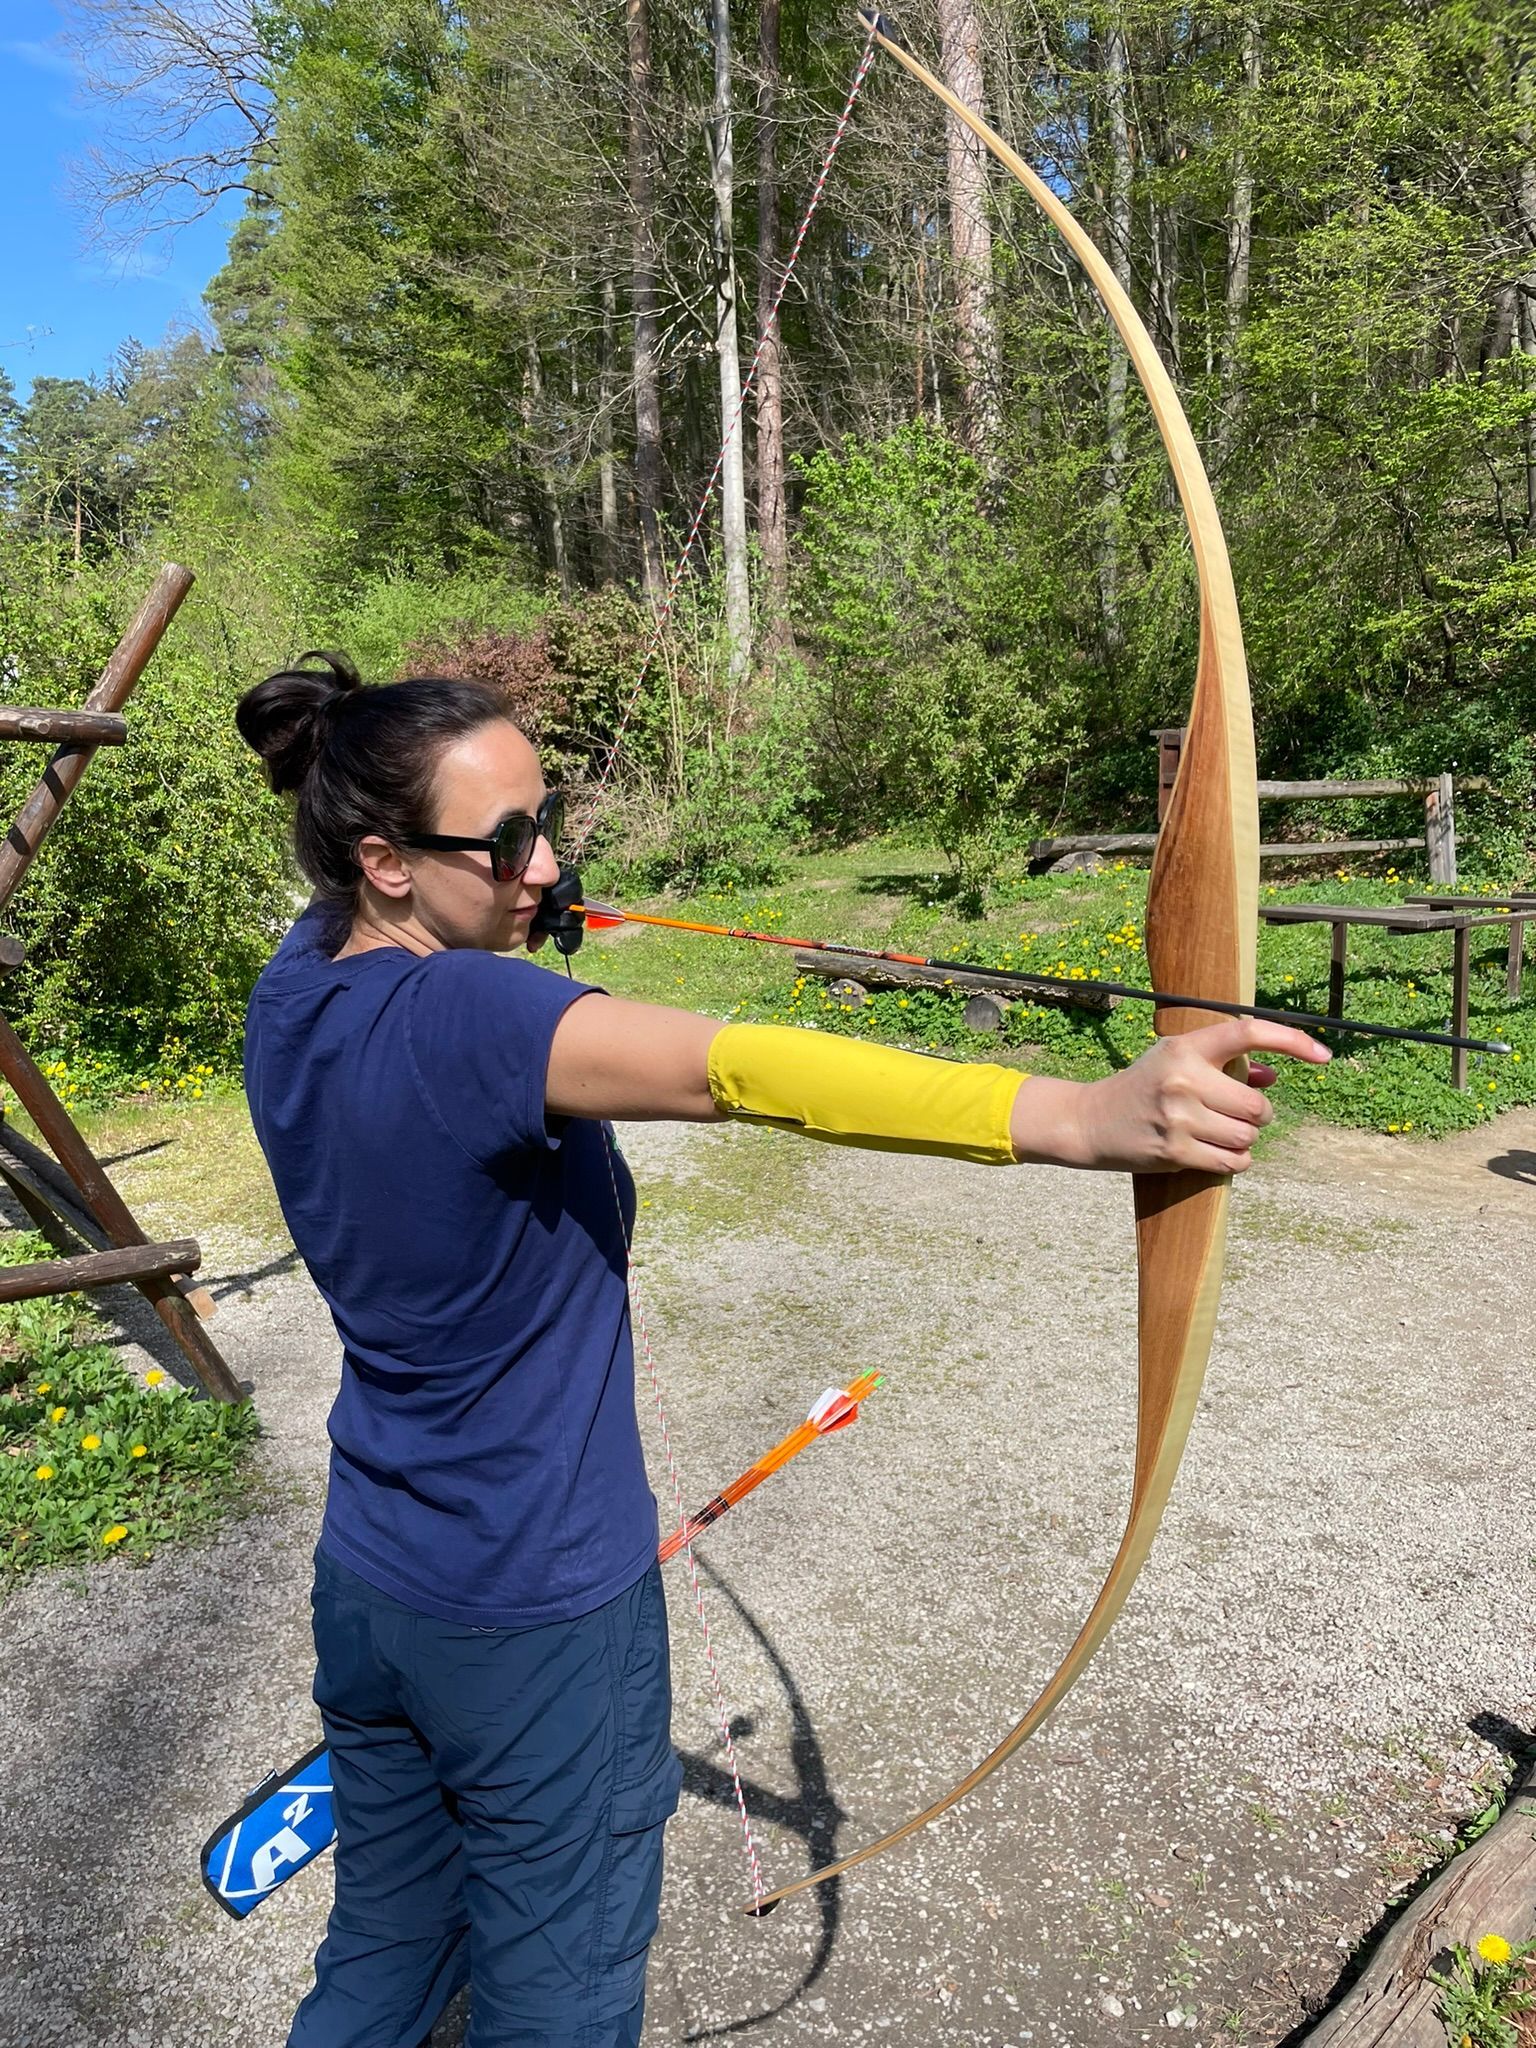
The desired bow type (longbow or hybrid), draw weight, draw length and bow size are usually known, but I am also happy to advise you here.
Test shooting is possible at my location.
step 2
Material and topic.
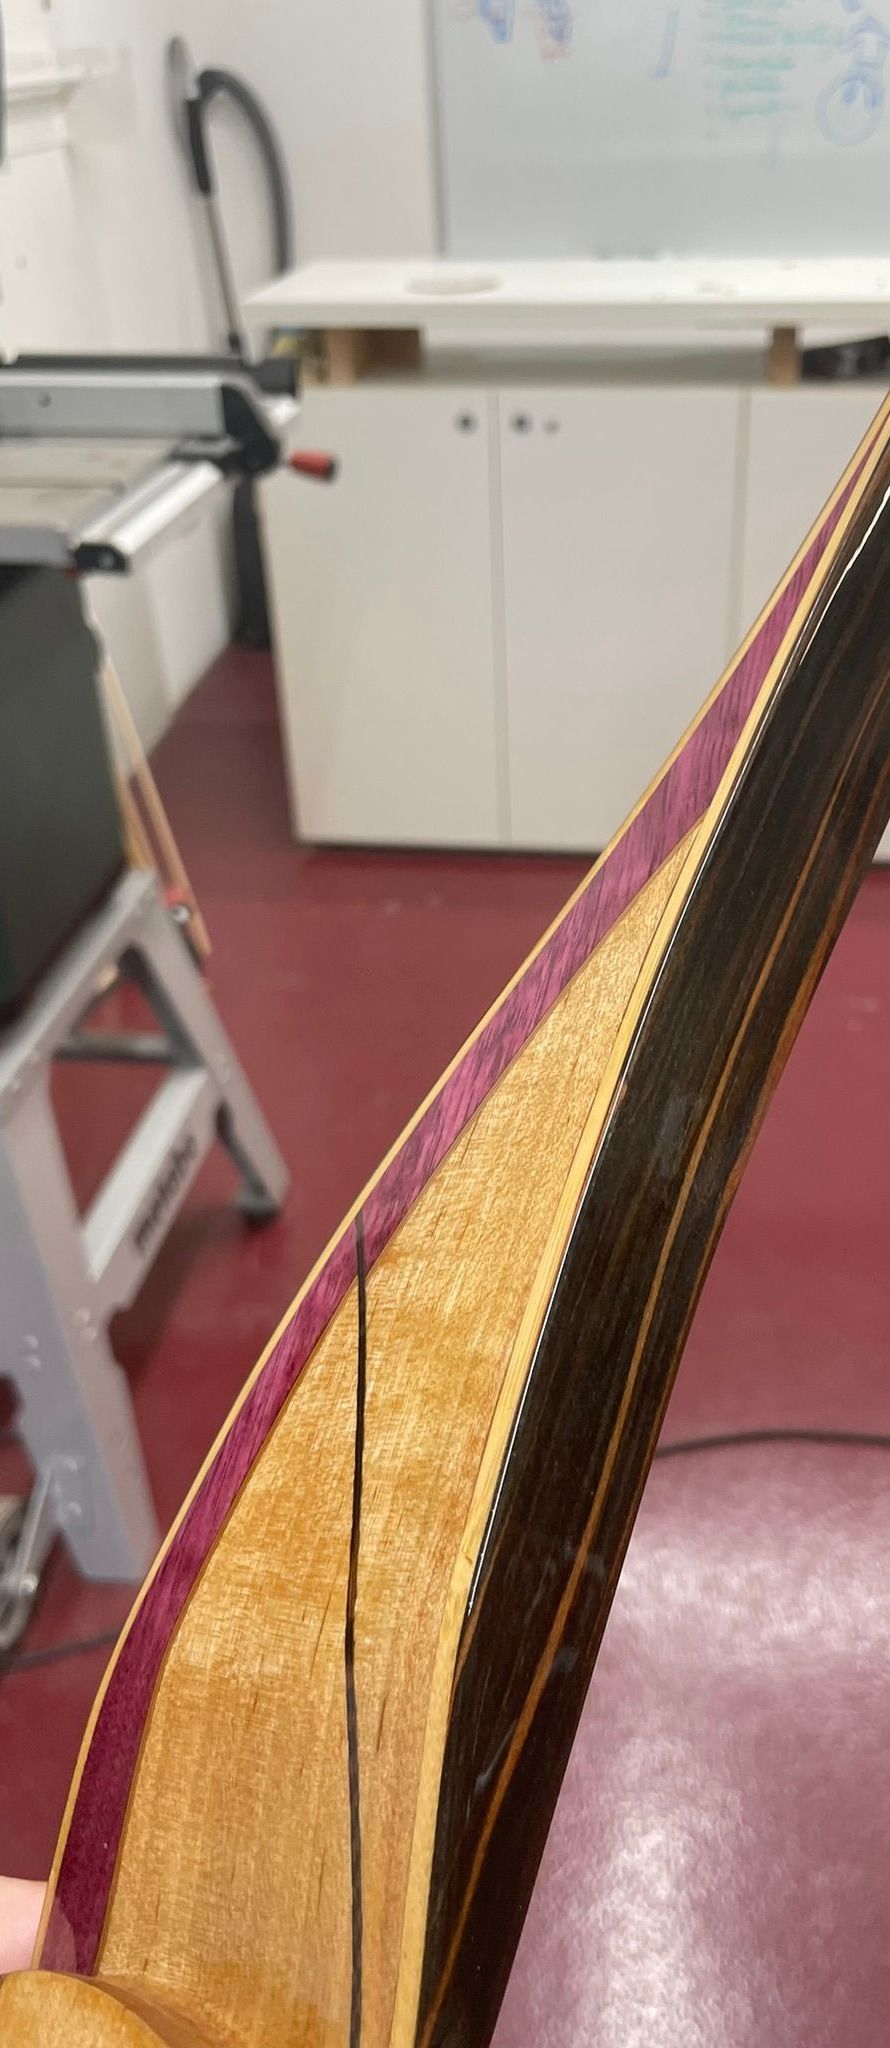
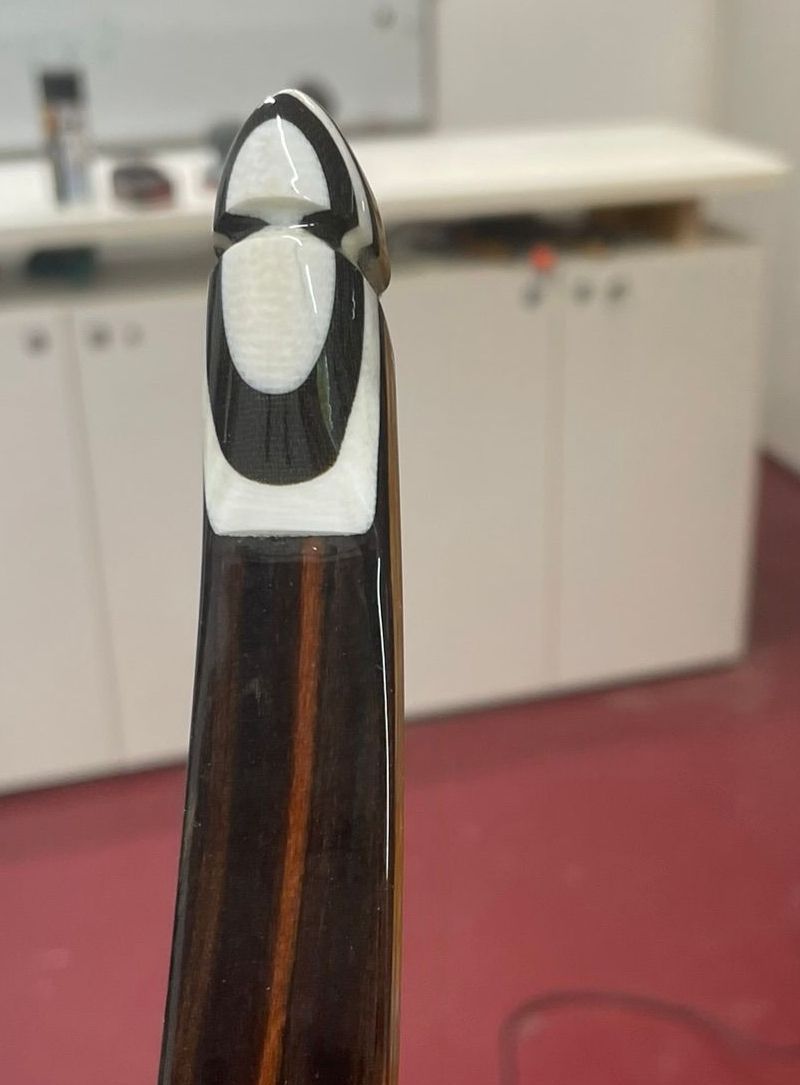
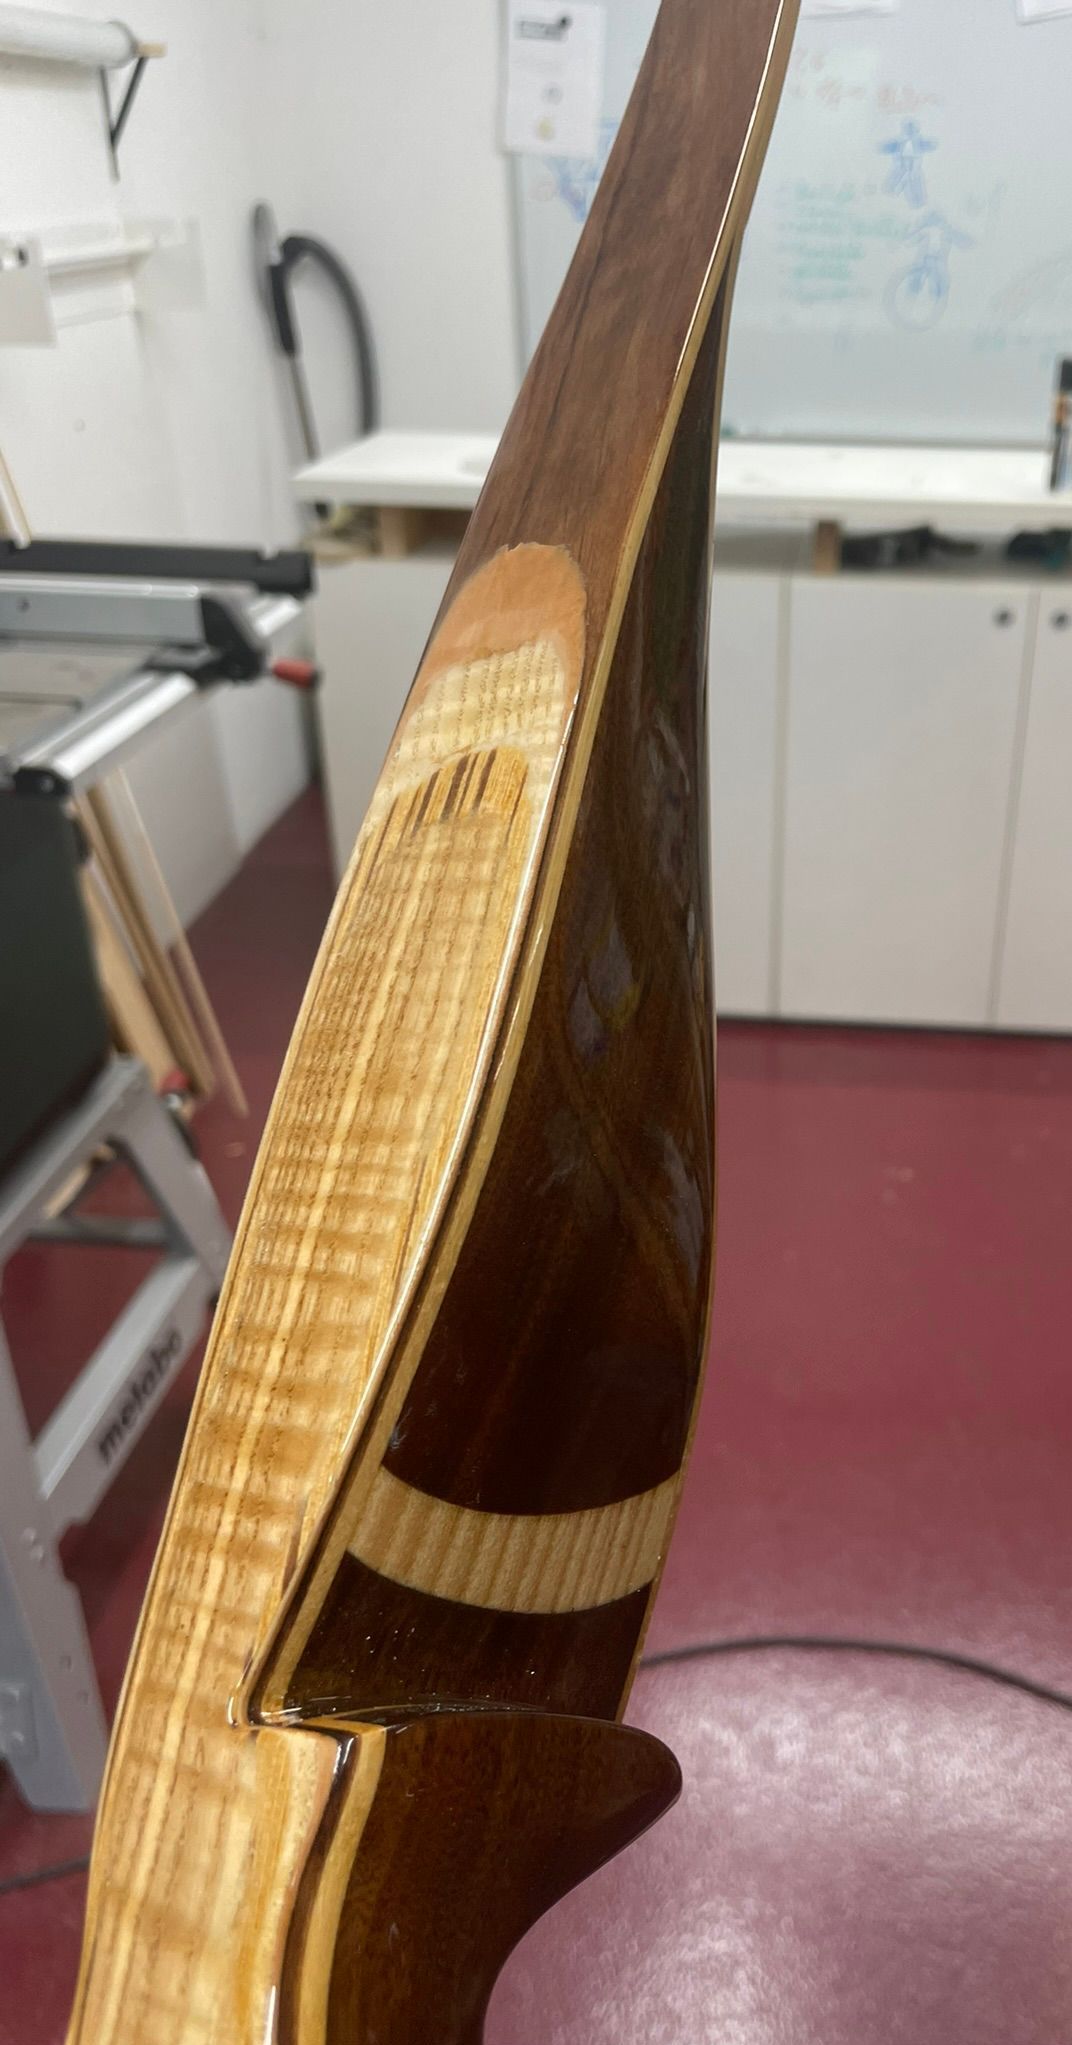
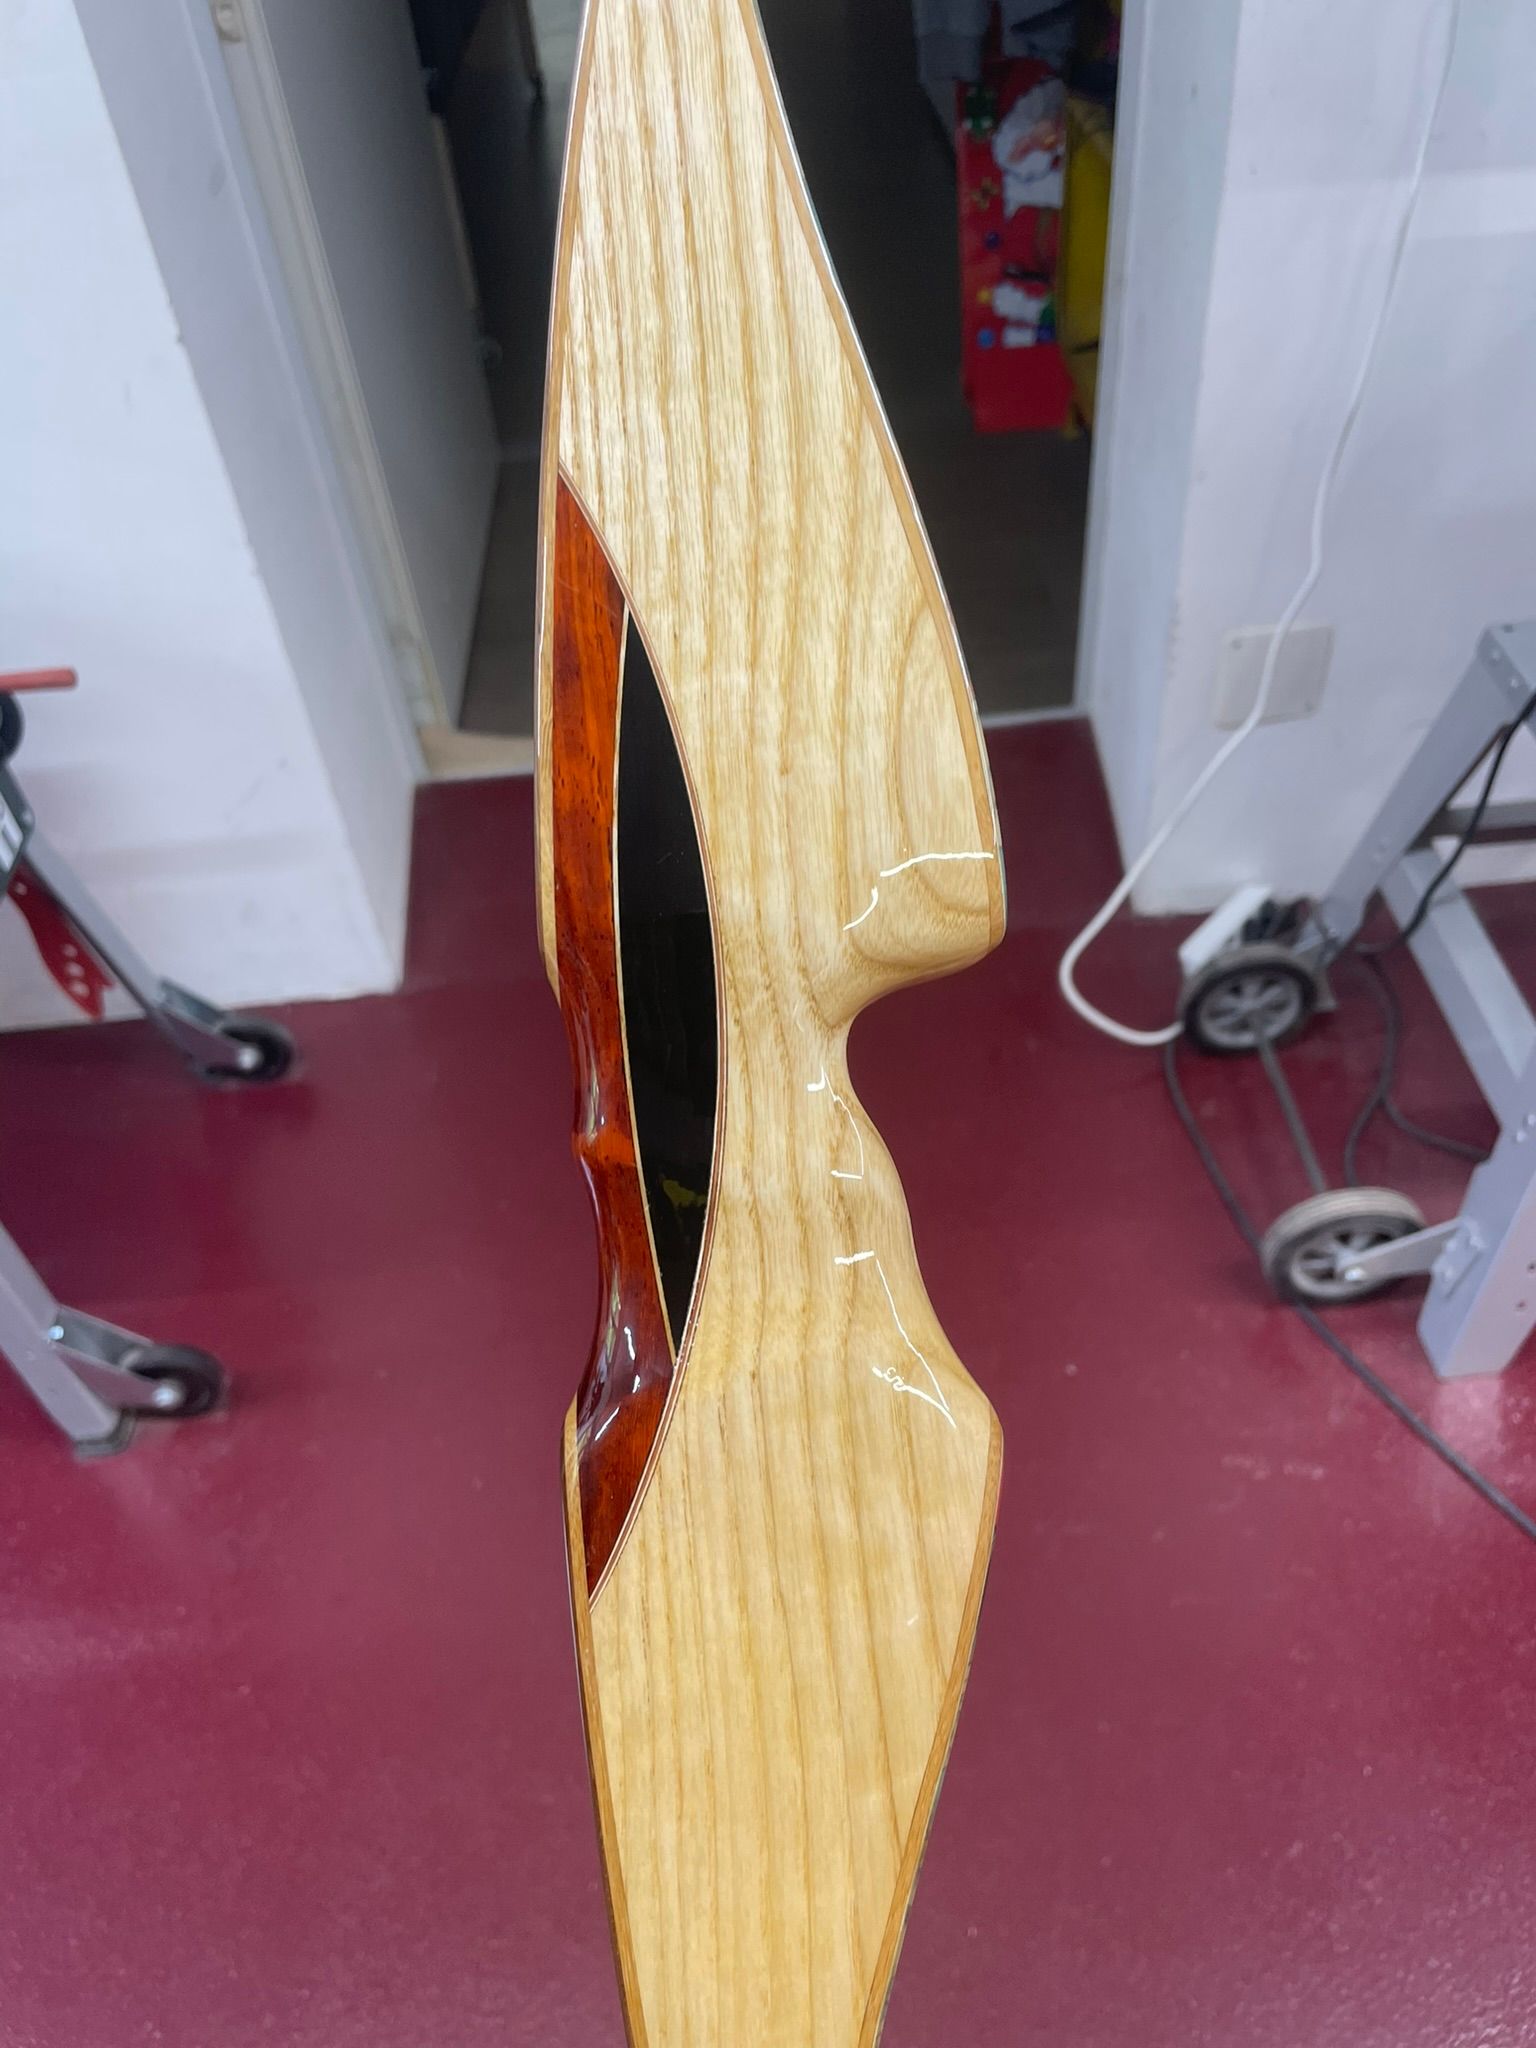
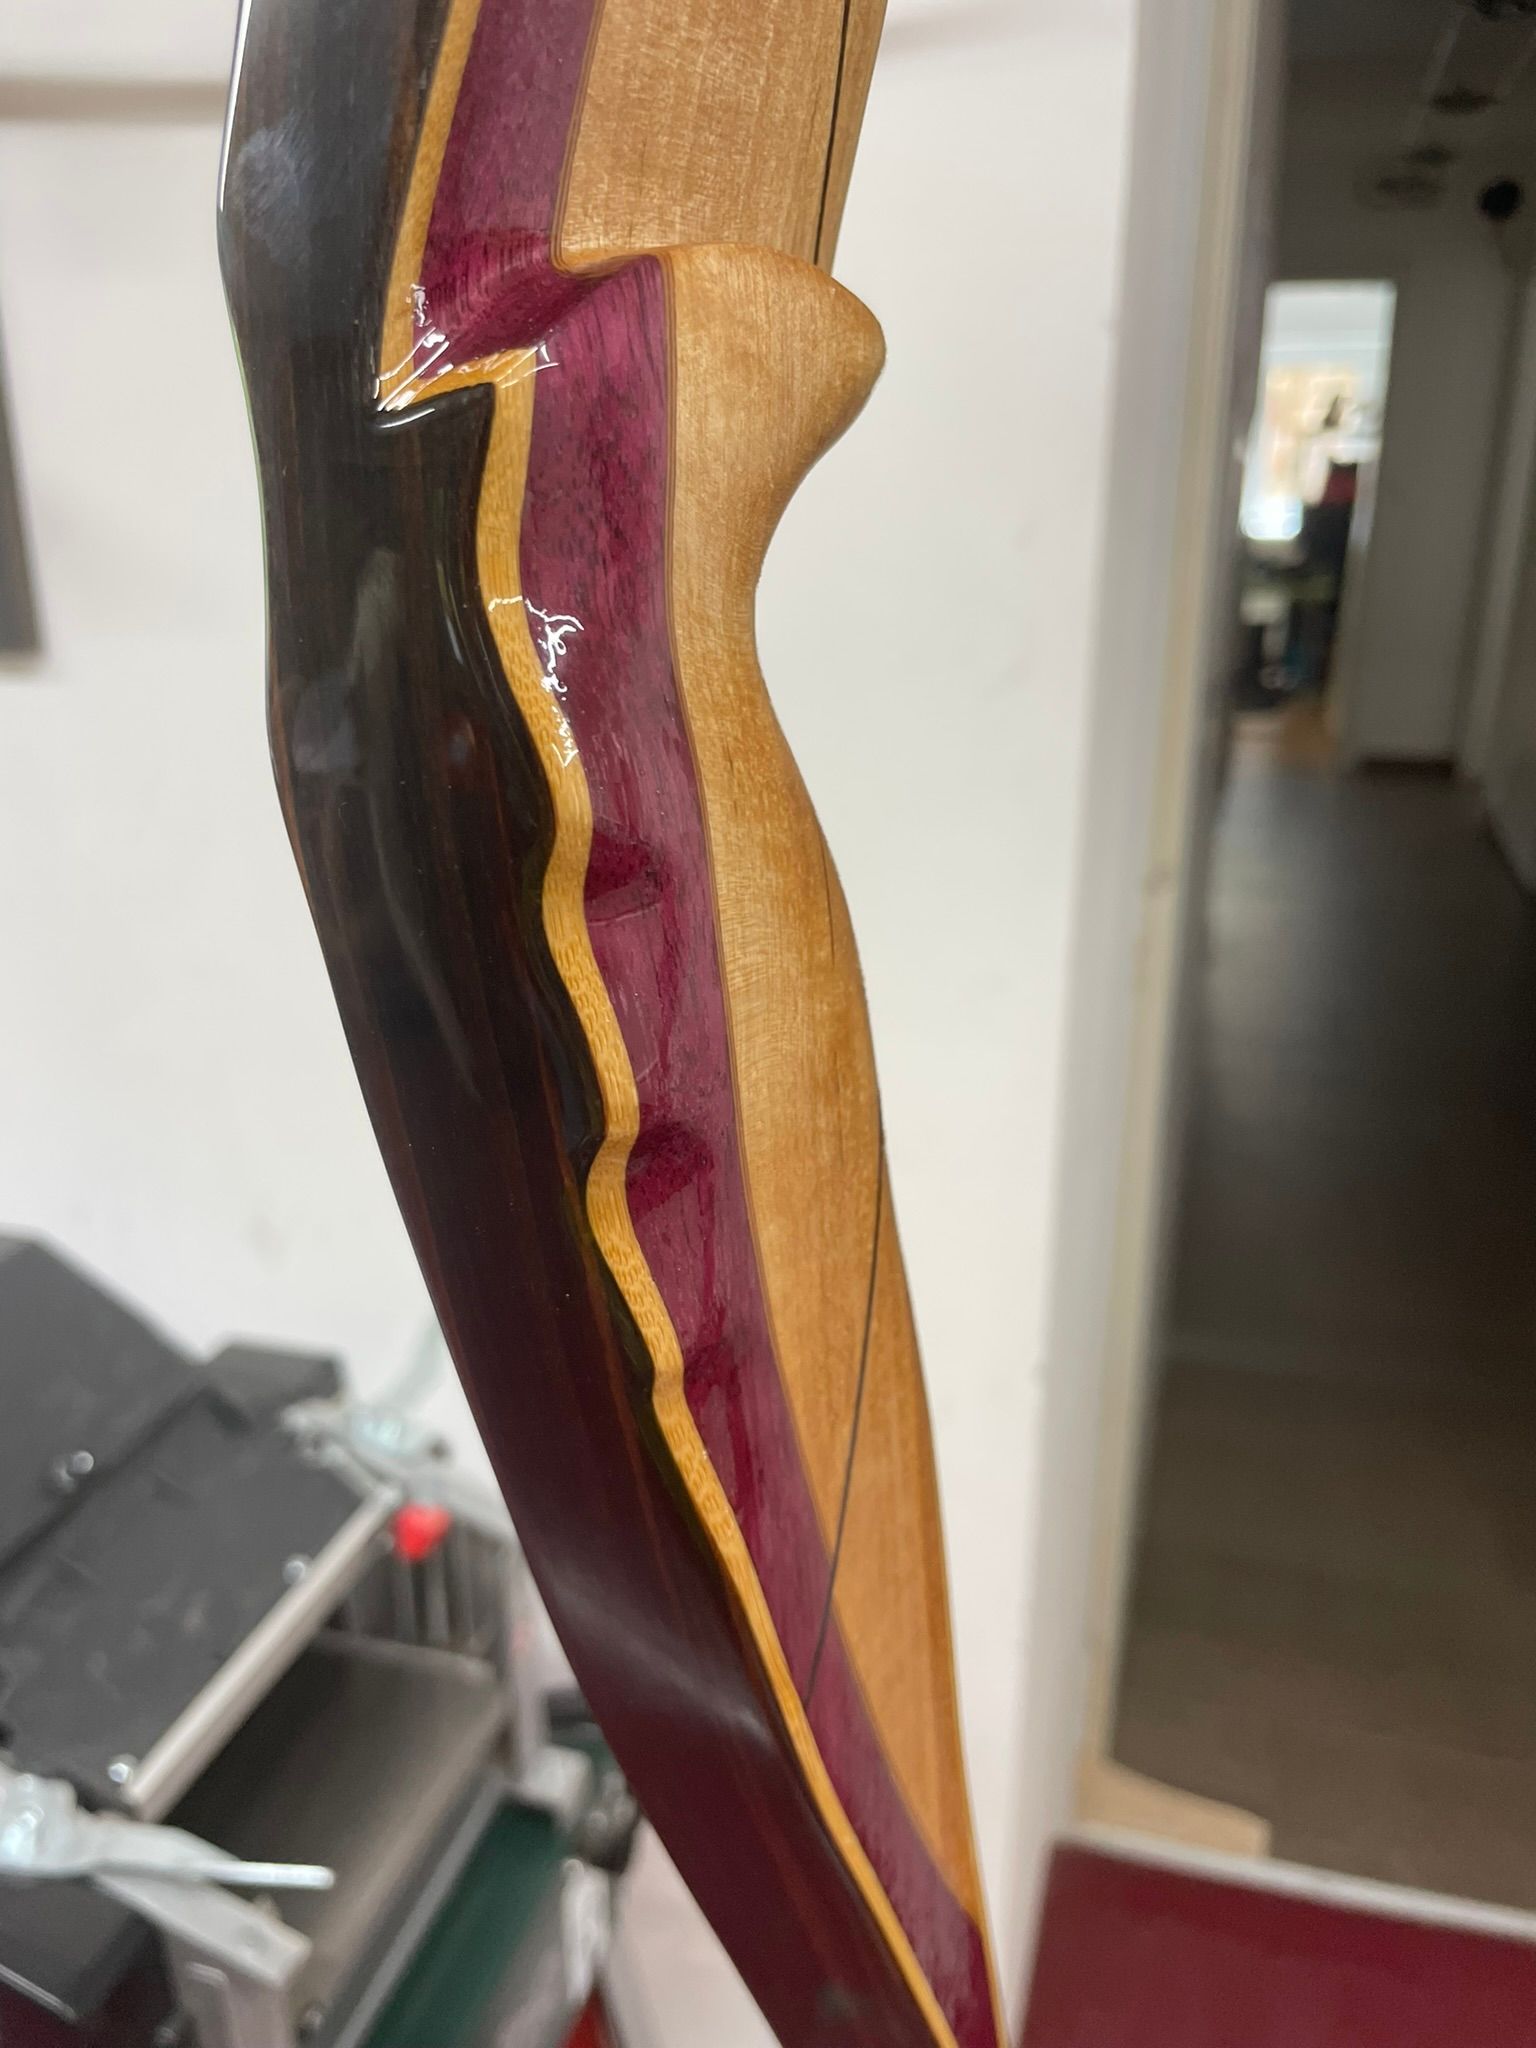
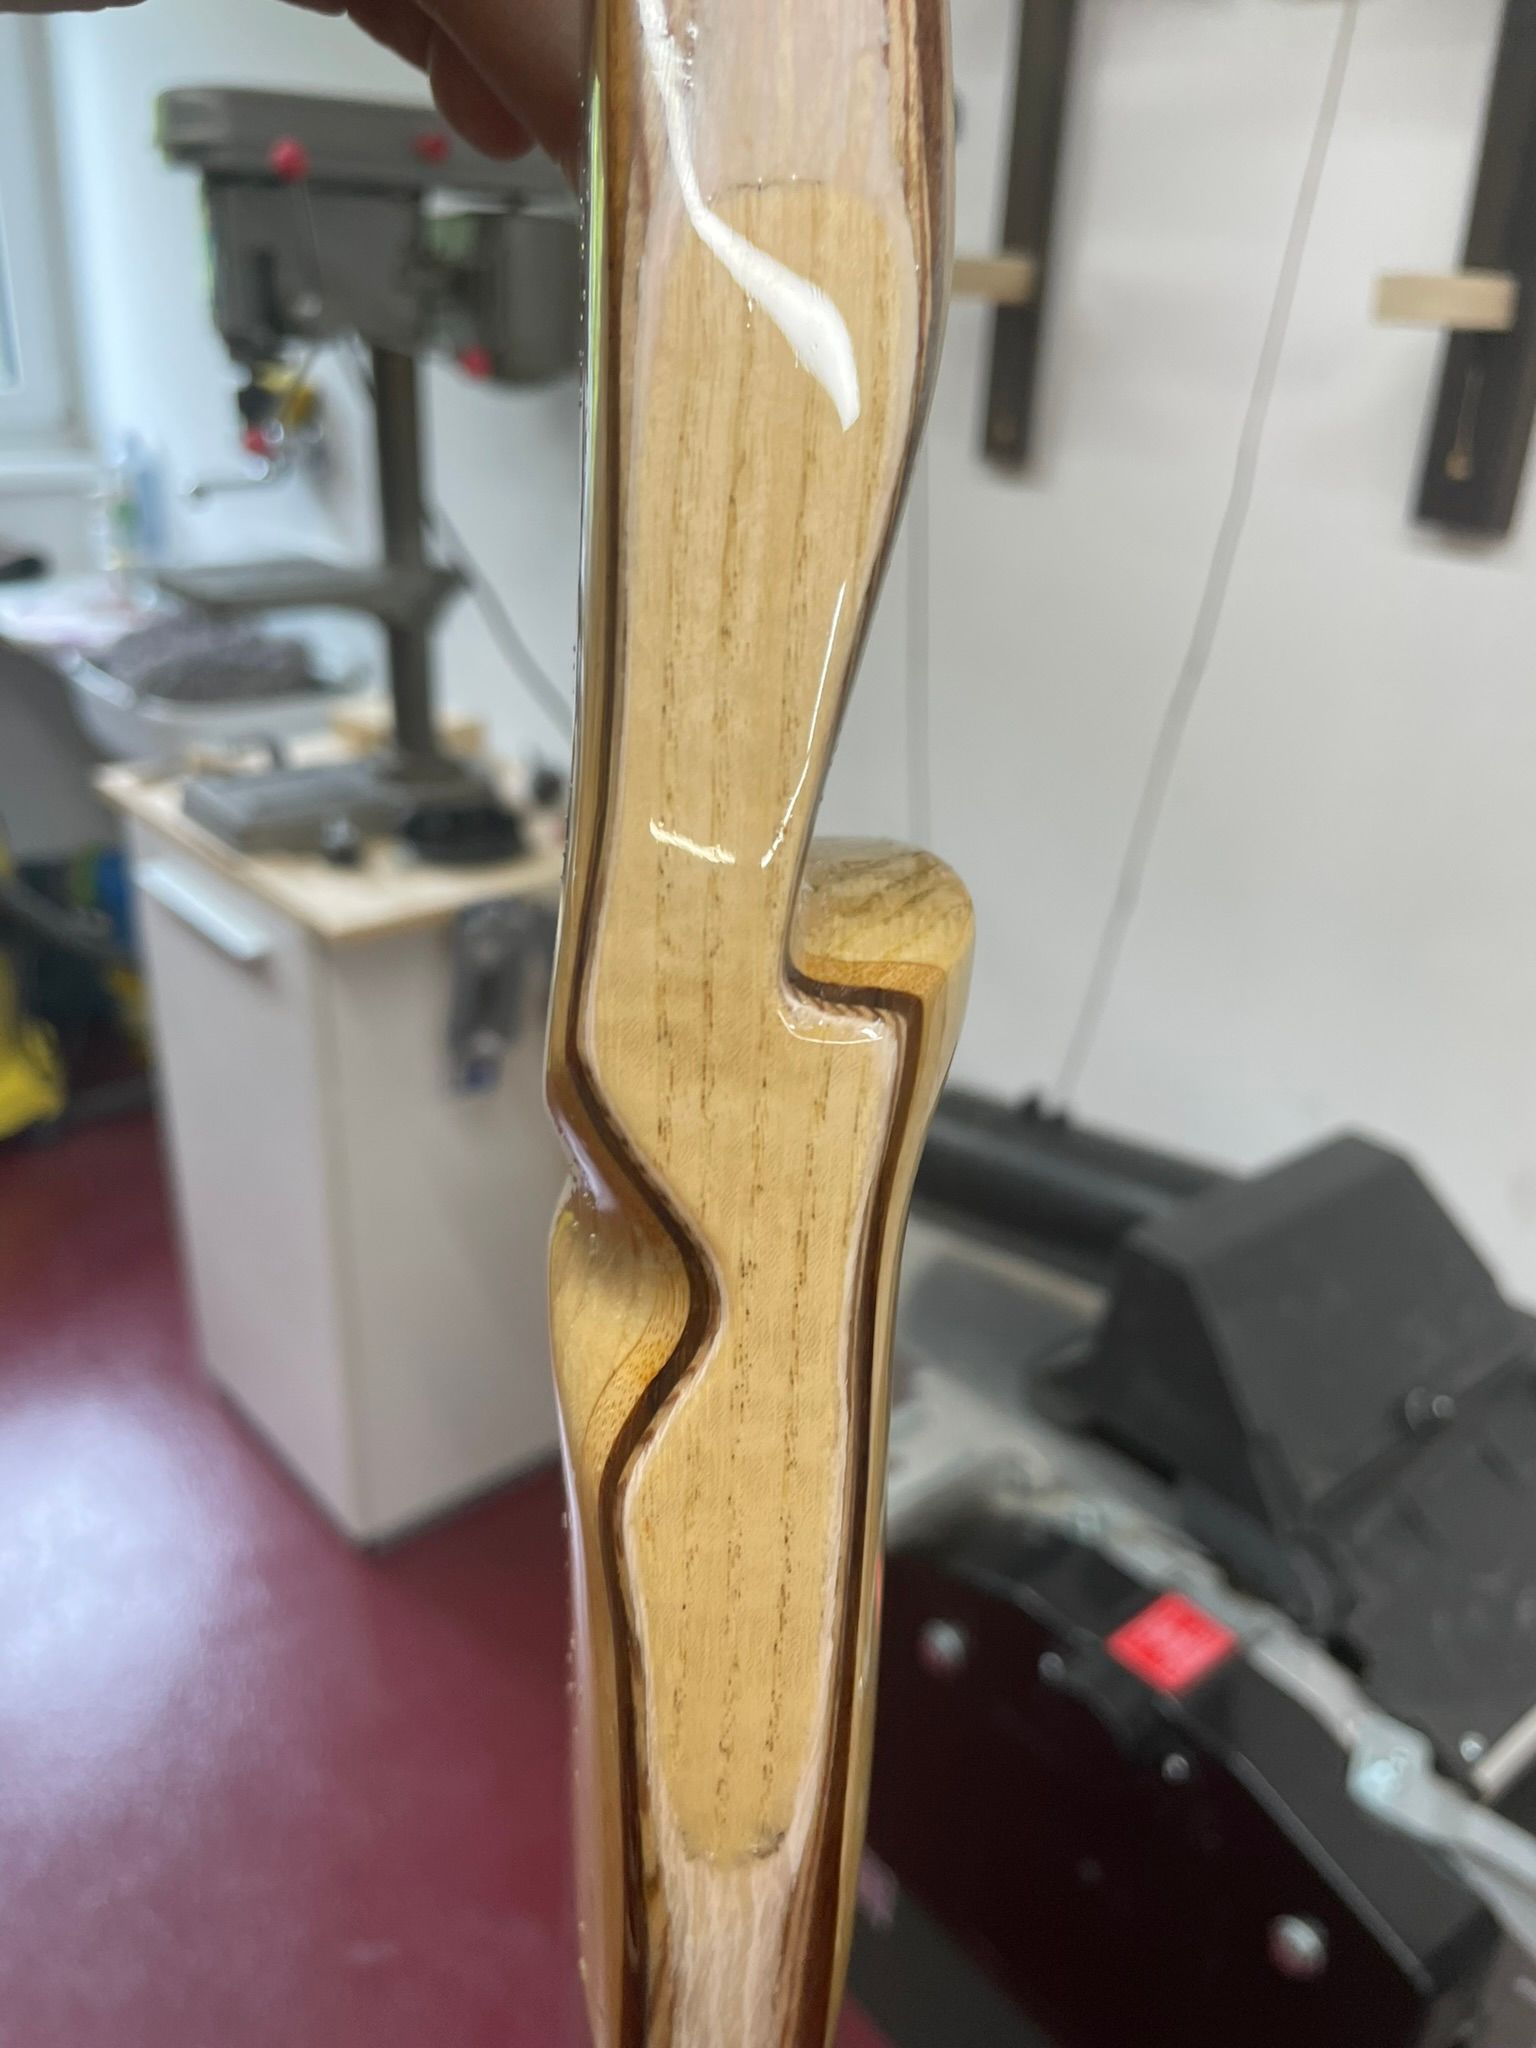
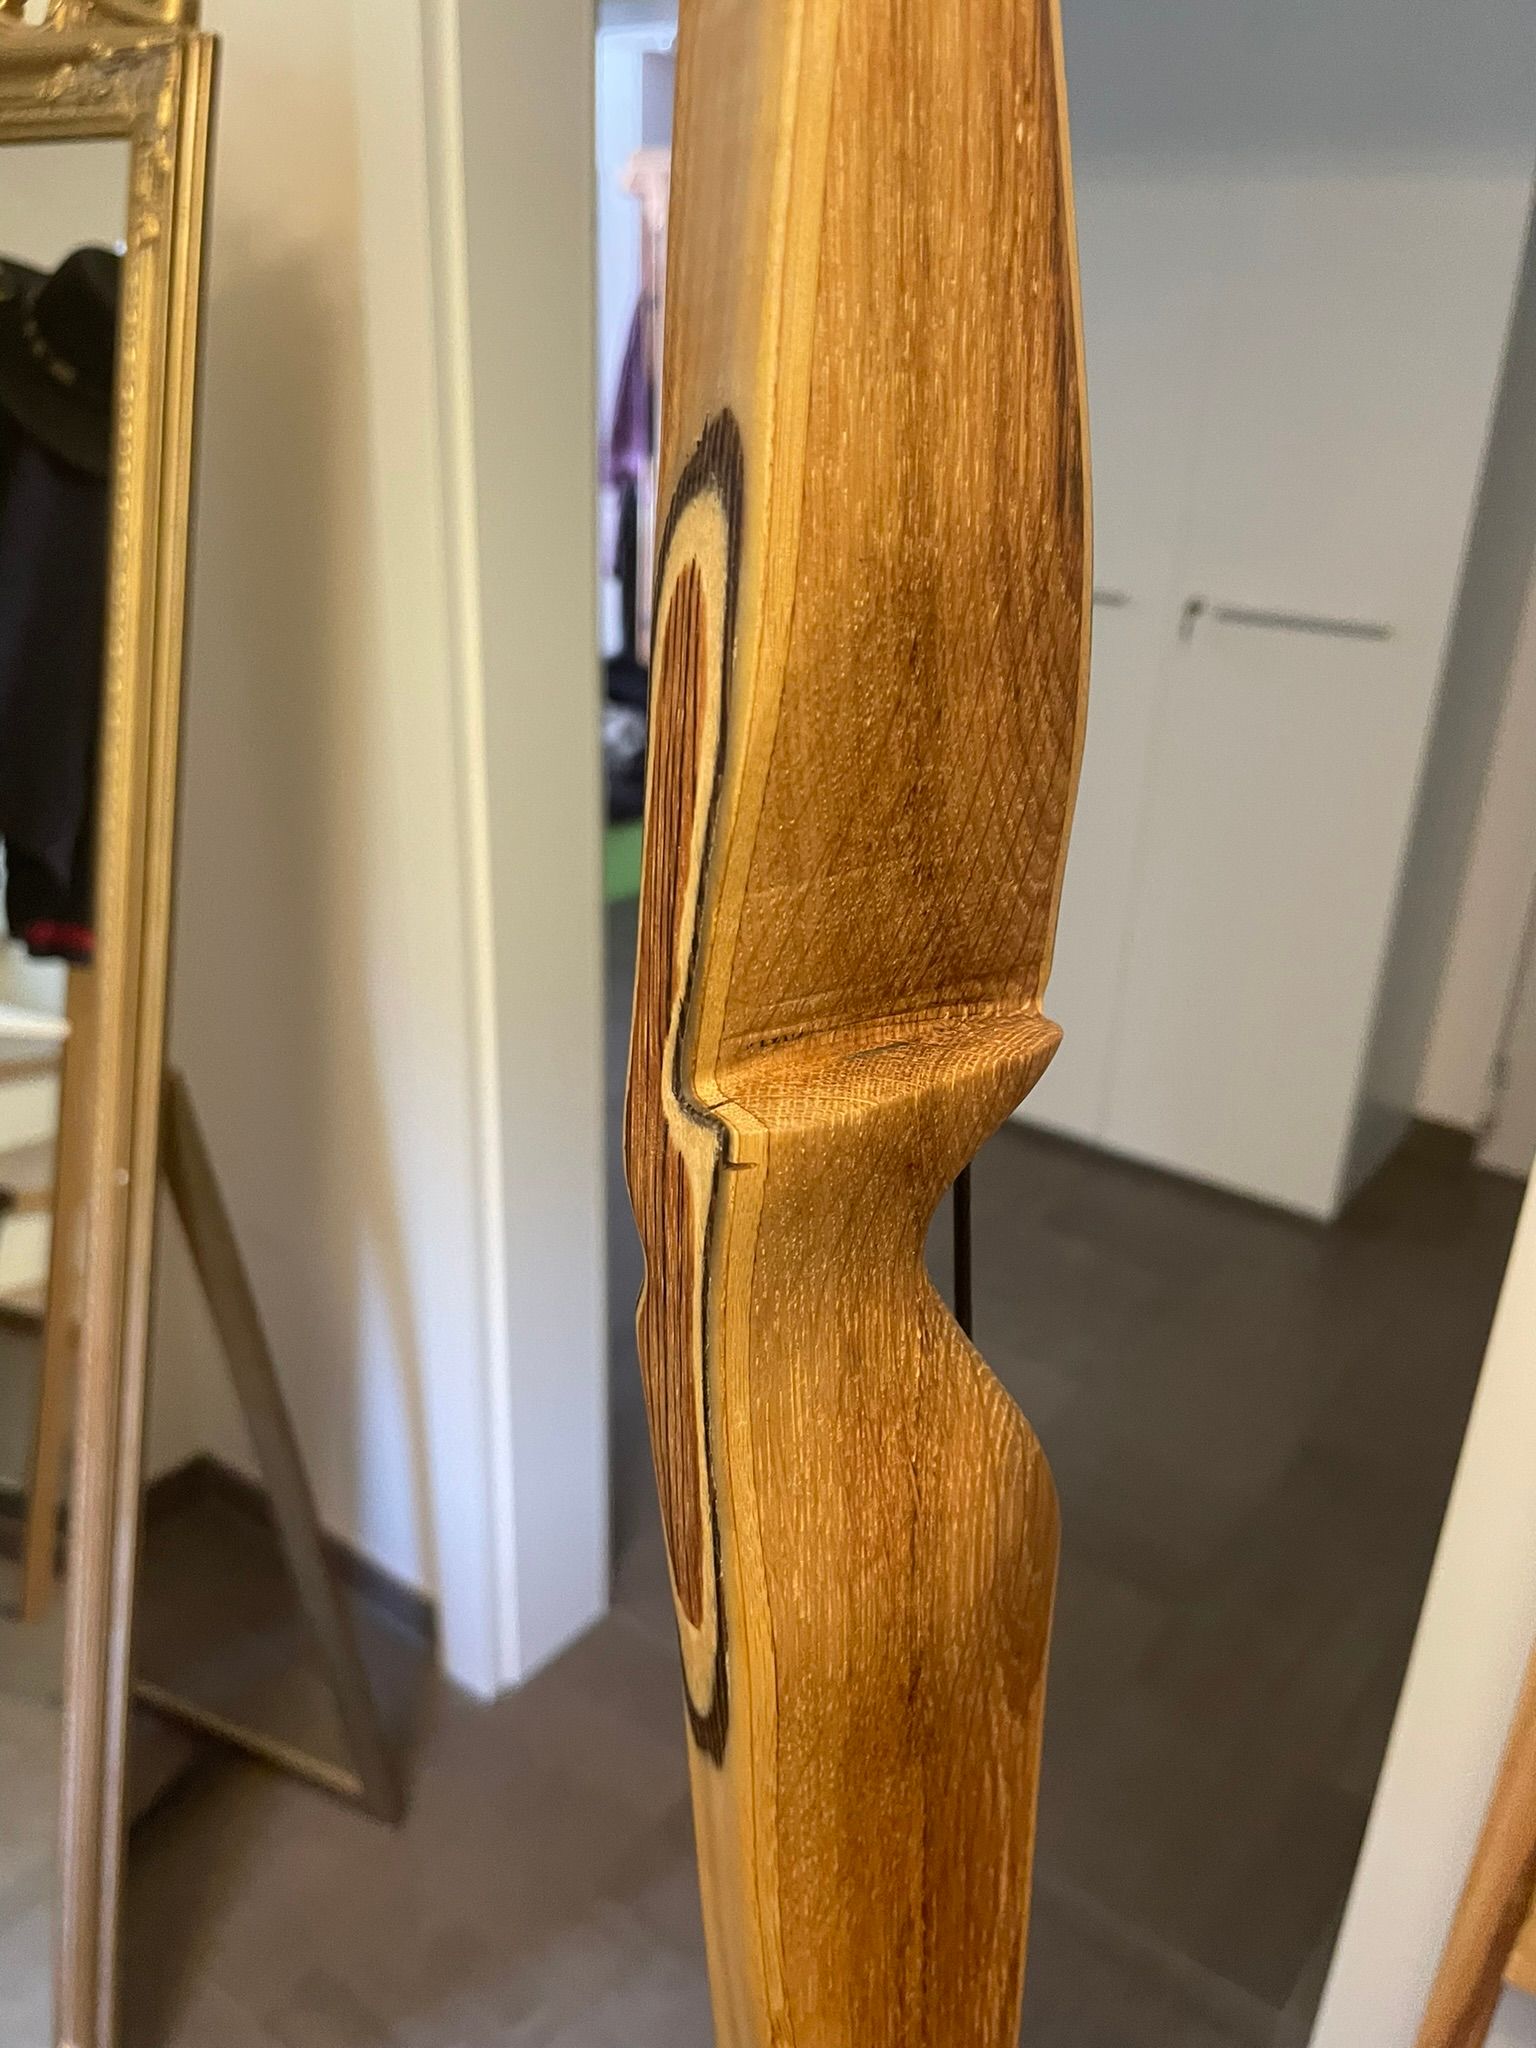
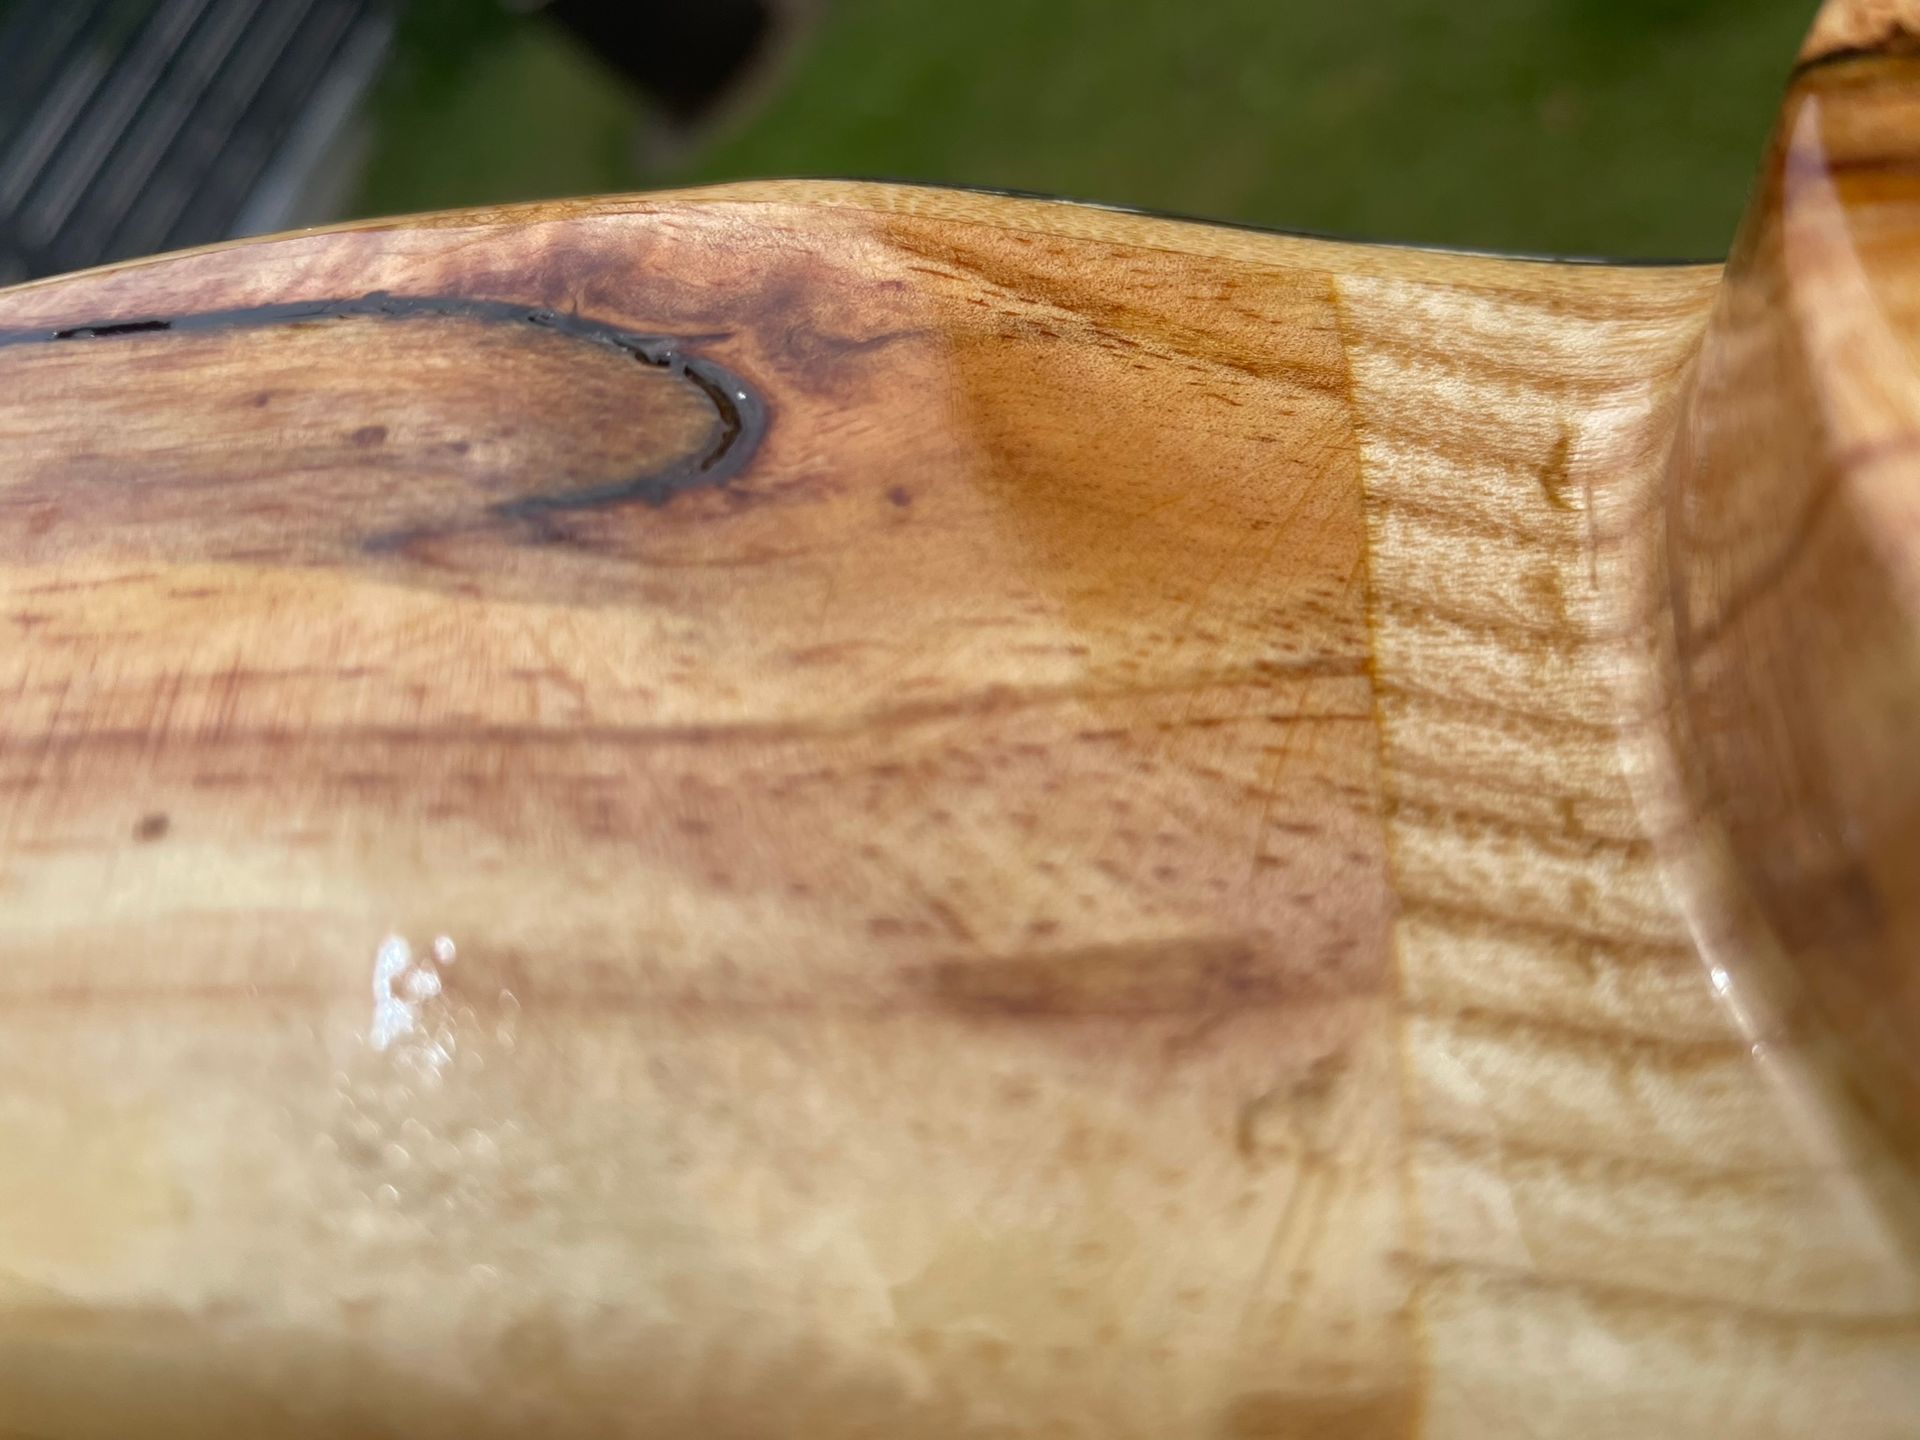
Handle woods can be assembled in a wide variety of colors and structures. Some woods, usually with a strong structure or grain, are suitable for stand-alone pieces.
Others only come into their own through the play of light/dark, or color/contrast.
Personally, I like to combine a striking wood with a light wood like ash or maple, or with a dark wood like ebony.
But there is no right or wrong here.
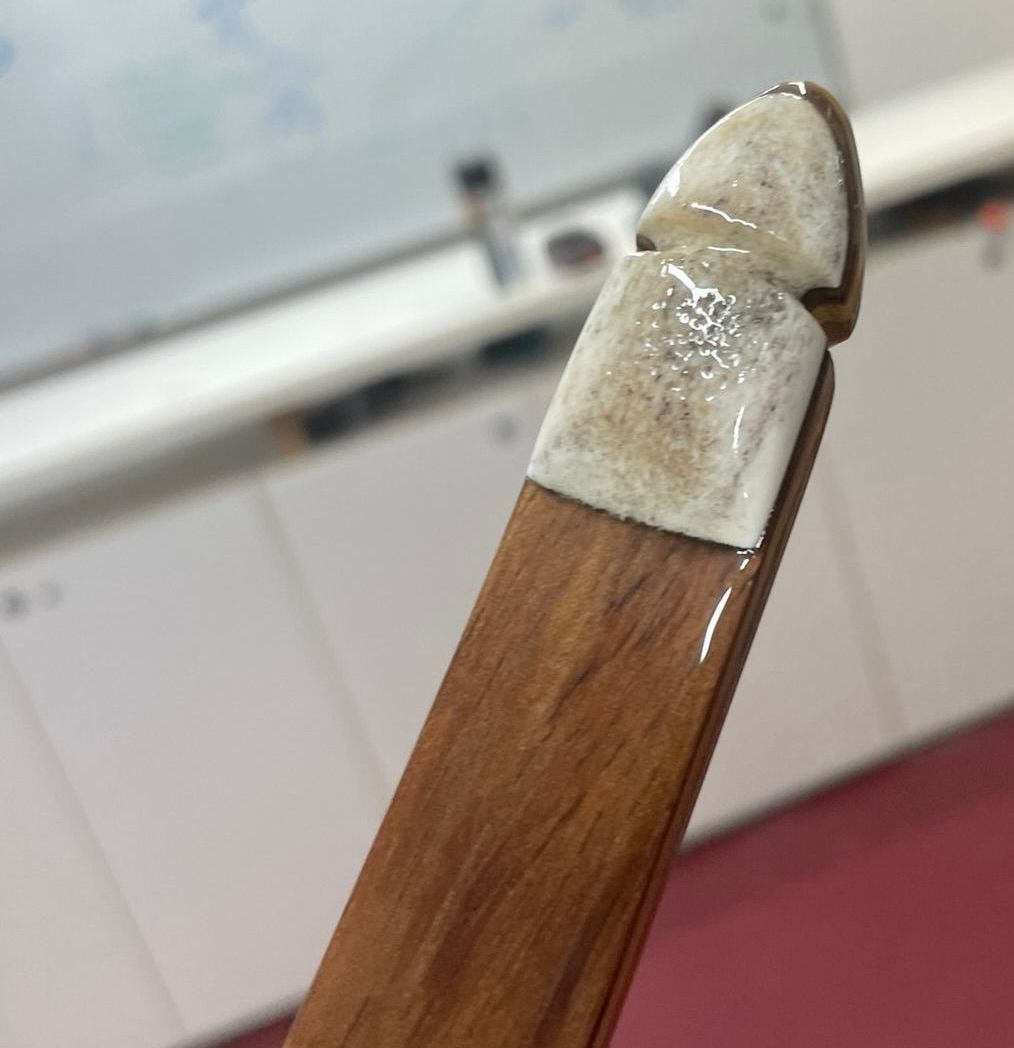
Different materials can also be used for the tips.
The limbs should also be coordinated in color and design.
You can choose from countless veneers or even a theme-specific design from me.
Here you can find a good overview of possible veneers.
step 3
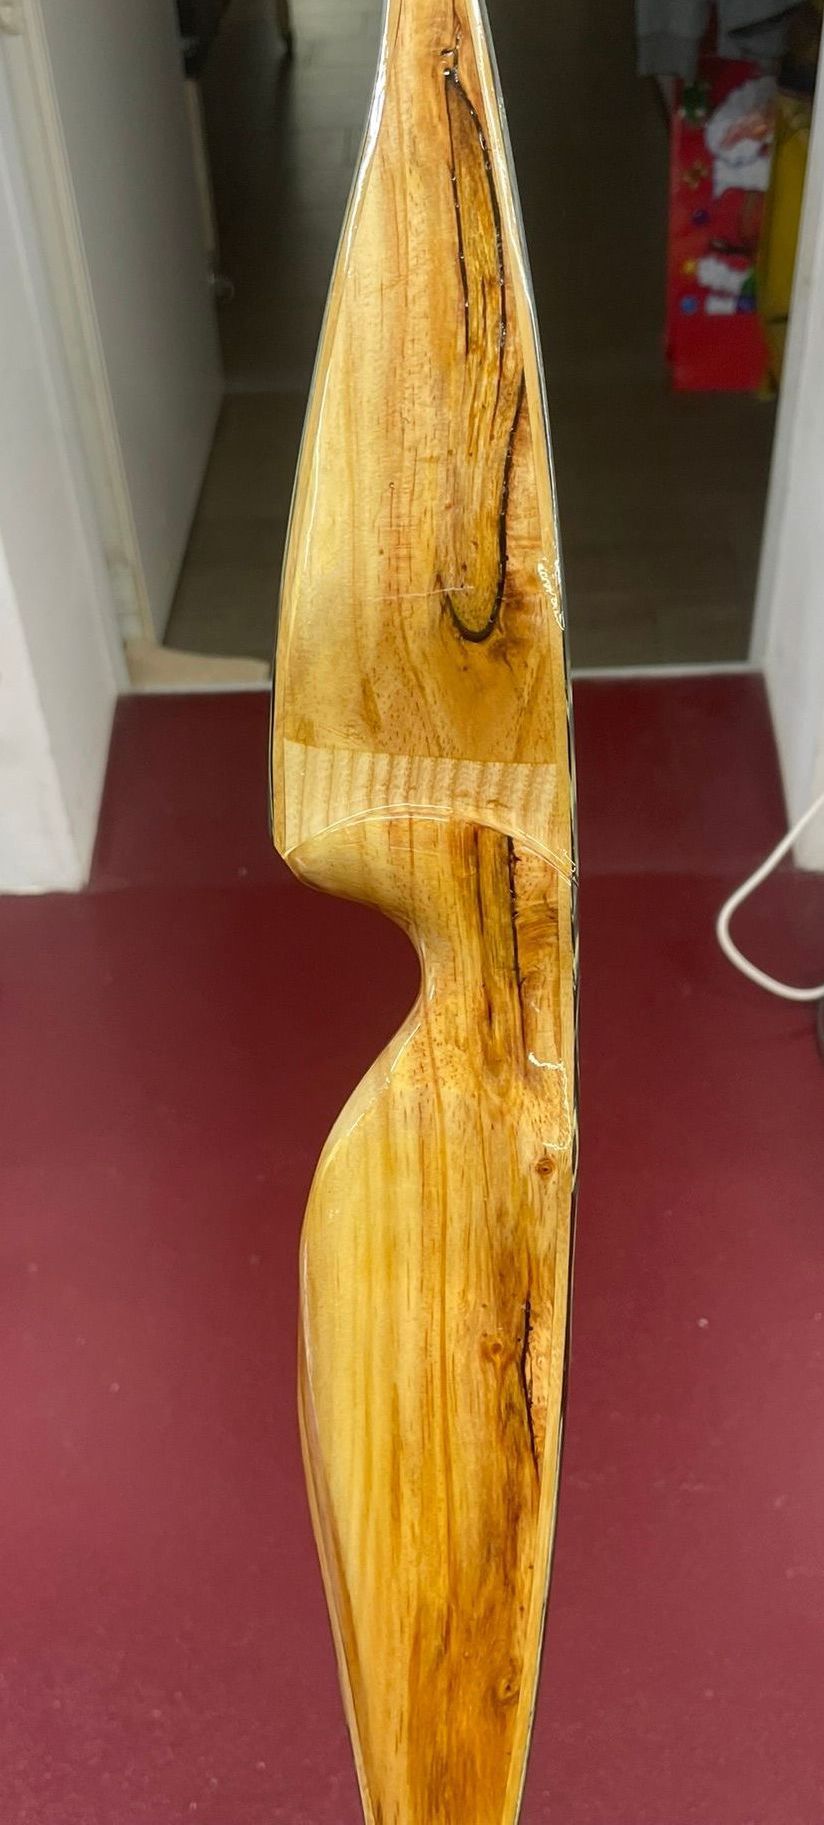
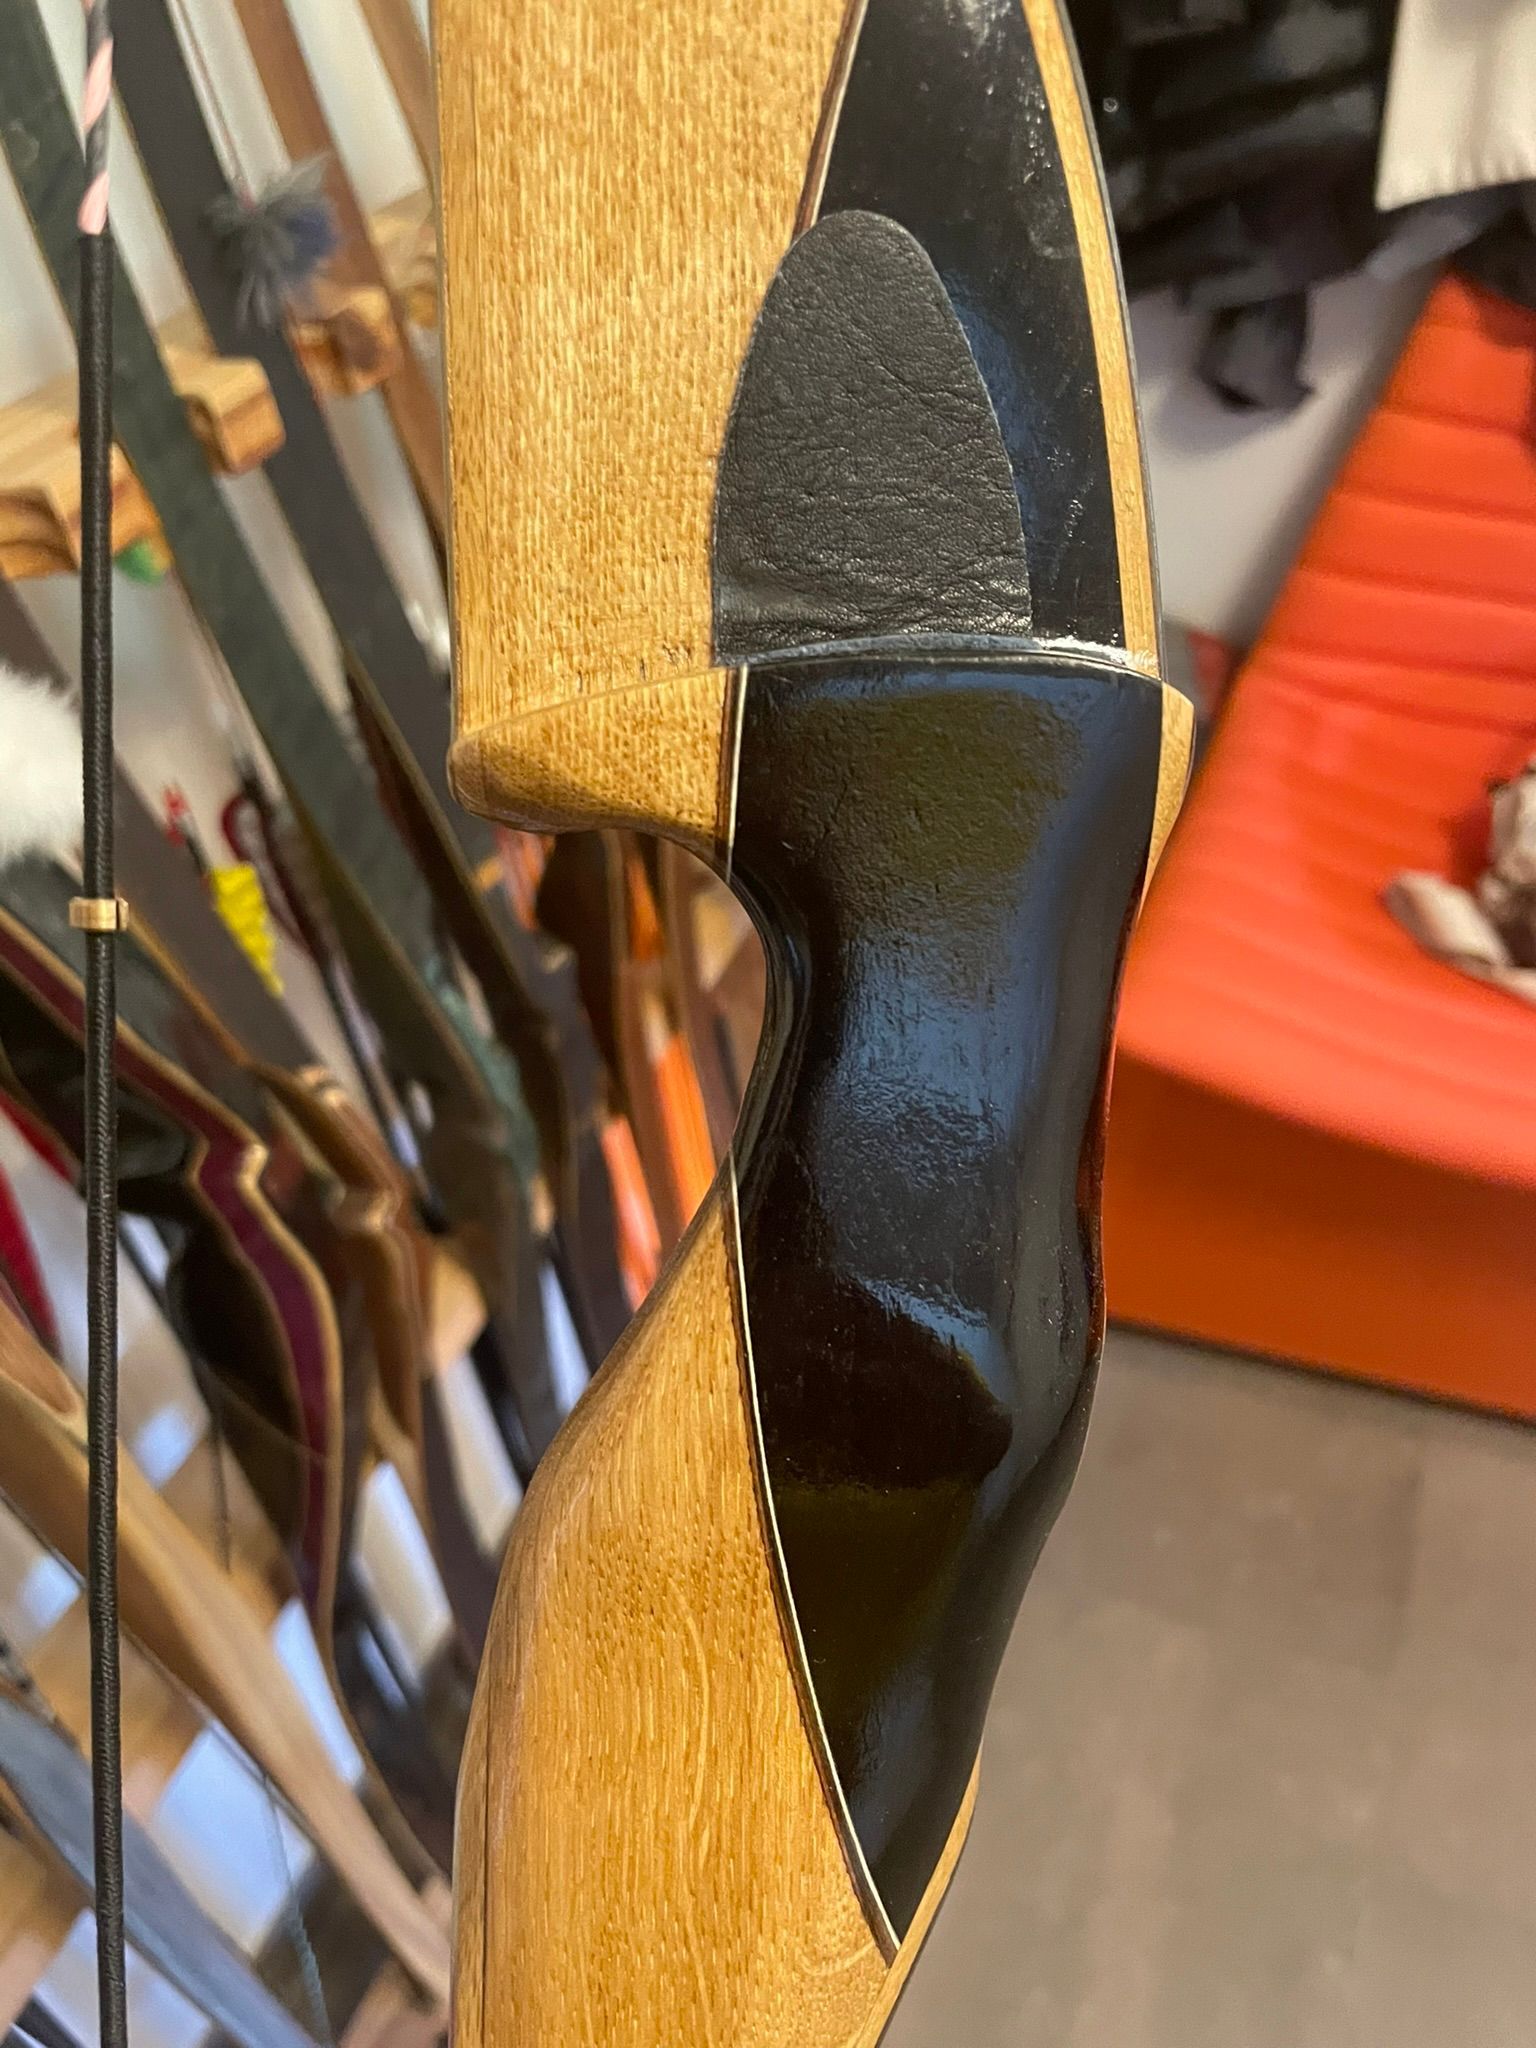
Handle shape Slim or bulky.
Some like it a little more delicate and therefore lighter and others love the weight.
It should be noted that with a narrow grip you can hold the bow (but you don't have to), while with a wide grip you tend to shoot with an open hand.
Most professionals recommend shooting with an open hand so that you don't twist the bow. However, the only important thing is that a shot can be replicated as accurately as possible, whether with an open or closed hand.
Finger grooves versus smooth decorative veneer.
Some people like it when there are indentations for the fingers. This ranges from a thumb indentation to a total of 5 indentations. One for each finger.
This makes it easier for some shooters to always have a consistent grip, although this is of course an individual preference.
Step 4
The finish.
Hard oil or varnished? If varnished, then matt or glossy?
All of this also has an impact on the feel and not just the appearance.
Even though a varnished bow often looks “more valuable,” I know many archers who deliberately choose a hard oil finish because it feels more natural to them.

Anyone who wants a varnished bow.
SHOEMAKER, STICK TO YOUR LAST
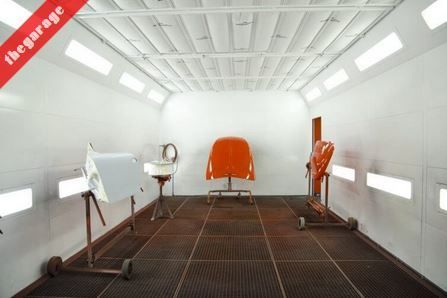
Strictly following the motto “bow makers stick to bow making”, the paintwork is done in a professional paint shop 2 km from me, in Mayerling at Hannes’.
As luck would have it, Hannes is a shooter himself and therefore also an expert in both subjects. And the results are really impressive.
By the way: I can also recommend “The Garage” without reservation for your cars: No matter whether it is a vintage car or a modern vehicle: Hannes is the right person!
Here the link:
